Ironhead Engine Build
Text and Pictures by Mark Trotta
Unlike modern motorcycles, Ironhead Sportster engines were designed to be rebuilt. However, there are special skills and tools needed for the job to be done properly.
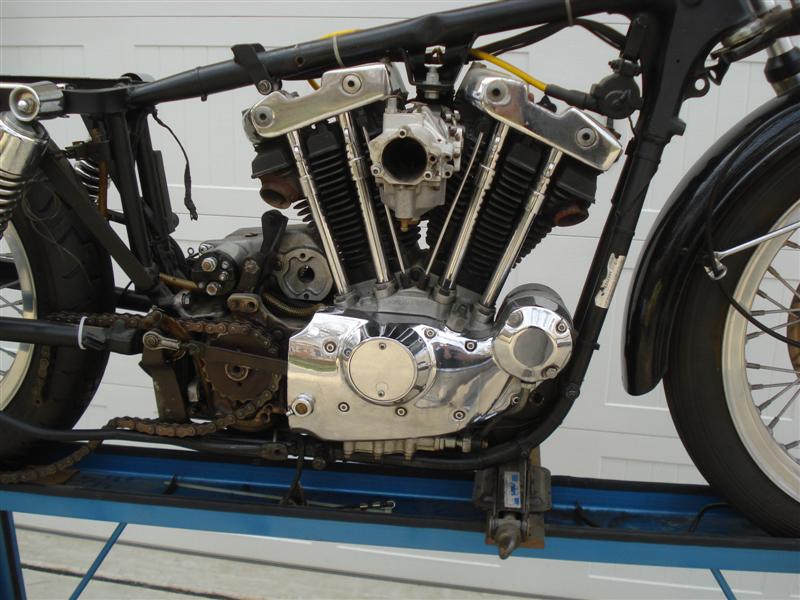
Today, there's not many shops left that actually rebuild Ironheads in-house. And finding a good mechanic that will work on older bikes gets harder with each passing year. This is why more and more owners are considering doing the work themselves.
Ironhead Rebuild Cost
Back in 2016, I contacted five motorcycle shops in my area (Raleigh, NC) to get an idea of what a total Ironhead engine build would cost. The local Harley Dealer said they couldn't help me, as did two of the local Indie shops. One shop offered to ship my motor from their shop to a place in New York. Another offered to ship my motor from their shop to a place in Wisconsin.
Estimates for a complete engine build ran from $2,750 to $3,300 in labor (parts additional). The customer (you) also has to pay any shipping, so factor in another $375-$600 (there and back).
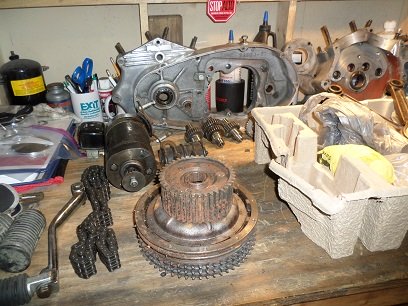
And of course, parts, labor, and shipping costs have all gone up since 2016!
*******************
Ironhead Rebuild Kit
An alternative to boring your old cylinder jugs is to buy aftermarket ones. Rebuild kits for 1973 through 1985 Sportsters are still available.
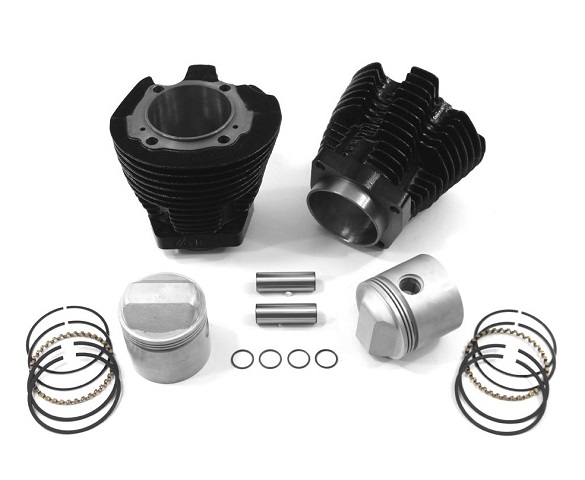
Shop: Ironhead Rebuild Kit
The only physical difference between aftermarket cylinders and factory cylinders is that they do not have casting numbers on them. Instead, they are marked "F" and "R".
***************
Should I Rebuild The Engine Myself?
There are two big hurdles for first-time builders. First, special skills are required, which aren't even taught in today's vocational schools. These include flywheel rebuilding, flywheel truing, and honing main bearing races (more on this below).
The second big negative is the cost of the tools. If you don't already have some of them, the ones needed may cost you more than having someone do the work for you! But hopefully you won't need every engine tool listed in the factory manual.
Tools Needed
Aside from basic hand tools, you'll need basic engine building tools such as a piston ring installer, torque wrench, digital caliper, a micrometer or two, and a feeler gauge.
There are also quite a few specialty tools needed, although many of those can be fabricated.
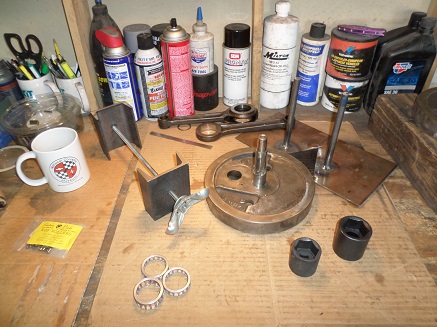
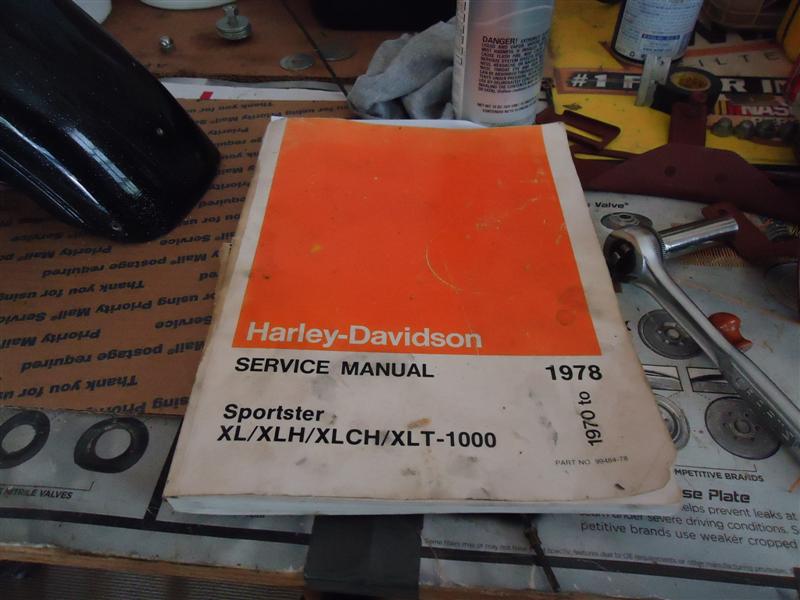
On the plus side, every part is available (with few exceptions) either used, new old stock, or reproduction. Also, any information you may need can be found on internet forums, Youtube videos, and the good old factory service manual.
*******************
900cc vs 1000cc Ironhead
There are far fewer 900cc Ironhead Sportsters than 1000cc's, and not a lot of engine parts interchange. Other difficulties you will encounter rebuilding an early motor is limited parts availability, as well as several extra specialty tools needed.
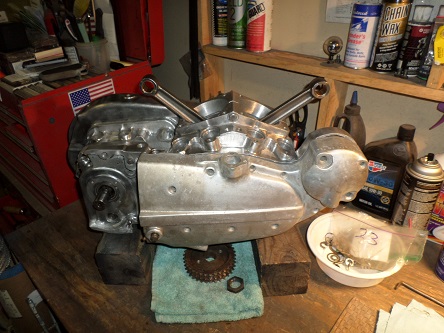
Read: 900cc Ironhead Engine Build
*******************
Top End
Compared to the bottom end, rebuilding the top end of an Ironhead requires less time and less special tools. The two main obstacles will be if the cylinder jugs need boring and if the valve seats need to be cut. This is where careful inspection and measurement pays off. If you're lucky, you may get away with just honing the jugs and installing new piston rings.
Cylinder Head Removal
Cylinder Head Cleaning and Inspection
Ironhead Valve Job
Top End Rebuild
Ironhead Sportster Cylinders
Rocker Box Assembly
How To Adjust Ironhead Valves
*******************
Planning The Build
A motorcycle engine can be broken down into several major categories. These include top end, bottom end, transmission, clutch, carb/fuel, oil pump, and electrics (distributor, generator).
Because no two engines are alike, you won't know what tools and skills you'll need until a complete disassembly and careful inspection of parts.
Among the many serviceable parts of an Ironhead Sportster are the main bearings; the races can be honed and fitted with oversize roller bearings. Original cylinders have enough material to be safely bored up to .060" oversize.
Check Bottom End Play
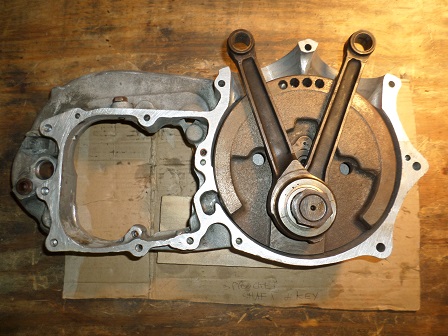
Before disassembling the bottom end, but after the cylinder jugs are removed, check the connecting rods for up and down play. Some side to side play is normal and actually needed (the engine gets hot and metals expand).
On average, a Sportster top end will get rebuilt twice before a bottom end rebuild is needed. But when dealing with a 50 year-old machine you don't have a history of, it would be wise to consider doing a complete engine rebuild from the flywheels up.
Unit Transmission
Unlike Harley Big-Twins, you can't ignore the transmission when doing bottom end work on a Sportster engine. The transmission is housed inside the engine cases, so at a minimum you'll at least need to know how to remove and install it.
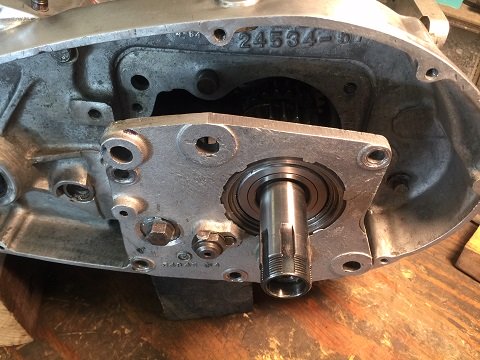
Read: Ironhead Sportster Transmission
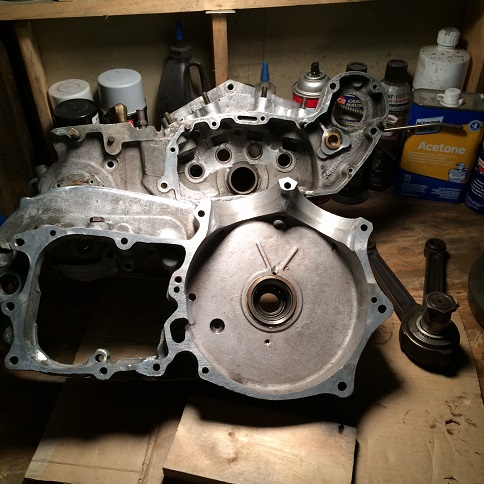
Engine cases are the most important component of any motorcycle build. Most Sportster engines have taken a lot of abuse, so having a pair of unmolested cases is a rare and wonderful thing.
Inspecting The Cases
Always check carefully for cracks upon disassembly. Aluminum engine cases are repairable and can be made as good as new, provided the repair was done right.
Read: Repair Cracked Cases
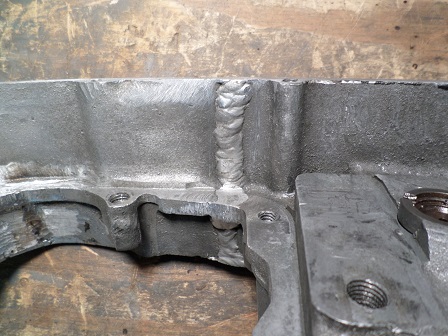
Read: Engine Case Prep Harley Sportster
Mixing Ironhead Cases
If your Sportster engine was already running, the cases may be okay, but if they weren't, you won't know what problems you'll have until you put two mismatched cases together.
Read: Ironhead Engine Cases
Bottom End
The most time-consuming part of an Ironhead engine build will be the bottom end. It requires specialty tools and skills, and can take considerable time to properly measure and rebuild. Aside from the labor, factor in the cost of parts and special tools needed.
Read: Ironhead Bottom End Overhaul (1957-1976)
Read: Ironhead Engine Assembly (1977-1985)
Line Boring vs Line Honing
Line boring is the process of centering and re-fitting the bearing races in one or both cases. The objective is to have the crank assembly sitting parallel in the cases. In some cases, the races may need to be replaced.
Read: Harley Crankcase Lapping Tool and Usage
Whereas line boring uses cutters with a boring bar, line honing uses abrasive stones, which removes less metal and leaves a smoother finish. Neither line-boring nor line-honing may be needed, but careful inspection and measurement is critical.
Truing Flywheels
Due to their 45-degree configuration, V-twin motors such as Harley Sportsters are inherently out of balance to begin with. It is essential that the flywheel assembly be properly rebuilt and trued, or engine vibration will not only numb your hands and feet, it may cause internal engine damage.
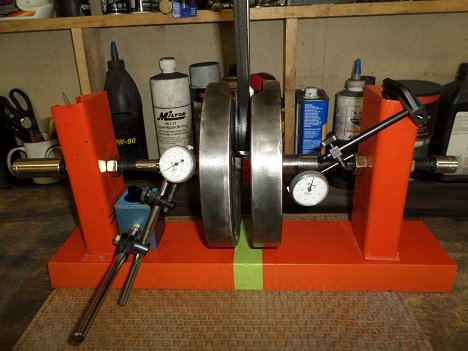
To true a flywheel, you'll need either a lathe or a flywheel truing stand. A $750 truing stand is a nice luxury, but homemade units work just as well.
Read: DIY Flywheel Truing Stand
True the flywheel assembly so run-out is within 0.001".
Truing vs Balancing
Balancing is about the weight of the pistons, rods and other rotating/ reciprocating items. Truing is done at the factory, balance is not. Balancing may make it run smoother, but if the flywheels are trued and the run-out is within specs, re-using your original parts will have the engine running as it did when it left the factory.
*******************
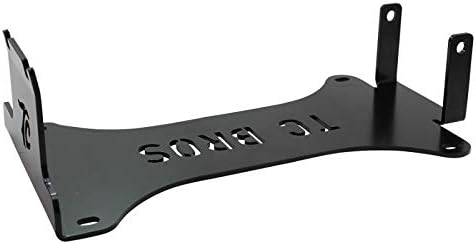
Shop: Sportster Engine Stand
*******************
Sportster Gear Case
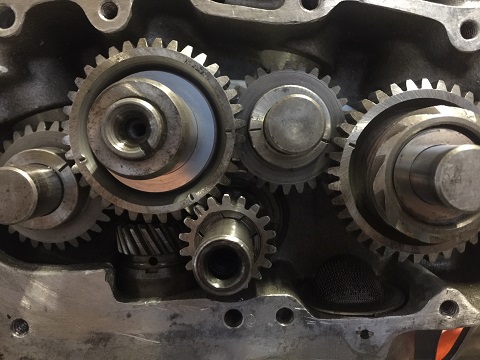
Although the Sportster four-cam design is derived from the Harley 45 flathead, it's still pretty complex. During installation, if the breather valve is not correctly timed, the gear case does not get properly lubricated. This can have disastrous results at higher RPMs.
Read: Ironhead Sportster Pinion Gear (Remove and Install)
Once the breather is timed correctly, there is no need to reference the flywheel timing mark when installing the cams. The cams get referenced off the notch on the pinion gear.
Cam Bushings
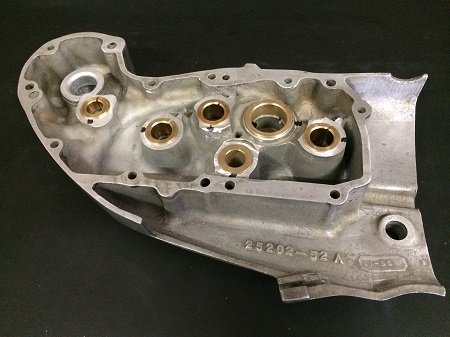
Read: Remove/Install Sportster Cam Bushings
Sportster Cams
If you swap your cam cover with a new one, or change your cams, the clearances should be checked. The factory service manual calls for .0005" to .002" minimum clearance. Maximum cam end play is not as important (.001" to .006").
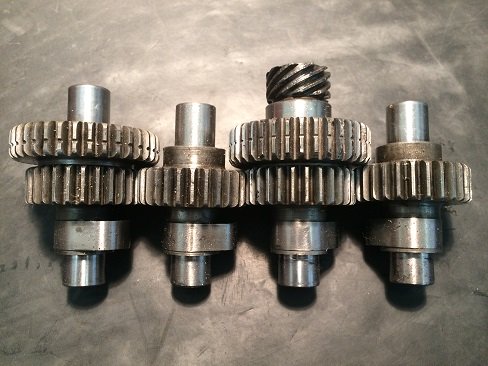
Read: Install Sportster Cams
Ironhead cam removal is easier when the four push rods are removed, although the tappets can just be loosened to remove them. Old Sportsters do not have as close tolerances as modern engines have, but cam clearance should be set to factory specs if not a tad bit looser.
*******************
Top End Gasket Kit
James Gaskets are simply the best gaskets available for your old Sportster. Their top end gasket kit replaces H-D 17030-72, and includes everything you need to reseal your top end.
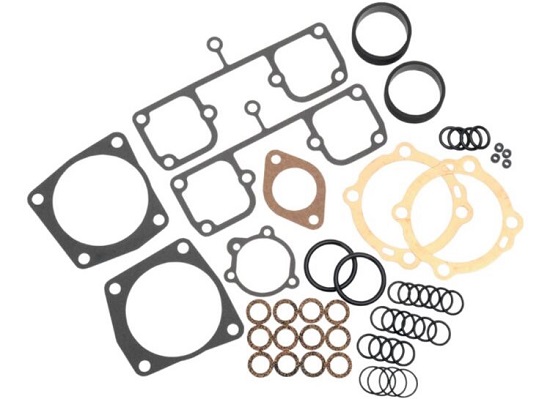
Shop: Ironhead Top End Gasket Set 1973-1985
Included are copper head-gaskets, oil seals, O-rings, and all other gaskets necessary to completely rebuild a 1973 through 1985 Sportster top end. James Gaskets are proudly made in USA.
*******************
Engine Assembly Lube
TIP: After the bottom end is assembled, pour a bit of engine assembly lube inside and around the connecting rods and anywhere else it can reach. The pinion shaft bearing gets lubricated with engine oil.
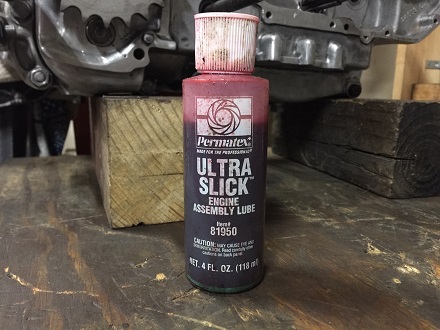
Read: Best Engine Assembly Lube
*******************
Conclusion
Should you attempt an Ironhead rebuild yourself? Bottom line--it's your bike, you decide if you're up for the challenge (and a few headaches). But if you don't feel comfortable in your abilities, consider farming out some of the repairs and stick with the ones you do feel comfortable with.
*******************
Related Articles:
Measurement Tools For Engine Builders
Engine Case Prep
Remove/Install Sportster Cam Bearings
Remove/Install Sportster Cam Bushings
Install Sportster Cams
Ironhead Special Tools
Ironhead Bottom End (1957-1976)
Ironhead Bottom End (1977-1985)
Ironhead Engine Cases
How To Adjust Ironhead Valves
Along with more displacement, stroking an Ironhead engine will you get more power, along with lots of installation problems!