Ironhead Valve Job
Text and Pictures by Mark Trotta
Properly rebuilt cylinder heads will make your old Sportster run smoother, start easier, and restore lost power.
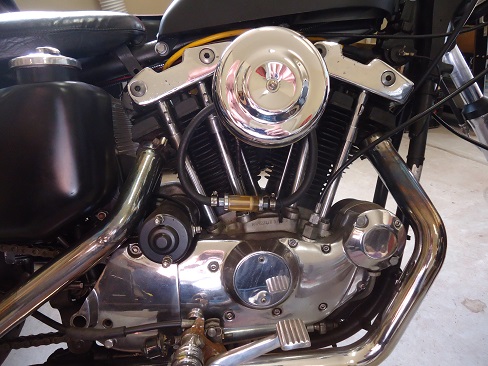
First-time builders will quickly learn that new replacement heads are simply not available for Ironheads. That leaves four choices:
Find a good used, less worn-out pair.
Find a freshly rebuilt pair.
Pay someone to rebuild yours.
Tackle the job yourself.
******************
Do It Yourself?
You won't know how much work or what parts are needed until the heads are off and valves are out. Regardless of which way you choose to go, they have to come off.
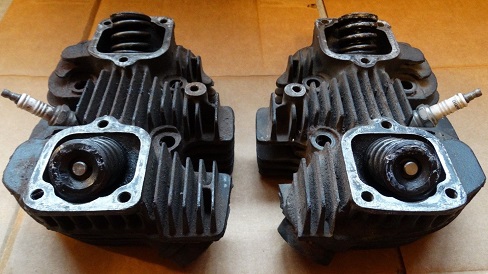
Read: Ironhead Cylinder Head Removal
Once disassembled, you can factor in the cost of any parts needed. This may include intake and exhaust valves, springs, guides, seats, and a gasket set.
The good news is that all these parts are still available.
Are My Heads Rebuildable?
If you find that you have bad valve seats, and worn valve guides, and broken fins, and stripped threads, or a combination of these, it's best to find a replacement head.
******************
Valve Guides
On Ironhead cylinder heads, worn guides are usually pressed out and new ones pressed in.
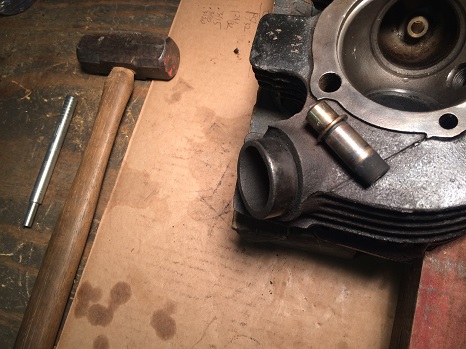
Read: How To Remove Valve Guides
Replacements are readily available in standard and oversize.
Kibblewhite Exhaust Cast Iron Valve Guide 1957-E1983
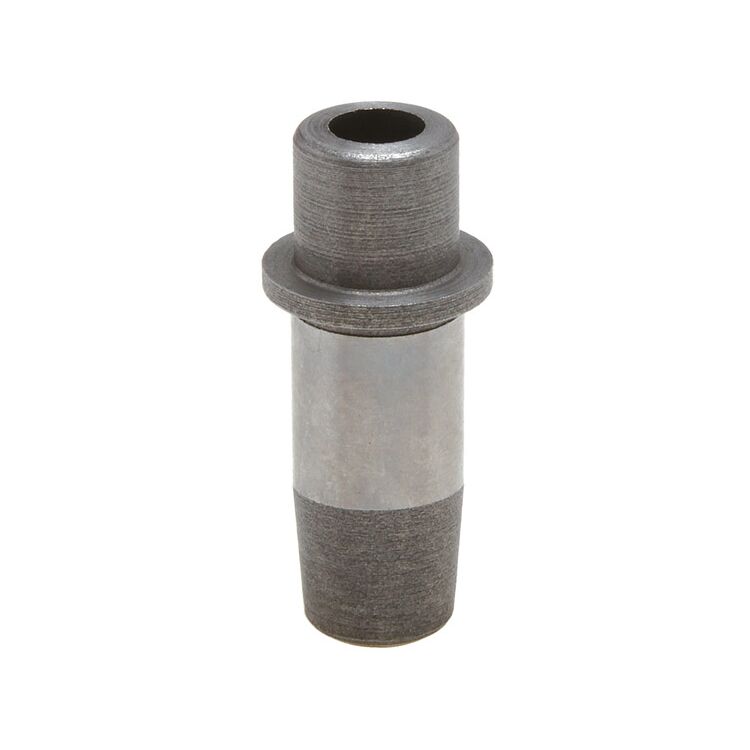
Kibblewhite Intake Cast Iron Valve Guide 1957-E1983
Cast-Iron vs Bronze Guides
Bronze guides are self-lubricating and are less likely to gall than cast-iron guides. There are several derivatives of the bronze guide, which include phosphor bronze and manganese bronze.
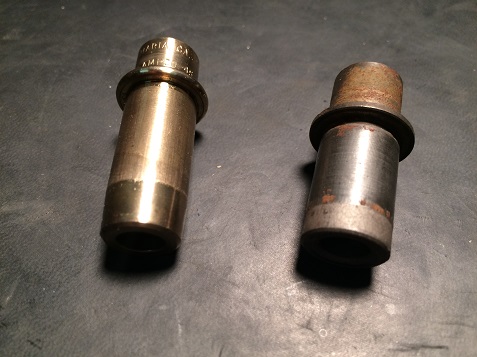
Bronze guide on left, cast-iron guide on right
All bronze-based guides are better at dissipating heat than cast-iron guides--nearly twice as fast. But for a street-driven bike that may see an occasional high RPM blast every now and then, cast-iron guides are fine and will probably last as long as other engine components.
Read: How To Measure Valve Guide Wear
******************
Late Ironheads
All 1957 through early 1983 Sportster models have shouldered valve guides. On mid-1983 to 1985 models, they were factory-installed with shoulderless guides.
Installing shoulderless guides requires either a special tool or very precise measurements.
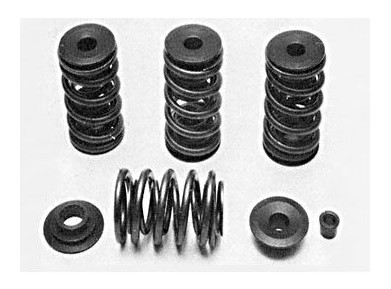
Valve springs For mid-1983 through 1985 Sportsters are also different than earlier models.
******************
Tools Needed
In addition to basic hand tools:
A valve spring compressor is necessary to remove valves.
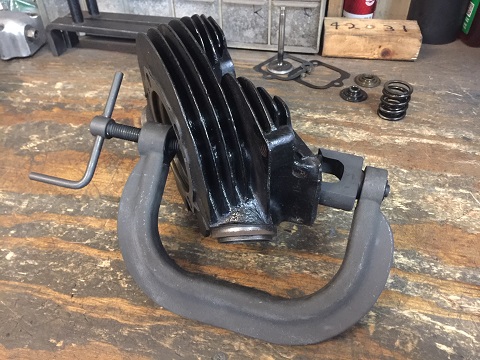
Once removed, the valves, guides, springs, and valve seats can be checked for wear and/or damage.
Removing and installing valve guides requires valve guide punches.
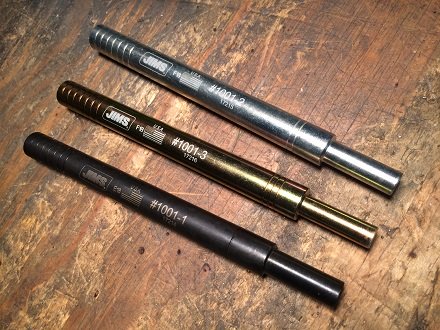
Shown: 3/8", 11/32", and 5/16" punches.
You'll also need a couple of guide reamers (more about reamers below).
Valve Guide Installation
Once you have the cylinder head stripped down and cleaned, and have selected the proper replacement guides, you need a place to heat up the head safely.
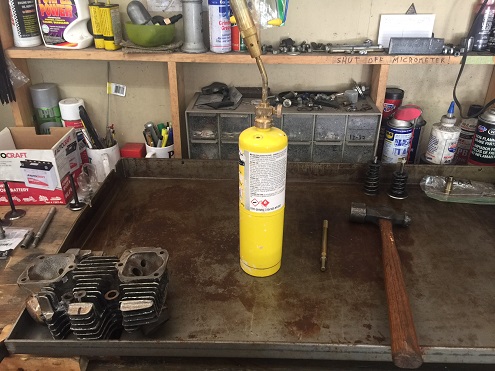
By heating the metal, the new guide has an easier time going in. You only need to warm up the head somewhere between 200-250 degrees.
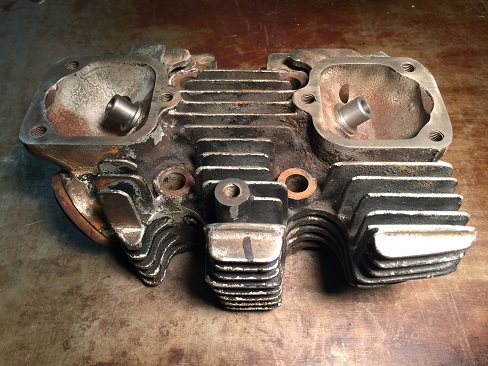
Read: How To Install Valve Guides
******************
Honing New Guides
After new guides have been installed, they need to be reamed to the proper size. This is because the valve guide I.D. usually distorts after being installed.
To properly hone a new valve guide, slowly run a precision reamer through it.
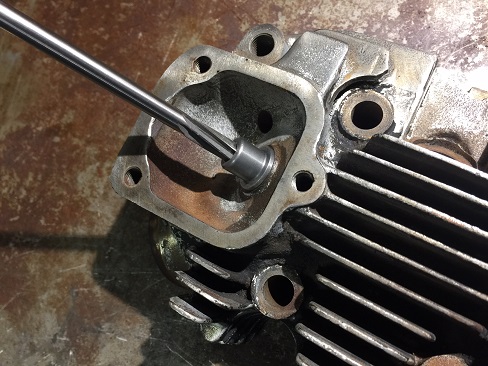
CAUTION: Skipping this step may cause valves to bind when the engine warms up and metals expand.
Valve Guide Ball Hone
For final-finishing your guides, a Valve Guide Ball Hone will clean up what the reamer left behind.
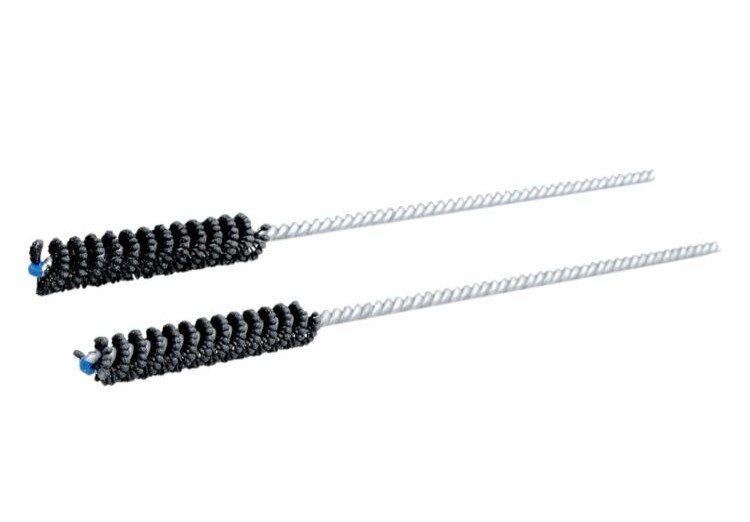
Pictured: Kibblewhite precision valve guide ball hone for cast iron valve guides (Made in USA).
******************
Refacing Valve Seats
There are several ways to overhaul valve seats. Being a one-man shop, I prefer Neway valve seat cutters.
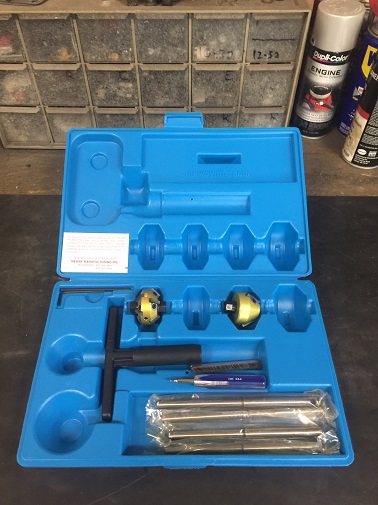
You don't need to buy a complete set--you can buy only the cutter sizes for the job at hand, then purchase additional cutters when needed.
Valve Angle Cut
The use of three-angle seats in cylinder heads has been an industry standard for decades. This is done by having 'relief' angles above and below a 45 degree center contact surface.
******************
Remove Valve Seats
Heating the heads with a hand-held torch or putting them in an oven (low temp) will help get the valve seats out. Another way is to weld a bead on the old seat, and the heat will (usually) cause the seat to shrink and fall out.
Valve Seat Specs
Intake: 2.068" x 1.750" x .315"
Exhaust: 1.757" x 1.371" x .315"
Oversize intake valve seats are 2" x 1.687 x 9/32" and can be used with unleaded gas.
Install Valve Seats
New seats are pressed in, but this best left to a competent machinist.
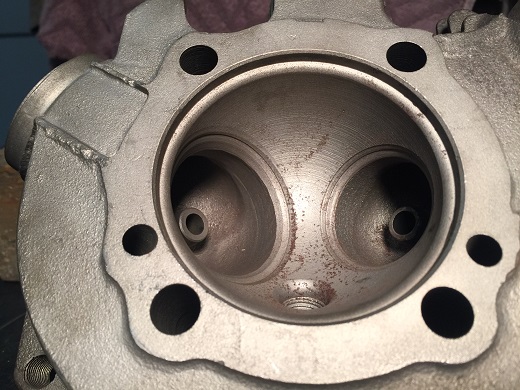
If you have no-one local that will do this, there are several places you can ship them to. Contact me for up-to-date info on this.
******************
Valve Springs
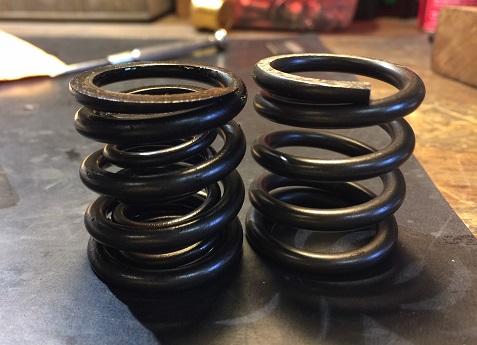
Valve springs should be replaced if damaged, or if old one is 1/8" or shorter than a new spring.
******************
Add Valve Stem Seals
Prior to Evo models, Sportsters did not have valve stem seals from the factory, which means they'll always burn a little oil. Since intake valves suck air-fuel mixture in, adding seals to the intake side helps the most. Seals are not as important on the exhaust side.
IMHO, this is not a necessary modification for a classic motorcycle engine overhaul. But for a daily street-ridden bike, it may be worthwhile.
******************
Valve Lapping
When valves and seats are new or in good condition, the lapping process is quick and easy.
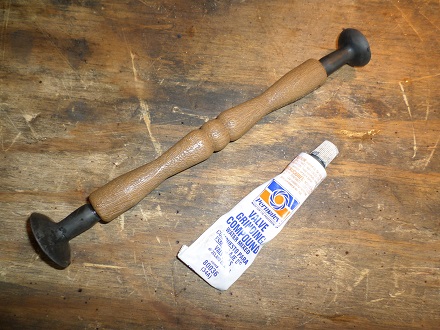
After valve is lapped in, you're looking for a uniform and unbroken 'ring' around the valve.
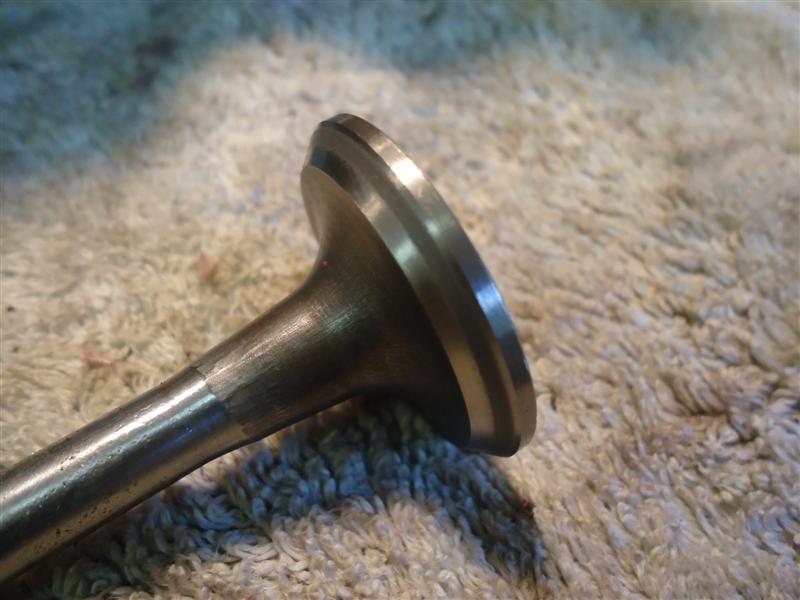
Read: How To Lap Motorcycle Valves
******************
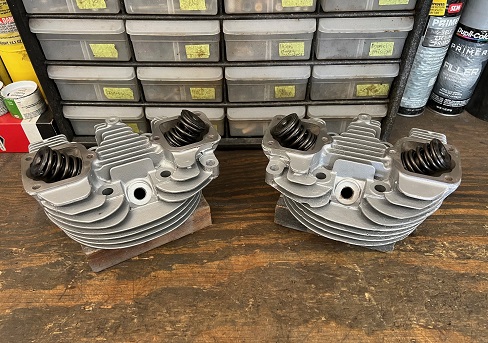
Paint Cast-Iron Heads
Applying a few coats of paint provides protection as well as good looks. To get paint to stick to a cast-iron, get it clean and dry.
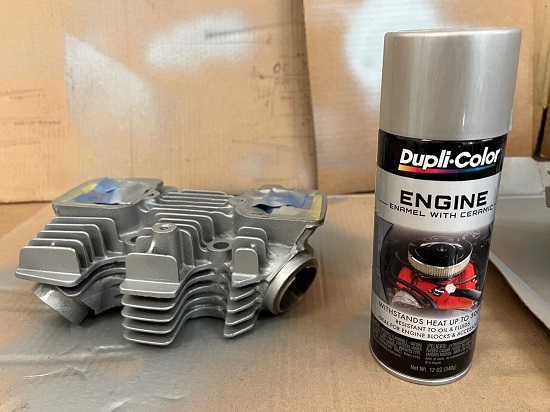
These early 900cc heads were treated to a few coats of Duplicolor engine paint.
******************
Reassembly
Apply a light coat of oil to valves, seats, and stems.
Note that there are upper and lower valve spring collars. Install lower valve spring collar over valve guide.
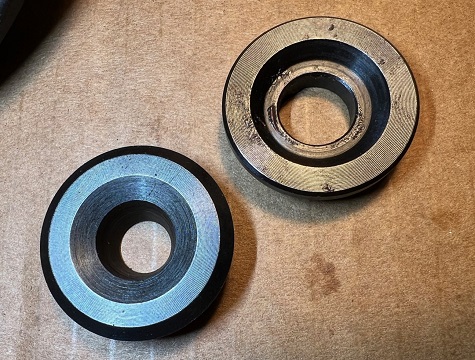
Install inner and outer spring.
Install upper collar.
NOTE: Valve Spring Collars for 1983-1985 Sportsters are different than earlier years.
Compress valve springs with valve spring tool.
Position two keepers on top of upper collar.
TIP: Coat the top of valve with wheel bearing grease. It holds the keepers in place.
Slowly release valve spring tool.
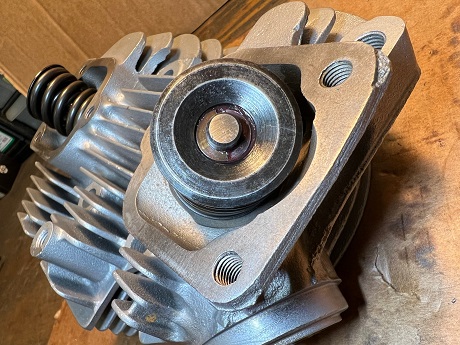
The keepers will either fall away or hold!
********************
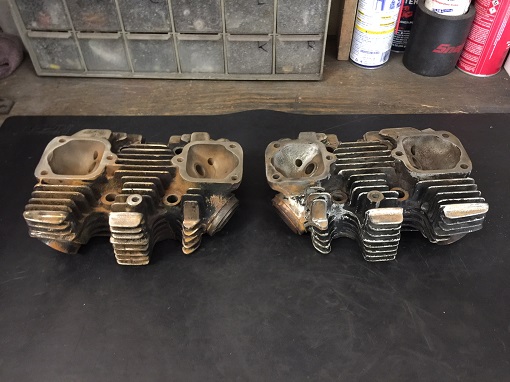
900cc Ironhead Valve Job, before and after
********************
Top End Gasket Kit
James Gaskets are simply the best gaskets available for your old Harley. Their top-end gasket kits include everything you need to re-seal your top end.
Shop: James Gasket Top End Gasket Kit For Harley Sportster 1957-1971
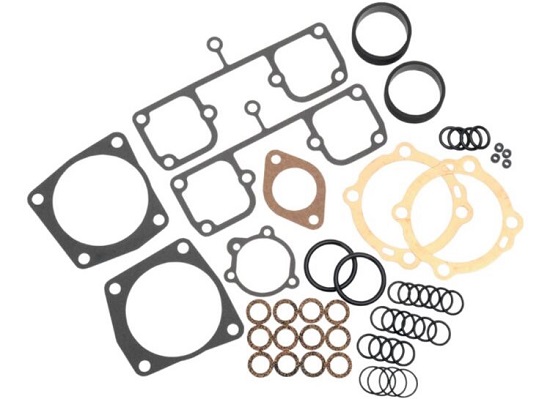
Shop: Ironhead Top End Gasket Set 1973-1985
This top end gasket set includes copper head-gaskets, oil seals, O-rings, and all other gaskets necessary to completely rebuild an 1973 through 1985 Ironhead top end. James Gaskets are proudly made in USA.
******************
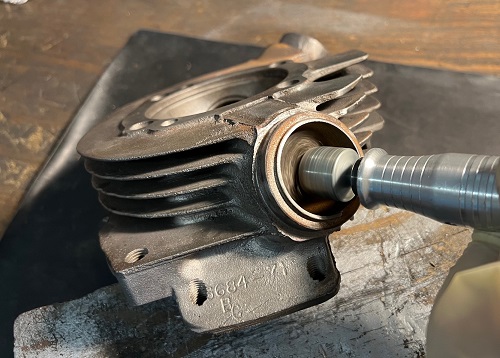
Cleaning Rusty Metal
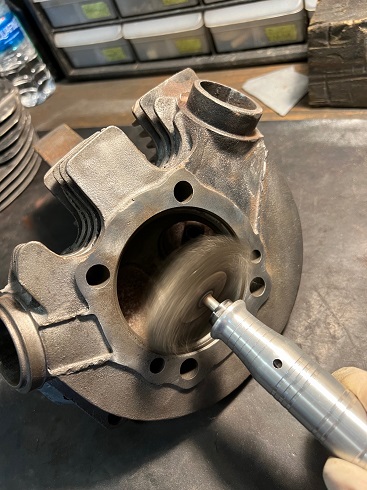
Read: Ironhead Cylinder Head Cleaning and Inspection
******************
Rocker Box Rebuild
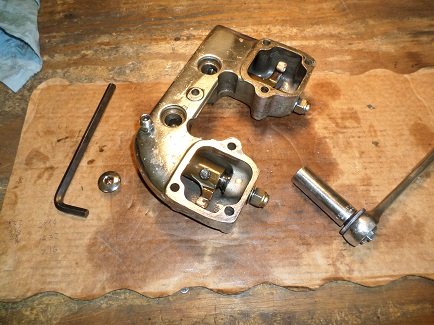
Read: Ironhead Rocker Box Assembly
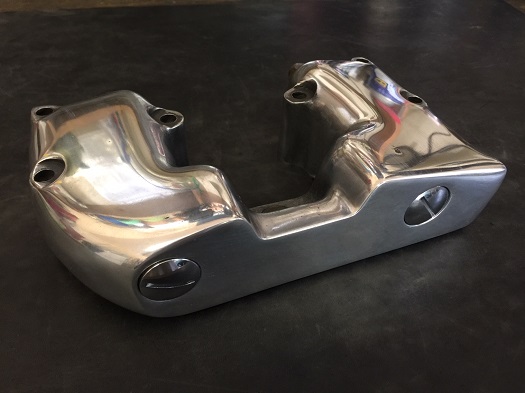
Read: How To Polish Aluminum Motorcycle Parts
********************