How To Polish Aluminum Engine Parts
Article by Mark Trotta
Polishing aluminum engine parts is always a better choice than chroming.
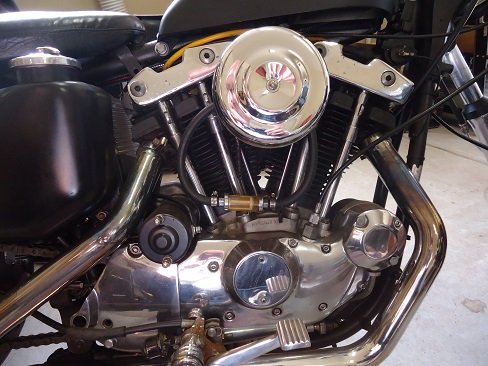
Not only does chrome plating hold in engine heat, it pits and flakes over time.
Polishing Pitted Aluminum
Depending on how badly the piece is pitted, they'll be 3 to 5 steps of filing and sanding before going to the buffing wheel.
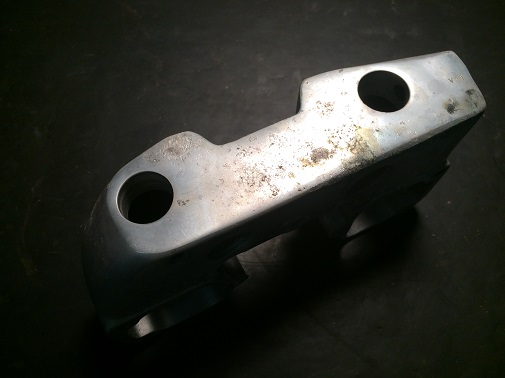
Badly corroded Harley Sportster rocker box.
First, there's filing to get out any deep pits or grooves.
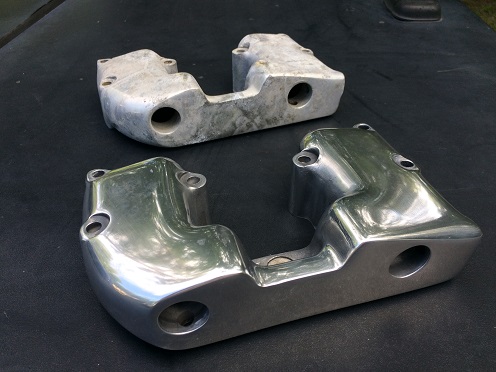
Next is the sanding to remove all the filing scratches, and make the finish uniform.
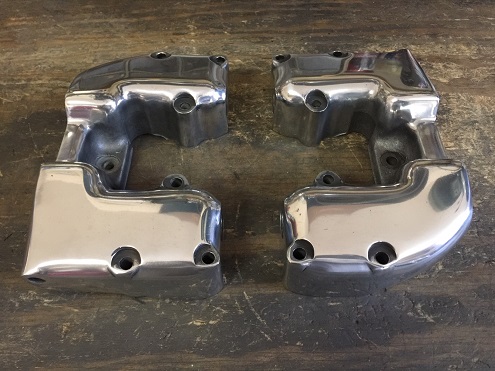
Finally, polishing to a full gloss with a buffing wheel.
Steps For Renewing Pitted Aluminum
- Filing
- 50 Grit Emory cloth
- 80 Grit Emory cloth
- Fine Emory cloth
- 240 Grit wet sand
Filing
Because the depth of some of the pitting, I started with a 12" course metal file.
NOTE: Aluminum is a soft metal and is easy to over-file.
When filing aluminum, you don't need or want to apply much pressure--let the file do the work. You only want to remove enough metal to get to a flat, level surface.
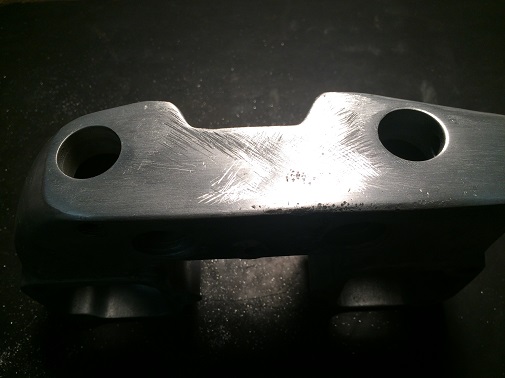
Work slowly and evenly.
Notice the diagonal (45 degree/135 degree) swipes left by the metal file. This is to offset the left-right filing, which helps keep the surface flat and even.
Next step is sanding.
Starting with a hand-held piece of coarse Emory cloth, I'll "check" or cross-hatch the surface left and right, and then up and down.
The check marks now give you a visual of how much you've sanded off, so you don't sand down too far (or not far enough) in one area.
TIP: Stop periodically and hold the work up to the light at different angles. This gives you a better perspective of the entire work-piece.
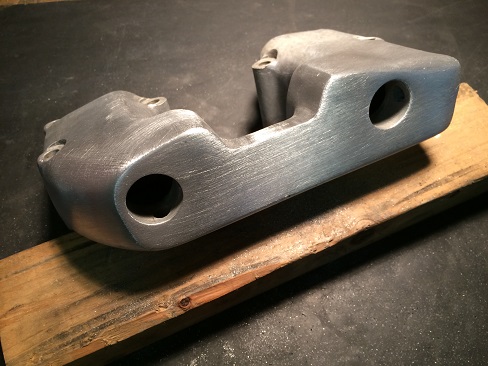
Take long, even strokes both ways. If the base metal isn't dead-flat, it will not produce a shine when polished.
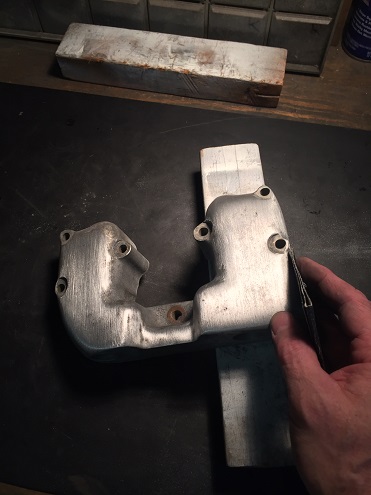
TIP: If you're getting blisters from sanding, you're probably pressing down too hard. If the paper you're using is not cutting, switch to a coarser grit.
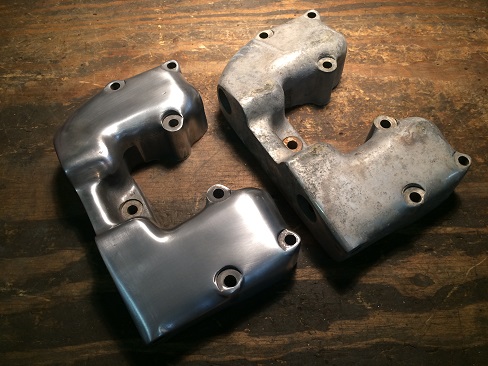
After the diagonal swipes are no longer visible, switch to fine Emory cloth.
Wet sanding with 240 grit paper should bring the aluminum to a flat, dull finish.
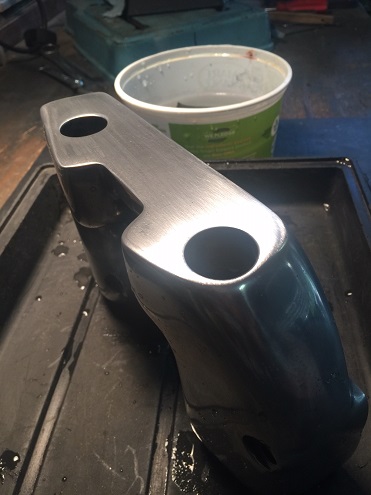
The aluminum is now ready for buffing.
*******************
Buffer/Polisher
Metal polishing can be done by hand, but a buffing wheel on a bench buffer/polisher is much faster.
I found this used bench grinder locally at a garage moving sale, and added a buffing wheel to one side.
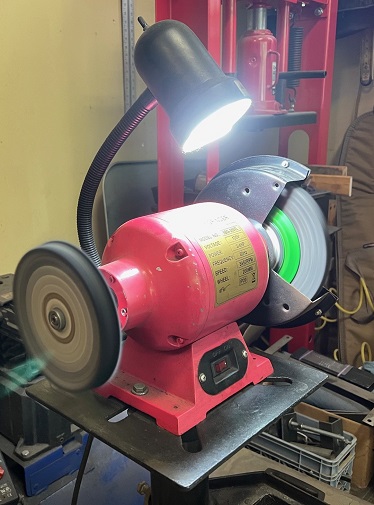
A standard buffing motor turns at 1,750 rpm. This motor spins at 3,300 rpm, which is a little fast for a buffing wheel. But as long as I'm not polishing paint (particularly clearcoat) it's OK.
CAUTION: Polishing with an electric buffer (at any speed) is potentially dangerous. Pieces can get away from you and injure you. Wear gloves and a sweatshirt--no loose clothing. Safety glasses, goggles and/or shield are recommended.
Buffing Wheels
There are many different styles and sizes of buffing wheels.
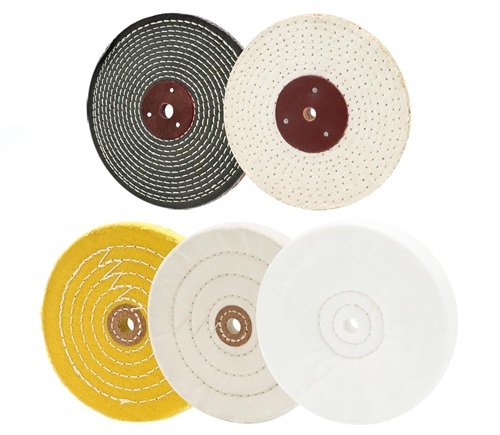
Buffing wheels are also available in different diameters.
Since my polisher is small, I use 6" buffing wheels.
TIP: If you want more buffing wheel surface, you can mount two of the same size wheels next to each other.
*******************
Buffing Compounds
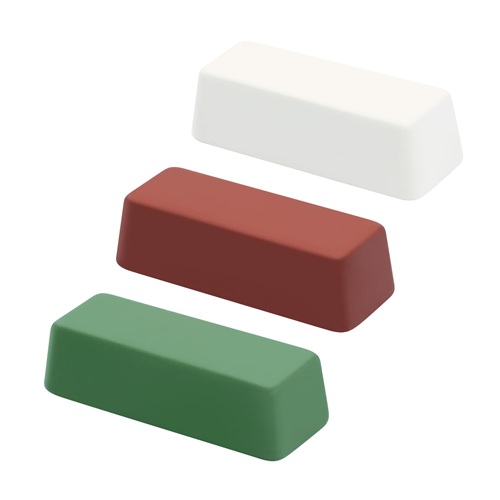
For aluminum, (brown) Tripoli cutting compound works best.
*******************
Metal Polishing Kits are readily available that will include buffing wheels and compound.
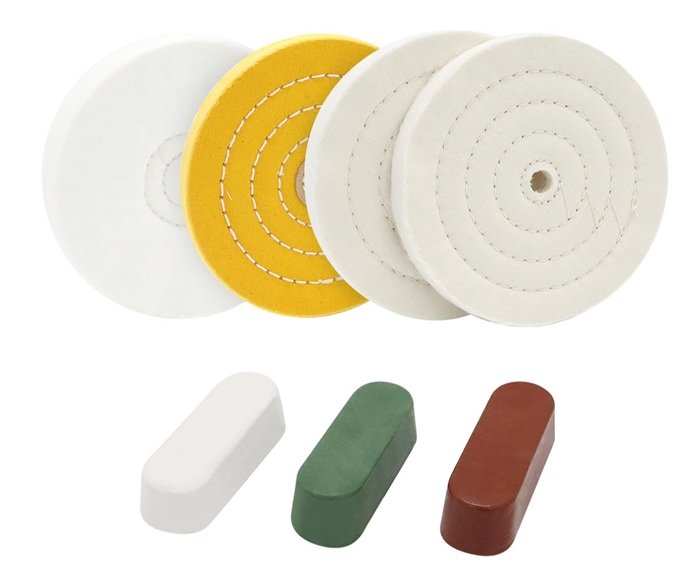
Scottchen buffing/polishing kit includes four types of wheels and three types of compounds.
*******************
Should I Clear Coat When I'm Done Polishing Aluminum?
On motorcycle forks and other parts that aren't exposed to engine heat, you can spray clear coat paint after the polishing is done. Personally, I've never had good results with clear coats looking good or lasting for any length of time. I'll leave the polished aluminum bare, then clean and polish when needed.
Conclusion
True, polishing aluminum engine parts is time consuming, but it's also very satisfying. It's almost relaxing. And it's a nice change of pace from other restoration tasks, such as rebuilding a bottom end or finding an electrical short.
*******************
Other Motorcycle Parts That Can Be Polished
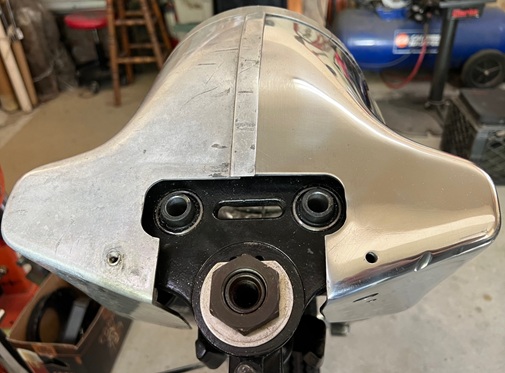
1961 Harley headlight nacelle, right side polished, left side unpolished.
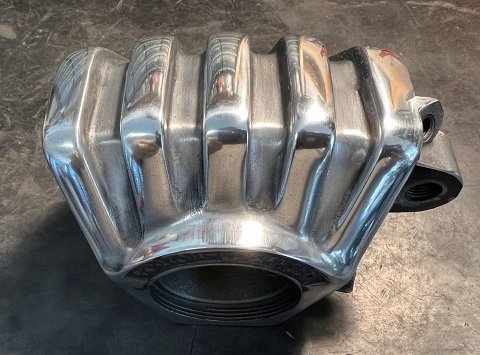
Norton Commando brake caliper after polishing.
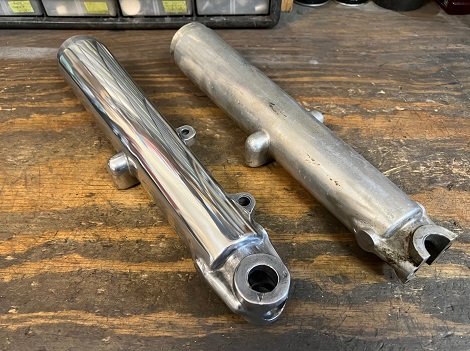
To read about how to polish aluminum motorcycle forks click here.
*******************
Cleaning Aluminum
After several months, the lustre of the polished aluminum fades. To bring the shine back up; clean off any dust or dirt, scuff with a Scotch-Brite pad (fine, not coarse), then apply a small amount of polish.
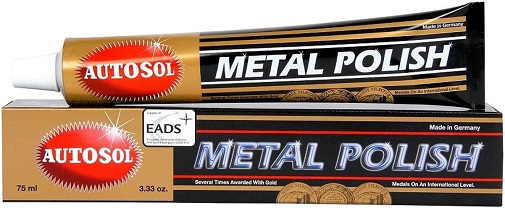
One of the best aluminum polishes on the market today is Autosol Metal Polish.
*******************
Removing Chrome From Aluminum
There is no easy or safe way to remove old chrome in your home workshop.
I sent the primary cover, cam cover, and rocker boxes from my 1962 Sportster to a plating shop (Brown's Plating, no longer in business) to have the chrome chemically removed.
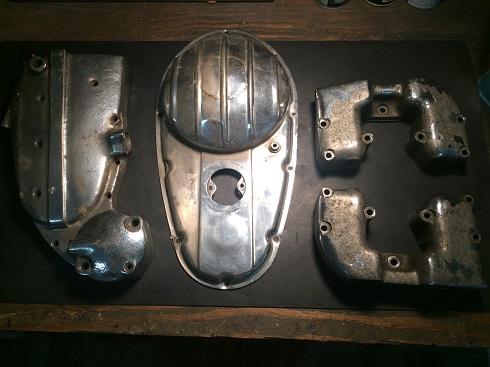
Six weeks later, the parts arrived in raw metal form.
*******************
Articles of Interest: