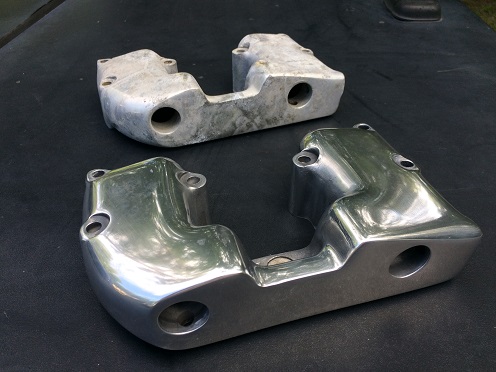
How To Polish Motorcycle Forks
Article by Mark Trotta
Yes, it's a lot of work - but if you're taking the forks off anyway, like when replacing seals, it's an ideal time to get nicks and scratches out of the sliders and then polish them.
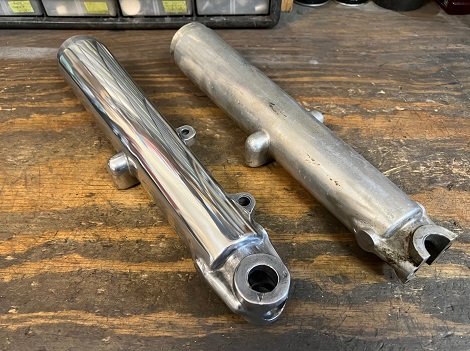
Harley Hydra Glide fork sliders before and after polishing
By taking your time and using progressively finer sanding grits, you can get very close to a chrome finish on aluminum sliders.
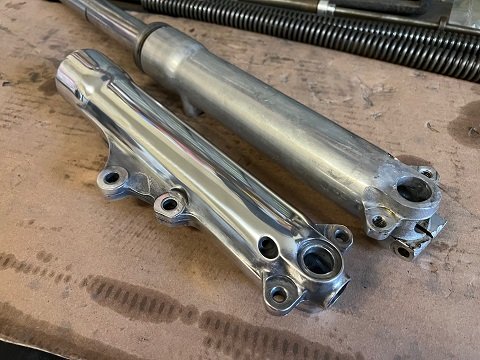
Norton Commando fork sliders before and after polishing
Preparing the sliders for buffing is critical to the final outcome.
This often includes removing a clear-coat, filing out imperfections, and sanding with progressively finer Emory cloth and sandpaper.
Clear Coat Removal
Do you have peeling, black speckling, or yellowing on front of your lower legs? If you have a newer than 1980's bike, it's the factory clear coat wearing away. Removing it and polishing the aluminum is the only way to renew them properly.
Stripping off the clear can be done with paint stripper or an oven cleaner. Then degrease and go over the whole area with a scuffing pad.
Removing Pits and Scratches
Before any sanding or polishing, deep pits or grooves need to be lightly filed out.
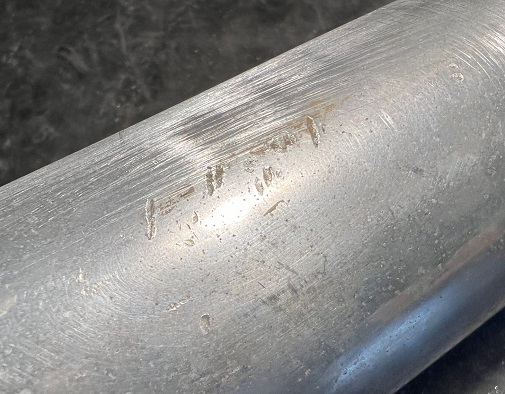
Removing pits and scratches from fork sliders before buffing
Sometimes, imperfections can be removed with a wire wheel, but use caution, as aluminum is a soft metal.
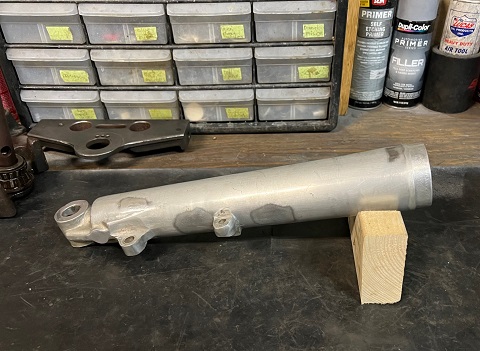
Sanding Aluminum Fork Sliders
Once the deep scratches and imperfections are gone, sanding can begin. I'll usually start with medium Emory cloth, then fine Emory cloth, then progressively finer steps with wet sandpaper.
- 80 Grit (medium) Emory cloth
- 120 (fine) Emory cloth
- 240 Grit wet sand
- 400 Grit wet sand
- 600 Grit wet sand
- 800 Grit wet sand
Unless really necessary, I try not to use 50 grit (coarse) Emory cloth. I've noticed that afterwards, too much time is spent getting the scratches out that the 50 grit left in the aluminium.
Some people go to 1000 and 2000, but those ultra-fine grits are more suited for wet-sanding paint.
Work In Sections
TIP: Split the length of the slider. Usually I'll do the top part, then middle, then bottom, but whatever works for you.
As a general rule, you'll want to sand in one direction. However, an effective way to remove deep scratches is to sand in a back-and-forth motion, then sand the same area in a side to side motion.
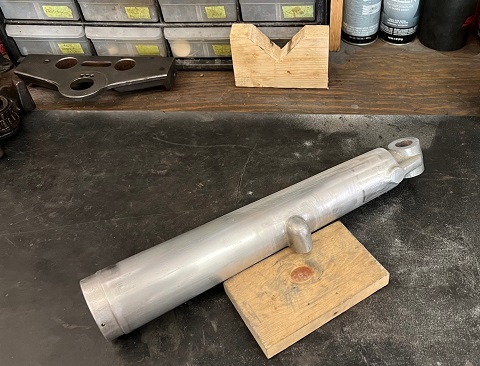
Assorted blocks of wood are used to prop up the slider for a better working angle.
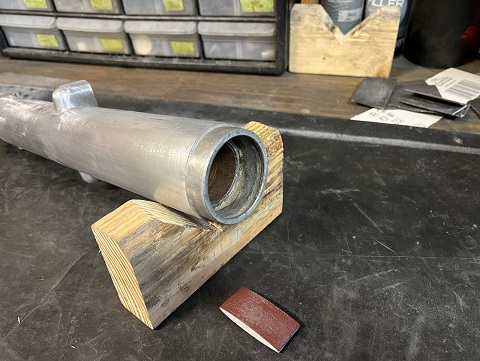
A V-block made with a piece of 2x4 wood makes tedious sanding a little easier.
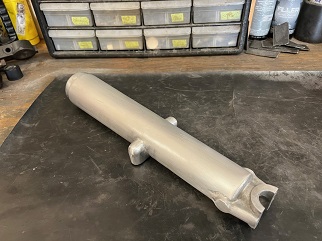
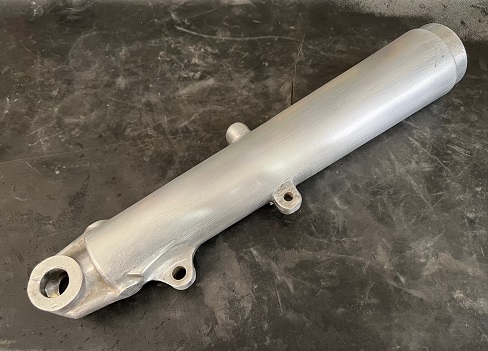
Final wet-sanding should bring the surface to a "dead flat" no gloss finish, with only very light scratches left.
***************
Buff Wheels
Finally, we come to the buffing part.
Although it can be done by hand, a buffing wheel is a whole lot faster, plus it helps achieve a more uniform finish.
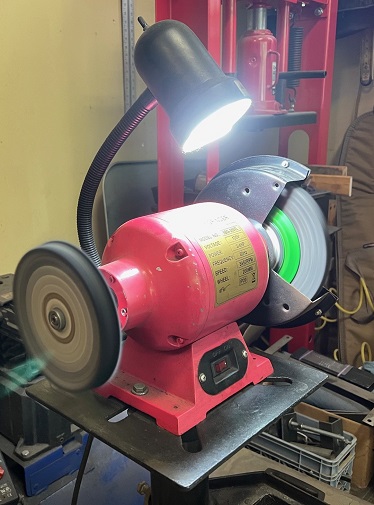
CAUTION: Wear protective eyewear and a work apron or old sweatshirt--no loose clothing. Polishing with an electric buffer is potentially dangerous. Pieces can get away from you and injure you.
There are many different styles and sizes of buffing wheels.
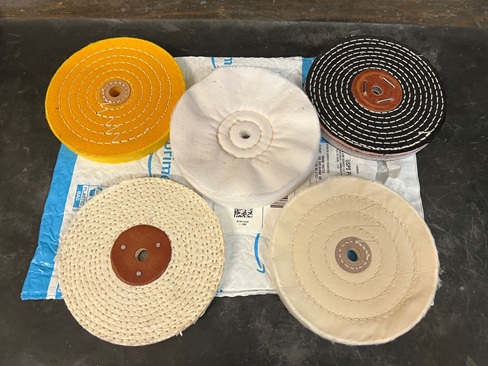
My last purchase was a 5-pack of Scottchen buff pads in 6". The three I mostly use are coarse, medium, and fine.
Buffing Compounds
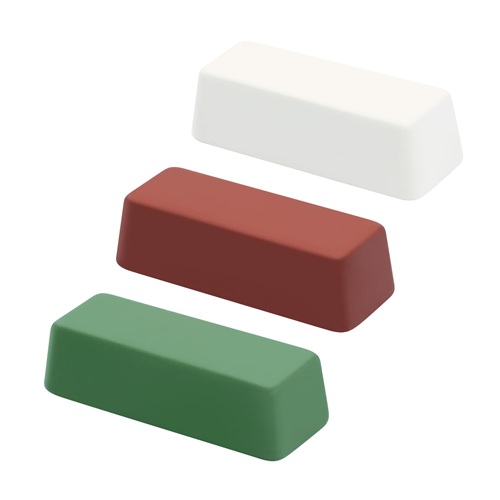
For aluminum, I use (brown) Tripoli cutting compound.
Bench grinder RPM is 3,300. Bench polishers generally run a little slower (2,000 RPM).
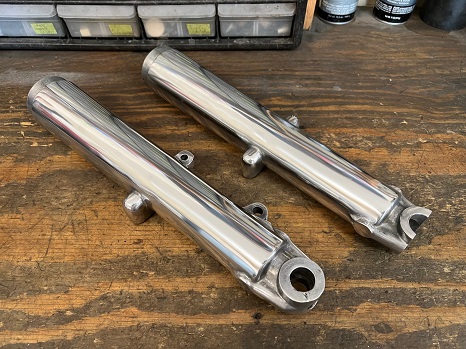
60 year-old fork sliders looking like new after polishing!
***************
Care and Cleaning
After several months, the lustre of the polished aluminum usually fades. To bring the shine back up; clean off any dust or dirt, scuff with a Scotch-Brite pad (fine, not coarse), then apply a small amount of polish.
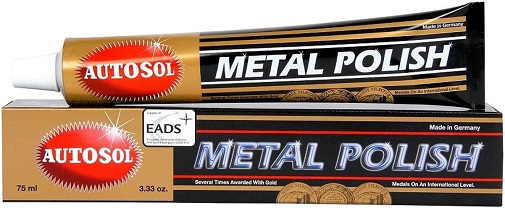
One of the best aluminum polishes on the market today is Autosol Metal Polish.
***************
Clear Coat?
If you decide to clear-coat afterwards, it may wind up cracking and yellowing like the original finish did. Instead, I prefer to leave them bare and give them a quick cleaning every now and then.
***************
Articles of Interest:
Harley Forks Identification
Renew Stainless Steel Motorcycle Fender
Kick-Starting An Old Motorcycle
