Ironhead Special Tools
Article by Mark Trotta
So, you started tearing into your old Sportster motor, only to find out you need a few special tools. Of course, you can buy them, but if you can cut, drill, and weld, some of these can be fabricated.
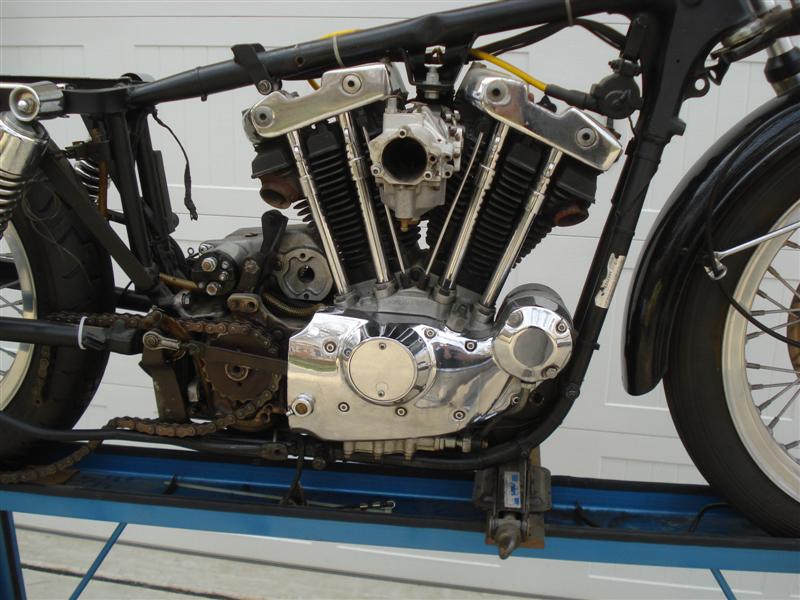
And if you're overhauling the entire motor, you'll also need motorcycle engine tools such as a piston ring installer, torque wrench, and several verniers and calipers.
In no particular order, here is a list of special tools that you may need during an Ironhead engine build.
**********************
Clutch Removal
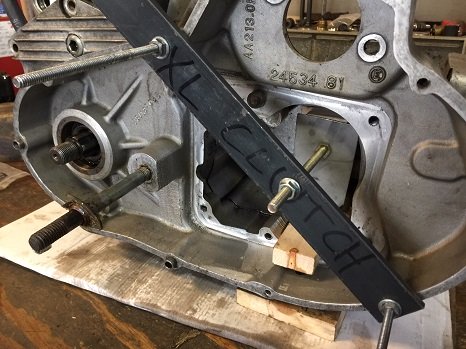
A clutch spring compressing tool is needed to take pressure off the clutch assembly. This tool can be made out of a piece of metal stock and some 1/4-20" threaded rod (same thread as primary cover bolts).
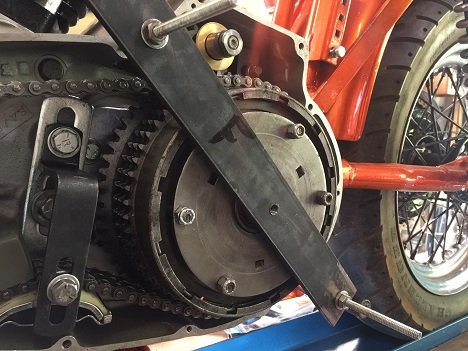
Read: DIY Sportster Clutch Removal Tool
This tool also has a second use. It helps separate left and right engine cases.
**********************
Primary Cover Plug Removal
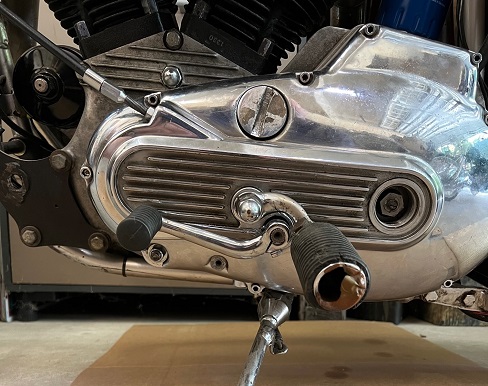
Most Ironhead primary covers have two big plugs, one or both will look like the ones pictured below.
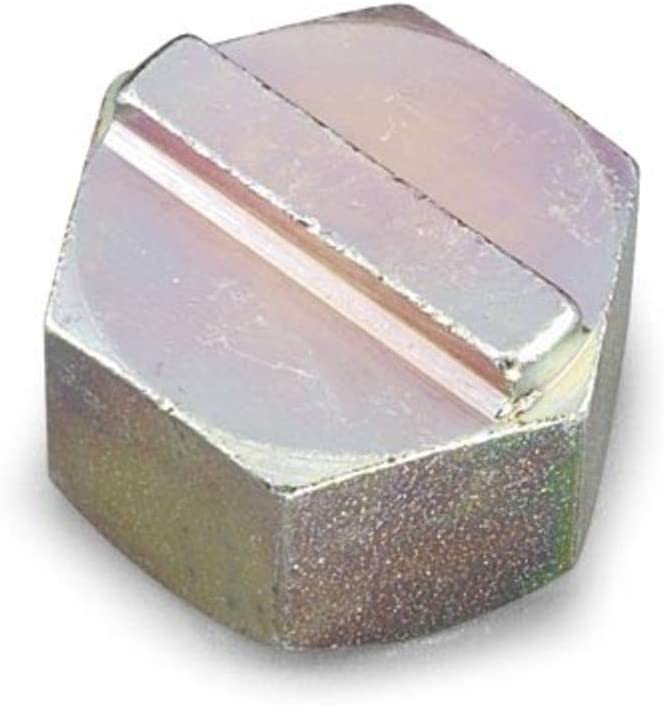
Colony makes a primary cover plug tool that gets placed inside the groove of the plug, and then a wrench is used to turn it.
If you don't want to buy the proper tool, the side of a fat wrench sometimes works. Or, you can tap it off (counter-clockwise) with a hammer and blunt chisel.
**********************
Timing Hole Plug
The next time you're timing your bike, this five-dollar piece of plastic will keep oil out of your face.
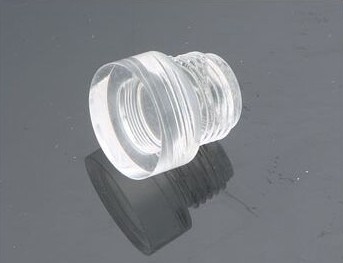
This clear timing hole plug fits many other Harley engines as well.
**********************
Push Rod Cover Tool
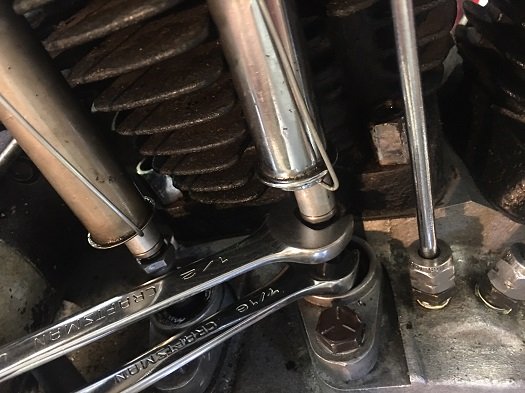
This one's a favorite. The Motion-Pro push rod tool removes and installs push rod tube clips with no hassle.
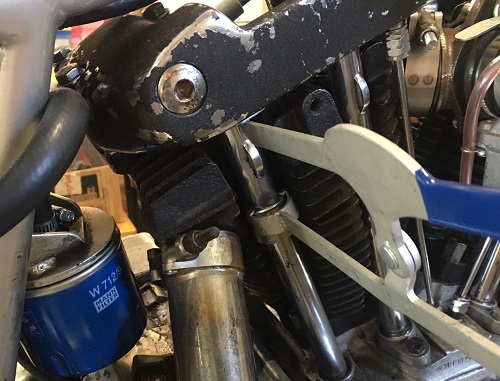
The flat portion of tool fits under the cylinder head, and the cupped end fits over the bell in the tube.
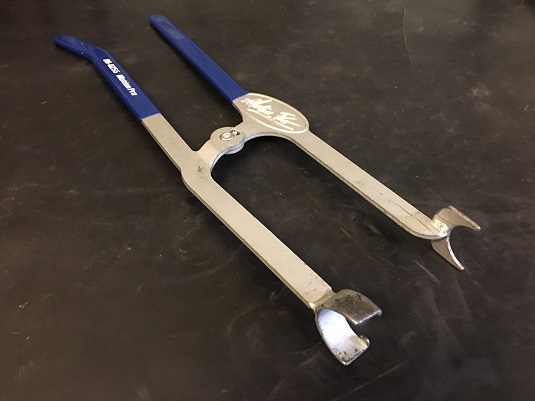
When adjusting Ironhead valves, this tool is a real time-saver.
**********************
Sprocket Locking Tool
To remove the primary chain on a Sportster, a sprocket locking tool is needed to keep the two sprockets from turning while you remove the hub nut.
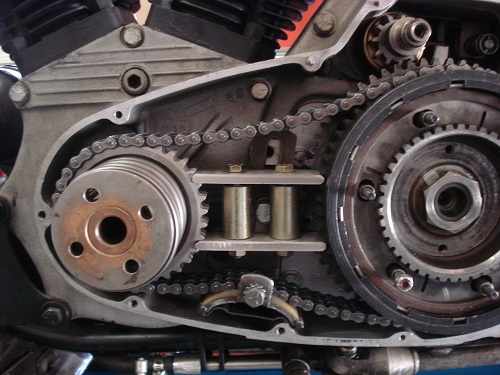
The tool fits in between the clutch hub and front sprocket.
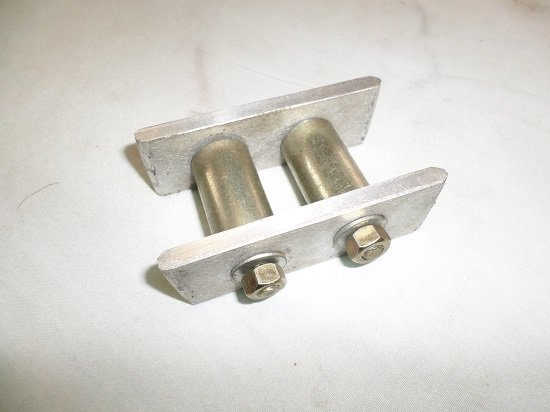
The picture above shows a DIY sprocket locking tool holding the compensating sprocket and clutch basket. Harley OEM # is 97200-55A and fits 1957 through 1984 Sportsters.
As an alternative, here's a universal tool that will work as well.
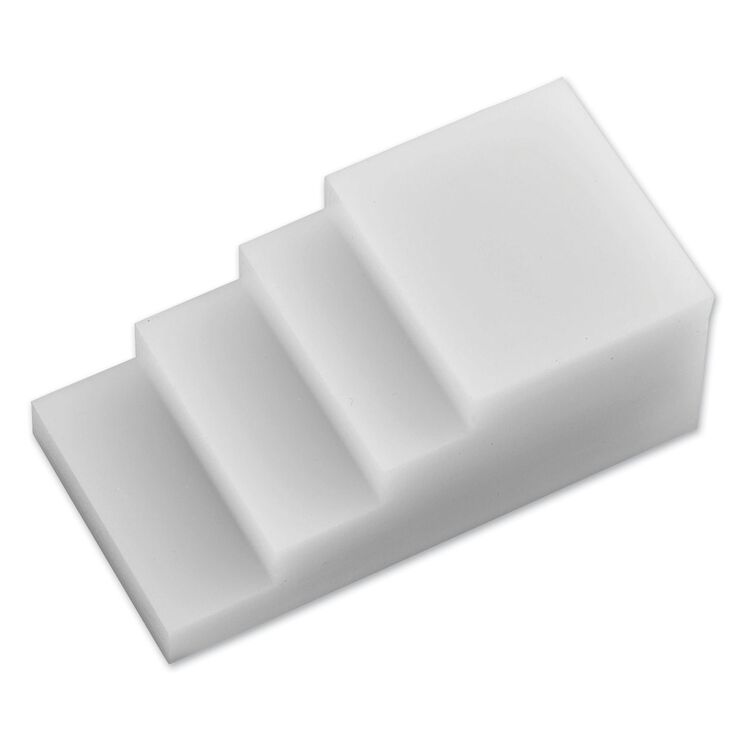
Pictured: Stepped Plastic Primary Drive Locking Tool
**********************
Sprocket Shaft Tool
To remove the compensating sprocket shaft nut (front pulley) another specialty tool is needed. This can also be made, but they're pretty cheap to buy.
A 1-1/2" socket is needed to remove the large nut in the clutch hub. Some bike shops use an impact gun on this nut, instead of using a locking tool. Either method will work.
**********************
Bottom End Tools
All pre-2000 Sportsters have taper-shaft cranks that were designed to be rebuilt. Unlike newer Sportsters, an Ironhead bottom end can be rebuilt multiple times.
Flywheel Shaft Nut Wrench
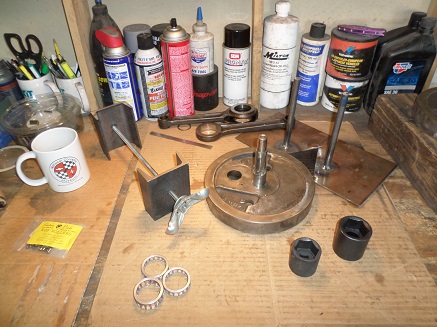
You can either buy the two-sided wrench (H-D part number 94546-41), or buy two impact sockets, sized 1-5/6" and 1-3/16".
**********************
Flywheel Holding Jig
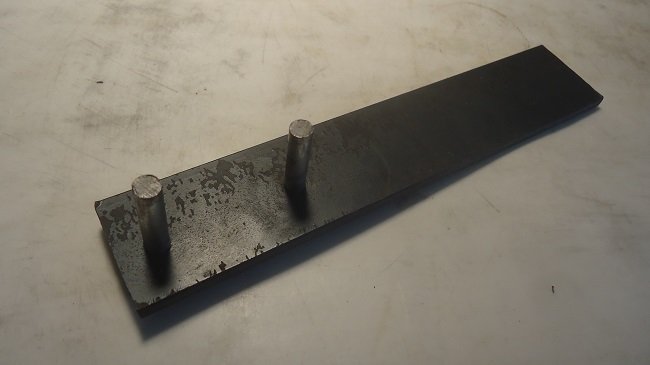
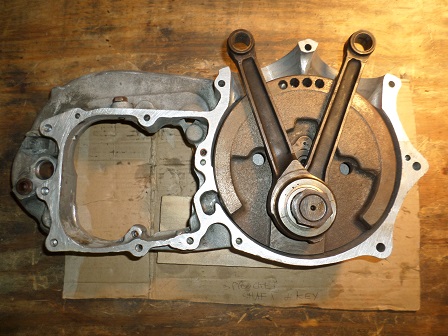
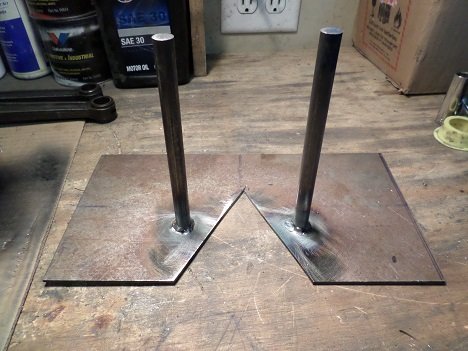
To hold the flywheel while tightening the nuts, you can fabricate a simple holding jig that uses the holes in the flywheel.
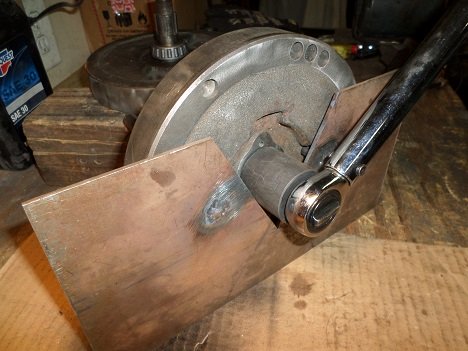
Starting with a cardboard template, take a piece of steel and cut out the shape needed. The "V" needs to be big enough to clear the crank pin. You can find 1/2" round stock at hardware stores and home improvement stores.
**********************
Flywheel Truing Stand
After rebuilding an Ironhead flywheel assembly, it needs to be trued before being reinstalled in the cases. For this, you'll need either a lathe or a flywheel truing stand. A $900 truing stand is a nice luxury, but homemade units work just as well.
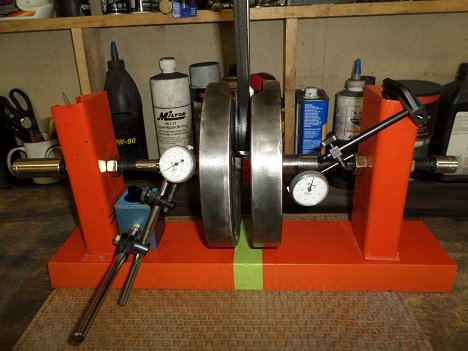
Read: DIY Flywheel Truing Stand
**********************
Sprocket Shaft Bearing Puller
For 1967 through 1976 Sportsters, H-D tool 96015-56 removes the inner sprocket shaft bearing. It also removes sprocket shaft extensions.
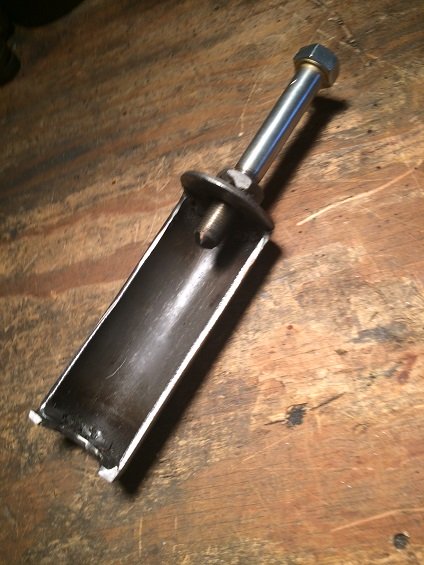
For early Sportsters, the inner sprocket-shaft bearing tool is Harley-Davidson # 96015-52, which may be hard to find.
The picture below shows a homemade version of this tool, which is needed to remove the inner sprocket shaft bearing on early Sportsters.

This tool can be fabricated by cutting a piece of 2" metal tubing in half, then welding on flat washers and a 7/16" SAE nut on the top.
**********************
Pinion Shaft Honing/Lapping Tool
Honing/lapping motorcycle engine cases assures precision alignment of engine shafts. Early Sportsters (1957-1976) require the pinion shaft outer bearing race to be lapped in. The tool lines up with the sprocket-side case bearing to lap the pinion-bearing race to the proper size.
Shop: Harley Crankcase Lapping Tool
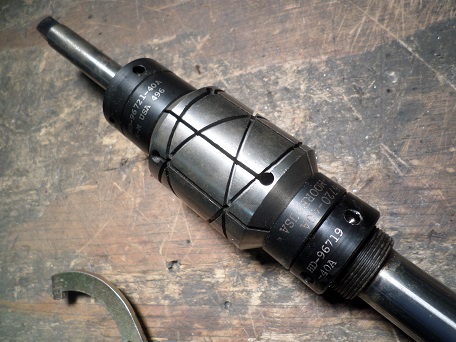
Read: Harley Crankcase Lapping Tool and Usage
**********************
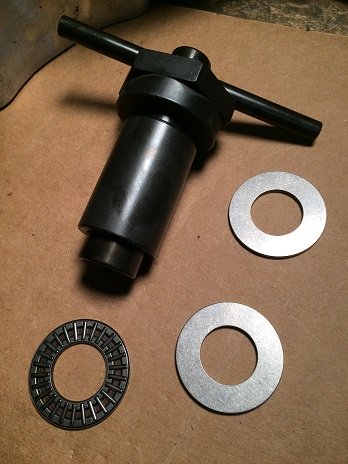
Sprocket Shaft Bearing Installer
For 1957-1976 Sportsters, the sprocket shaft bearing installer H-D part number is 97081-54. Jims Tools uses the same part number, which sells for about $75.00. The V-Twin part number is 16-0149.
**********************
Pinion Gear Puller Tool
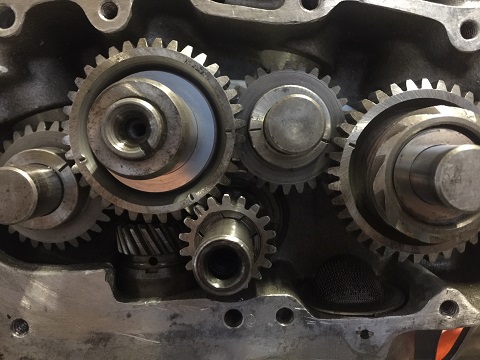
The pinion gear tool allows removal and installation of the pinion gear on 1976 and earlier Sportsters. On 1977 and later models it is not required.
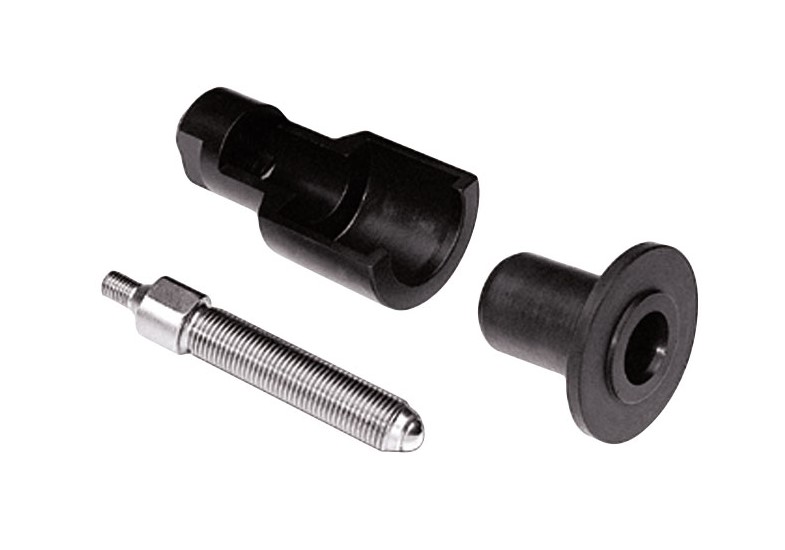
The OEM Harley part number for the pinion gear puller is #96830-51. They are available from several aftermarket companies, including Jims Tools.
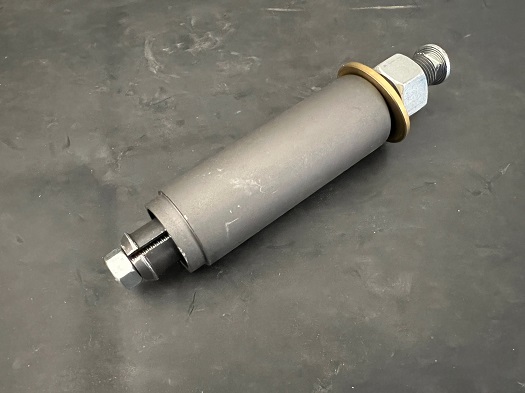
I bought a cheap imported version of this tool because it was 1/3rd of the price of the Jims Tool version. The install part of the tool works fine, but the removal part of the tool is too thick to remove a Sportster pinion gear. If you need to remove a Big-Twin pinion gear, the cheaper tool will probably work for both removal and installation.
**********************
Cam Bearing Removal Tool
To remove and replace cam bearings without disassembling the entire motor, you need Jims Tool # 95760-XL.
Shop: Cam Bearing Tool For Ironhead Sportster
The Jims Tool costs over $200, but gets the job done quickly and efficiently.
Read: Remove/Install Sportster Cam Bearings
Installing cam needle bearings must be done very carefully, so as not to crush the thin outer shell.
**********************
Cam Bushing Removal Tool
There is a Harley-specific tool called an inner bearing puller. It's only function is to remove cam bushings. This tool has a part number (#96760-36) that seems to be obsolete, but the factory-designed tool is not really needed, because there are other ways to remove Sportster cam bushings.
Another method to remove cam bushings is with an electric angle grinder and a 24" slide hammer. You'll also need a solid workbench vise.
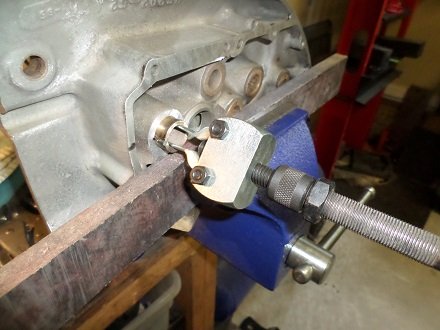
Read: Remove and Install Ironhead Cam Bushings
Cam Bushing Drill Jig
After new cam bushings are installed, you need to drill and insert new bushing pins, so the bushing doesn't spin inside it's cavity. Jims Tool makes a nice tool to help with this.
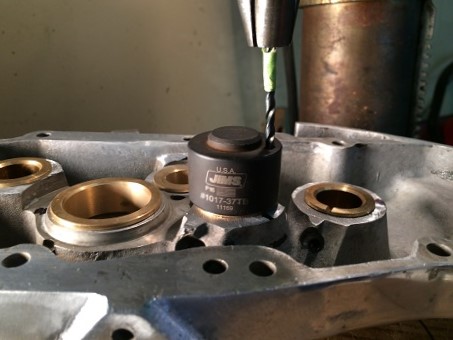
Sportster Cam Bushing Tool also doubles as a bushing installer when using a shop press.
Cam Bushing Reamers
The factory service manual lists three tools for reaming cam bushings. They are #94803-37 (cams and timer shaft), #94812-37A (pinion shaft), and #94805-57 #94806-57 (idler gear bushing). The Harley tools are obsolete. Although advertised in the aftermarket, they are hard to find in stock anywhere.
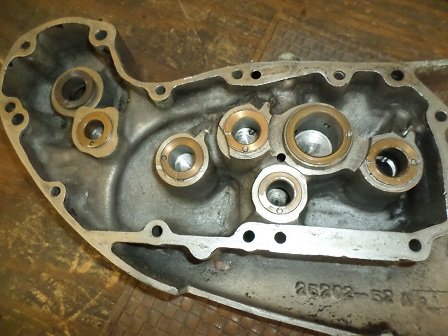
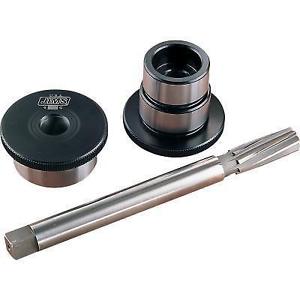
There are many different styles and types of reamers. For line-reaming cam bushings, you want to use a hand-held reamer that is right-hand spiral (RHS) and right-hand cut (RHC).
Several different size reamers are needed for Sportster engines.
Line-Reaming Cam Bushings
When line-reaming cam bushings with the engine case, pilot shafts are required. If you are not using the factory reaming tools, pilot shafts may have to be fabricated.
**********************
Engine Stand
Having an engine stand makes working on the motor much easier. You can buy one, but if you can weld, consider making one.
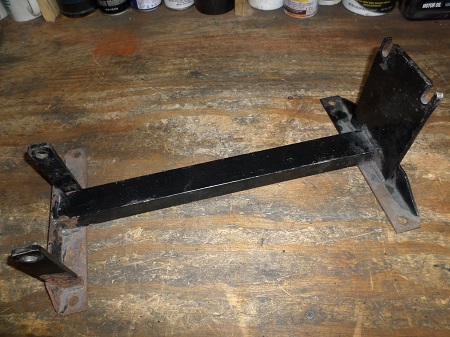
As an alternative to buying or making an engine stand, you can lay it down on a couple of 4x4 blocks of wood.
If it's in the budget, you can buy one like this TC Bros Sportster Engine Stand.
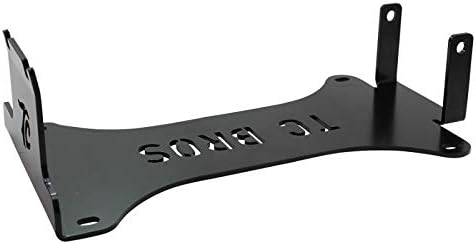
Shop: Sportster Engine Stand
**********************
Factory Service Manual
Knowledge is the best tool you can have, and having a factory shop manual that covers your year and model is invaluable. You'll end up referring to it over and over again.
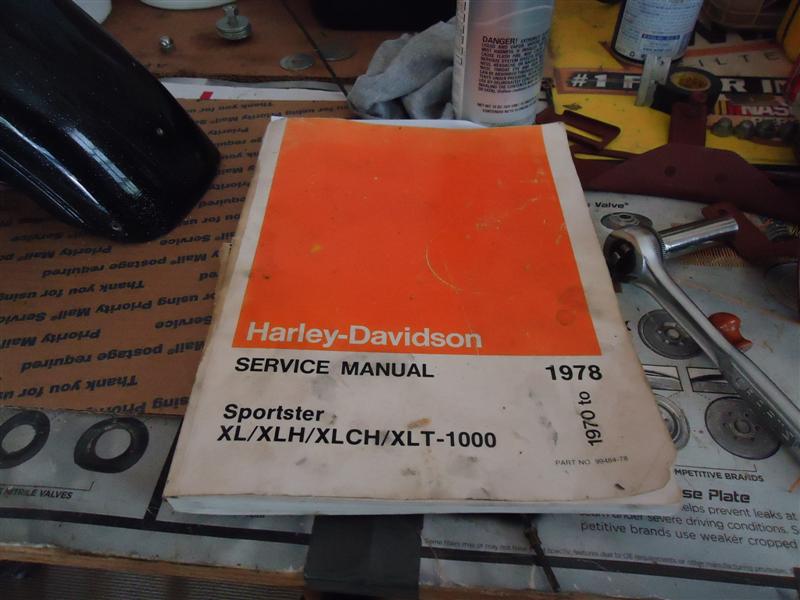
Chilton and Haynes manuals are OK for minor stuff, but they are not as detailed or complete as a Harley-Davidson factory shop manual.
Having the right tools will not only save you time, it'll save you aggravation!
**********************
Ironhead Engine Articles:
Engine Build
Top End Build
Bottom End Build
Ironhead Sportster Cylinders
Rocker Box Assembly
Install Sportster Cams
Remove/Install Sportster Cam Bearings
Primary Chain Remove and Install
Remove/Install Sportster Cam Bushings
