Electric Start Ironheads
Article by Mark Trotta
From 1967 until production's end in 1985, Ironhead Sportsters saw three types of electric starter motors; Prestolite, Hitachi, and Nippodenso. Early Sportster models (1957-1966) were kickstart only.
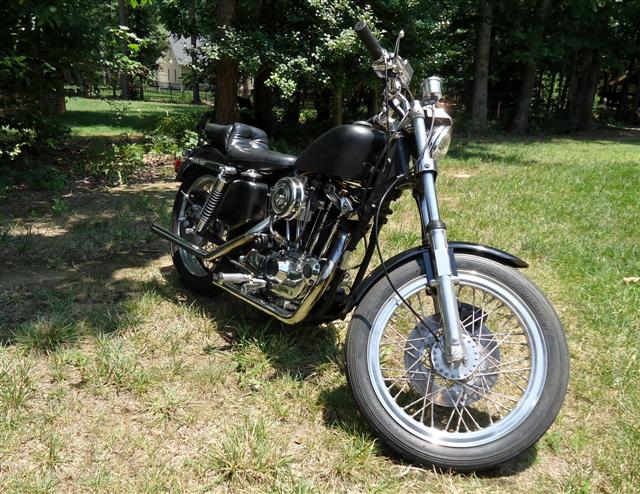
Up until 1966, all Sportster models were kick start only, and had the same frame and engine cases. To accommodate a bigger battery box and electric starter motor, a new frame and engine cases were designed.
Sportster XLCH models continued using the older, shorter frame and engine cases, while 1967 and up XLH models got the new frame and engine cases.
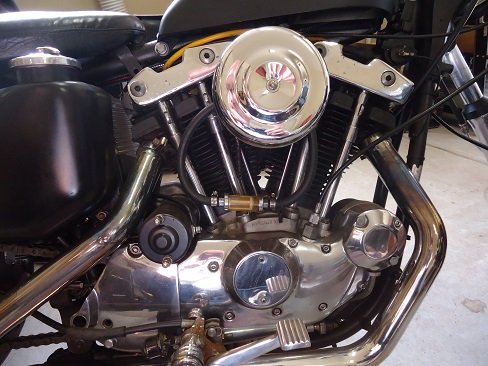
On kick-only engines, the primary cover was egg-shaped, while electric-start primary covers (pictured below) had a rectangle sticking up to accommodate the starter motor.
The starter mounts on top rear of the engine case and goes through an opening over the clutch basket.
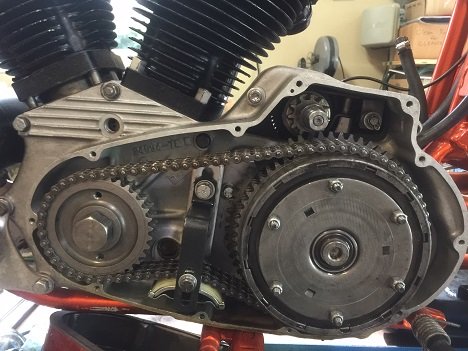
The visual difference between kick start and electric start Ironheads is more noticeable from the left side of the motor.
*********************
Early electric starter motors (1967-1973) were Prestolite units (31458-66B). They were mounted with two long bolts that had a 1/4"-20 thread.
From 1974 through early 1976, starter motors could be either a Prestolite or Hitachi. The two long bolts on the Hitachi unit had 5mm (metric) threads.
Shop: Prestolite Starter for Sportster
From late 1976 until 1980, only Prestolite starters were fitted to Sportsters.
If you're missing the starter to frame bracket, you can buy one here.
*********************
Starter Identification
The fact that all Ironhead Sportsters are now 40+ years old, it's unlikely yours has the original starter, and even less likely there's a readable sticker telling you which one you have.
Hitachi vs Prestolite Starters
The Hitachi starter is a little smaller (5.25" x 3") and a little lighter (8 pounds) and has brushes which are soldered to the brush holder.
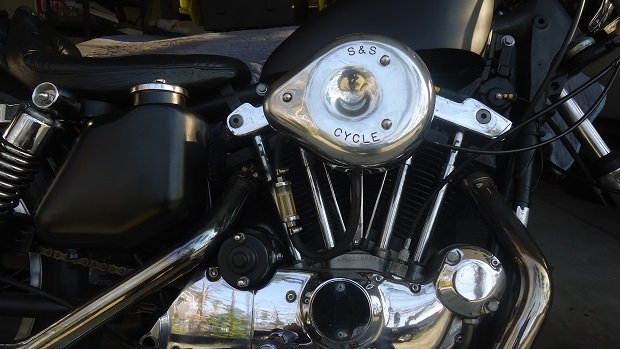
The Prestolite unit is slightly larger (about 6" x 3") and heavier (about 11 pounds) and has brushes that are soldered directly to the field coils.
So both are similar in physical size, and both use a remote solenoid. So, which one is better?
Popular choice goes to the Prestolite, but if your motor is stock, either one will work fine.
Are Hitachi And Prestolite Starters Interchangeable?
With a little parts changing, one can be swapped for the other. The two long mounting bolts are a different thread size, which means the starter housing threads that the bolts go into are different. So you can swap them if you use the correct starter housing with the correct thru-bolts.
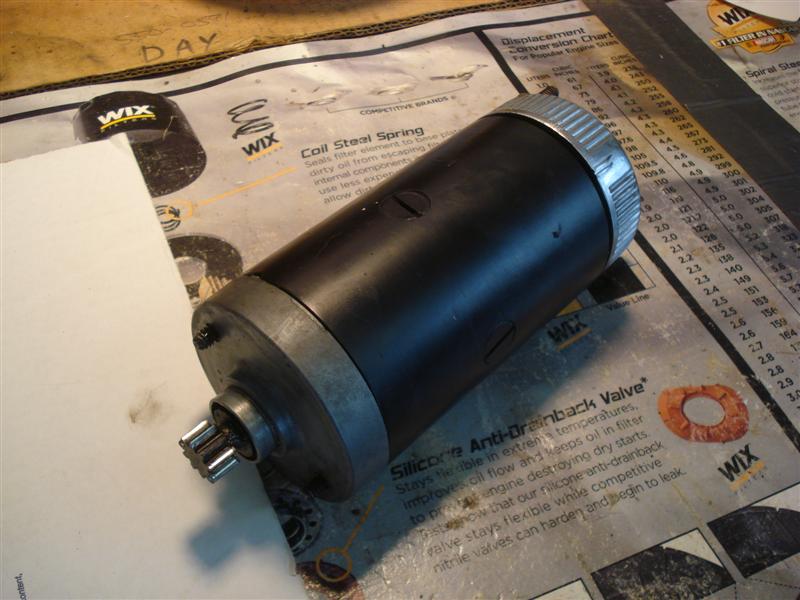
My old 1976 Sportster had a Hitachi starter, which I replaced, along with the bendix gear and solenoid.
*********************
Bendix Gear Replacement
The bendix drive I installed was a V-Twin #32-0639. It replaces HD #31443-65A and fits 1967 through 1980 Harley Sportsters. It also fits 1965 through 1988 Harley Big-Twins.
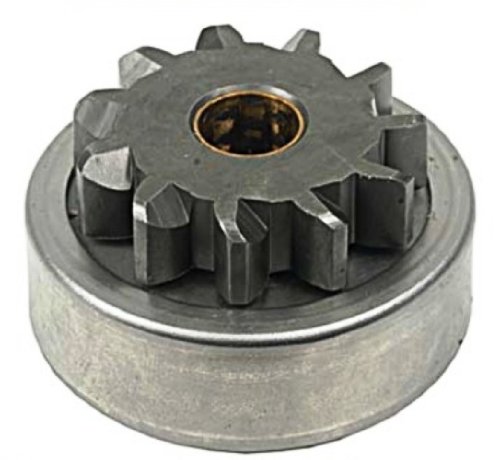
Shop: Bendix Starter Drive Gear
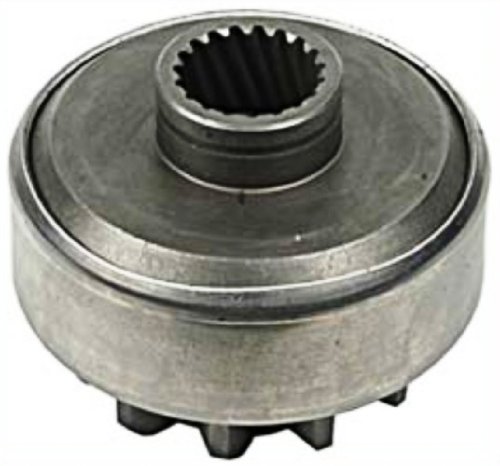
The replacement part was a little different than the one I took out, but it fits and works fine.
*********************
Starter Shaft Assembly
If yours is damaged or missing parts, you can buy a replacement starter shaft assembly kit.
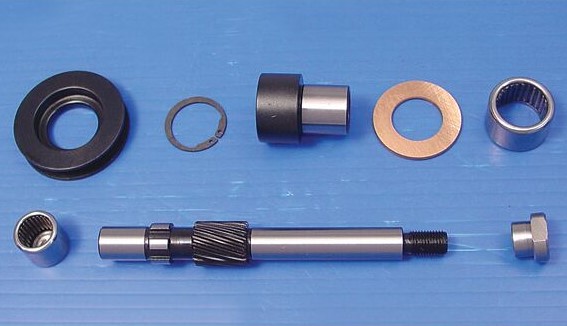
Included with the kit is a shaft, drive nut, collar, bearing and thrust washer. Fits Sportster models 1967 through 1980.
*********************
Starter Solenoid and Dust Boot
All Ironhead Starter Solenoids from 1967 through 1980 are the same.
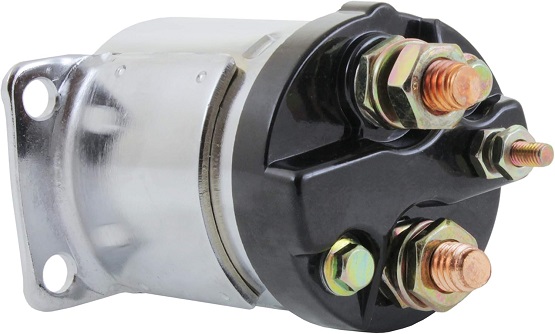
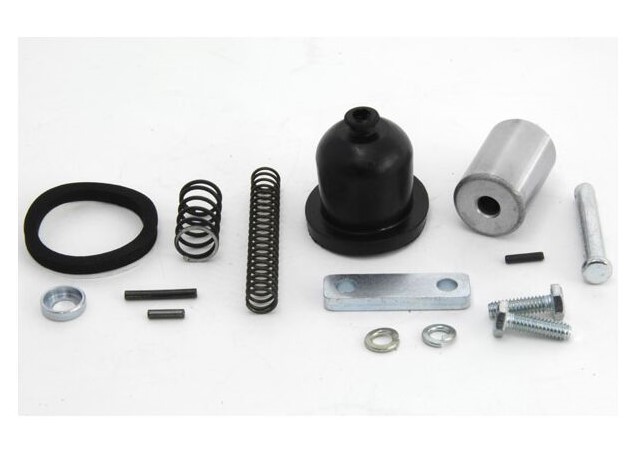
Solenoid Plunger Repair Kit
This solenoid plunger hardware kit will give you all parts for rebuilding the back end of the solenoid.
Many old bikes are missing the rubber boot that fits over the starter solenoid. And many Ironhead owners don't even realize there's supposed to be one!
If yours is cracked or missing, you can buy one here.
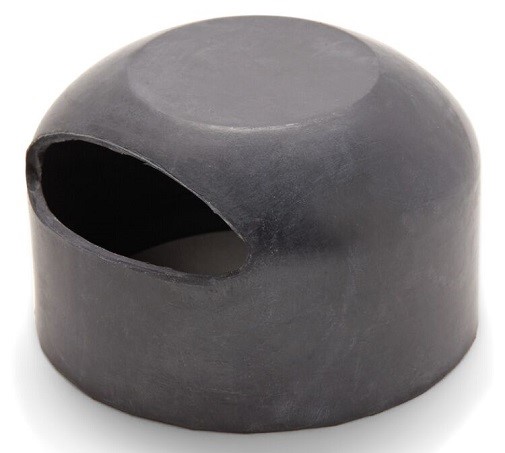
Aside from looking proper, it'll help prevent accidental electrical shorts.
*********************
1981-1985 Ironhead Starter
In 1981, Sportsters were updated to a Nippodenso starter, which is a one-piece starter, starter drive, and solenoid unit. These are more reliable and powerful than previous starters, and the Nippodenso starter would be fitted to 1981-1985 Ironheads as well as 1986-2012 Evo Sportsters.
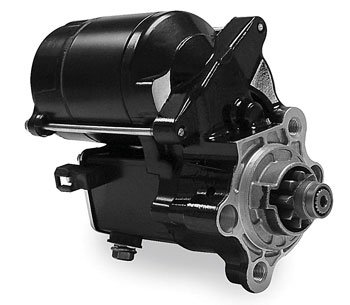
Shop: 1981-2012 Sportster Starter
They're also available in chrome!
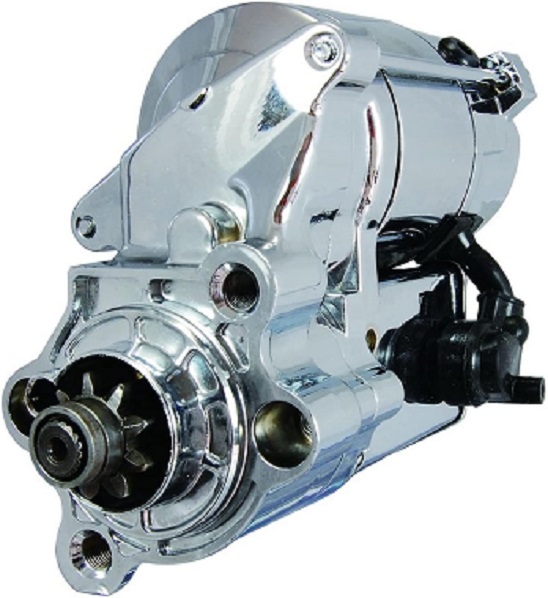
Shop: Chrome Starter for Sportster
Starter Relay vs Switch
Here's the big difference between a switch and a relay--switches are controlled mechanically, and relays are controlled electronically. Switches have less current carrying capability and are usually found in low cost applications.
For 1980-1993 XL models, the Harley relay is part # 31506-79B. If you need to replace yours, you can buy one here.
*********************
Convert Evo Starter To Ironhead?
To date, we haven't heard of anyone successfully doing this, but it would be a popular upgrade if possible. To mount the Nippodenso starter onto a pre-1981 Ironhead motor, first an adaptor plate would need to be fabricated. Then, modifications would have to be made to (at least) the oil tank and battery tray.
By all measures, it will be a tight fit, and would stick out further than the original.
*********************
Convert Kick-Start Sportster To Electric Start
From 1971 through 1980, all Sportster models shared the same engine cases. This means you can convert a 1971 to 1980 kick-start only Sportster into an electric start bike.
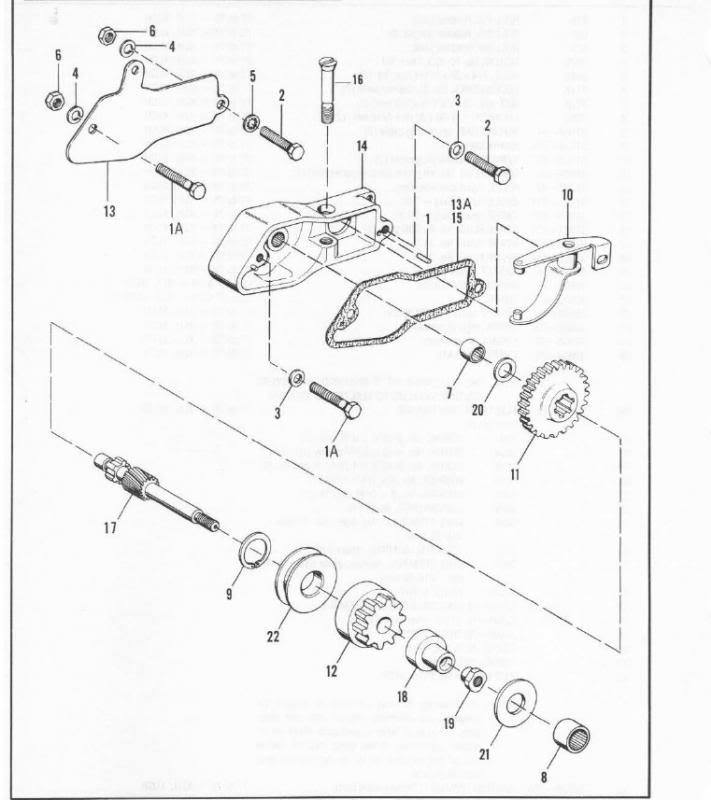
These year Sportster models were fitted with either starter shaft housing #31462-67 for Prestolite starters or #31462-74 for Hitachi starters. The starter shaft housing and necessary hardware are bolt-on parts.
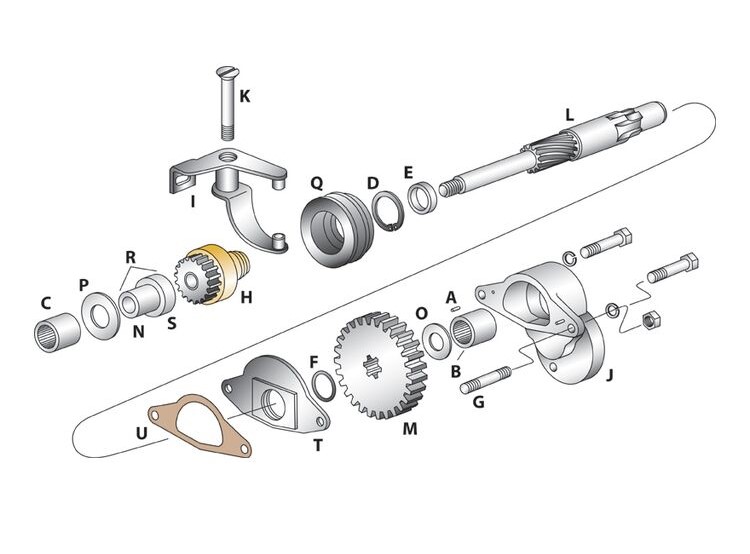
To convert a kick-start Sportster to electric start, your existing clutch drum must have a starter ring gear attached. Also check if your primary cover has a bushing pressed into the inside of the cover to accommodate the starter shaft.
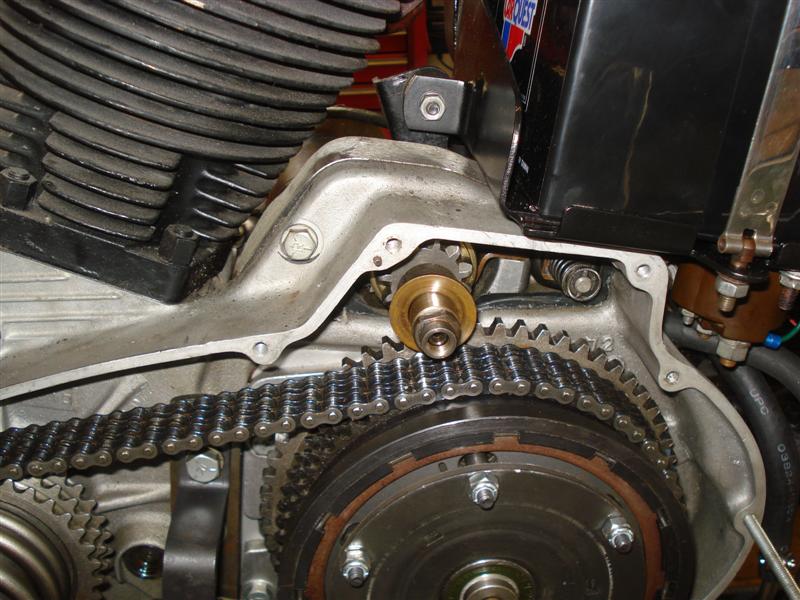
You'll also need a Bendix gear, starter shaft, and plunger assembly.
And don't forget, you'll need a larger battery and tray. On 1971 through 1980 models, the larger battery tray and side-mount oil tank can be fitted fairly easily.
*********************
Convert Electric Start Sportster To Kick Start
A kick-start conversion kit is available for 1973 through 1976 Sportster models. This will make your bike kick-start only, there is no provision for starter motor.
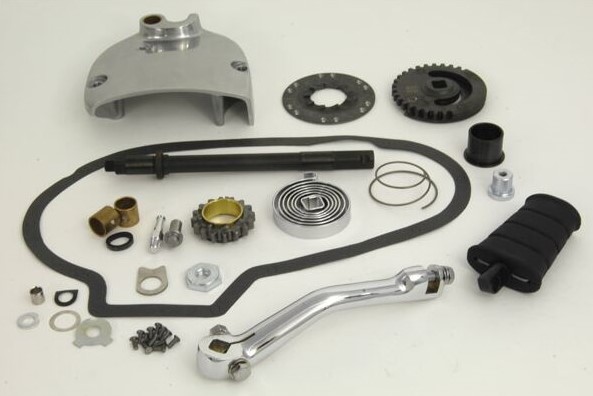
Shop: Kick-Start Conversion Kit
*********************
Convert Early Ironhead to Electric Start?
Early Sportster models from 1957 through 1966 have the smaller engine cases, and they cannot be converted to electric start.
Until 1969, 900cc XLCH motors also had the smaller cases, so they cannot be converted either.
*********************
Notes and Misc
The nut on the starter shaft (also called a jack shaft) that attaches to the starter drive (31483-67) has a left hand thread.
Because early 900cc frames are shorter, an electric-start Ironhead motor will not fit into an early (1957-1966 XLH and XLCH until 1969) frame.
Read: Remove Primary Chain, Compensating Sprocket, and Clutch Shell
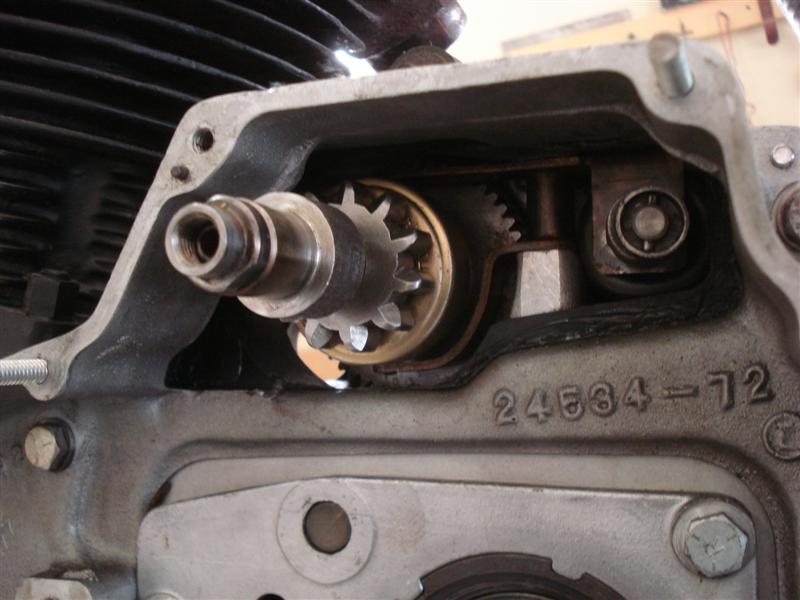
Read: Replace Bendix Starter Gear
*********************
Related Articles:
Electrical Wiring for Motorcycles
AGM Motorcycle Battery Review
Basic Motorcycle Wiring
Convert Harley To Points Ignition
Ironhead Engine Build
