Electrical Wiring For Motorcycles
Some of the biggest challenges when repairing or restoring old motorcycles are electrical. Unlike mechanical issues, what's not working is not visible to the eye.
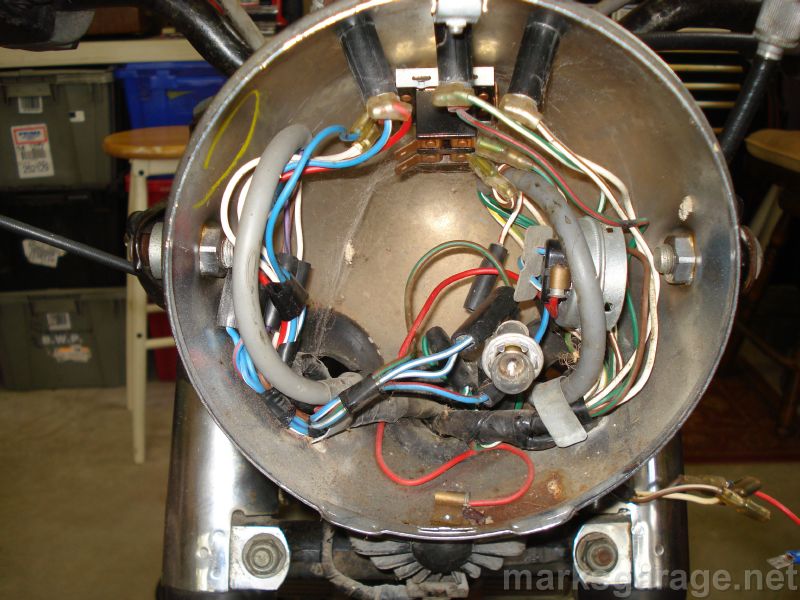
There are three major parts of a motorcycle electrical system - primary, secondary, and charging system. What hooks them all together is wiring, switches and relays. So let's break these down into smaller categories.
Primary Ignition (Low-Tension Side)
In a points-operated ignition system, the primary, or low-tension side of the ignition system starts with the battery, goes to the ignition switch, then to the primary windings of the coil. A key-operated ignition switch connects or disconnects the power.
- Battery
- Coil (primary winding)
- Wiring, switches, and relays
******************
Secondary Ignition (High-Tension Side)
An ignition coil is basically a step-up transformer. The voltage from the primary windings of the coil go into the secondary windings of the coil, where they come out at 20,000+ volts. The secondary, or high tension side of the ignition system goes to the contact breaker (points), which gives the necessary volts to the spark plugs.
- Coil (secondary winding)
- Points and Condenser
- Spark Plug Wires
- Spark Plugs
*****************
Motorcycle Charging System
To check your charging system voltage, first check the voltage across your battery with a multimeter with the engine off.
Next, start the bike and check it again, with the lights off and engine running about 1500 rpm. With the engine running, the charging voltage should be higher than the basic battery voltage. A reading of 13.8 volts is ideal, but anything over 12.8 volts is good.
If your readings are lower than 12.8 volts, the battery is not getting completely charged. For a final test, turn the lights on, and check the voltage again. If it drops below 12 volts, your battery's going to be in a state of discharge when you're running with lights on.
******************
Wiring A Motorcycle From Scratch
On a custom motorcycle project, start with a wiring diagram drawn out on a piece of paper. I'll usually start by where the battery is to be mounted, then add the other electrical components one by one; headlight, taillight, ignition switch, coil, etc.
******************
SAE vs AWG Primary Wire
Many motorcycle builders use standard automotive-type wire found in parts stores, but there is a difference between SAE-rated wire and AWG (American Wire Gauge) sizing.
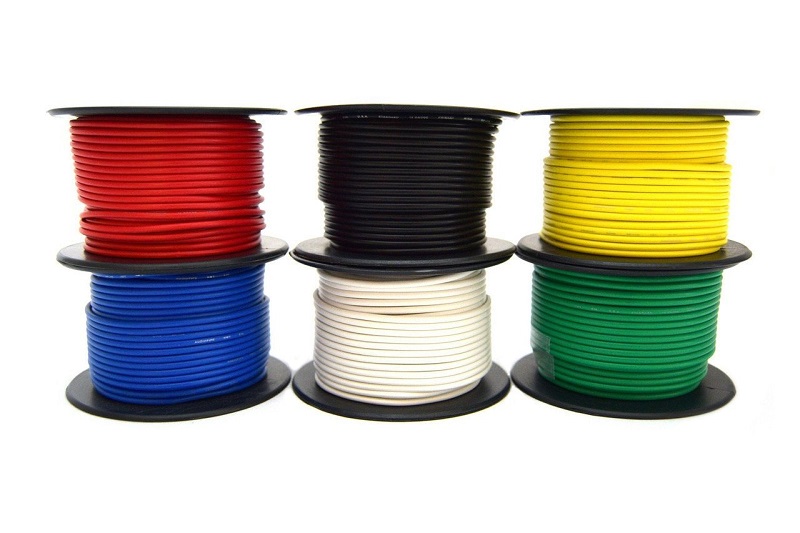
AWG wire always has more copper for a given gauge size than SAE-rated wire does, and more copper is better. This variation is about 10-20%.
******************
Making A Wire Harness
Wires and their connections develop oxidization over time, which lead to poor connectivity and eventual failure. Replacing a single wire or connector may fix your electrical problem, but if this happens several times, consider rewiring the entire bike.
To make a wiring harness, or completely rewire a bike, you will need:
Electrical Connectors Assortment Kit
Optional:
Soldering Gun and Soldering Wire
Read: Solder or Crimp Motorcycle Wires
Drawing a wiring diagram out in a notebook, no matter how simple, helps visualize what needs to go where. It should show where each wire is starting, where it will end up, and what color it will be. Abbreviations for wire colors are usually "BK" for black and "BL" for blue, "R" for red, etc.
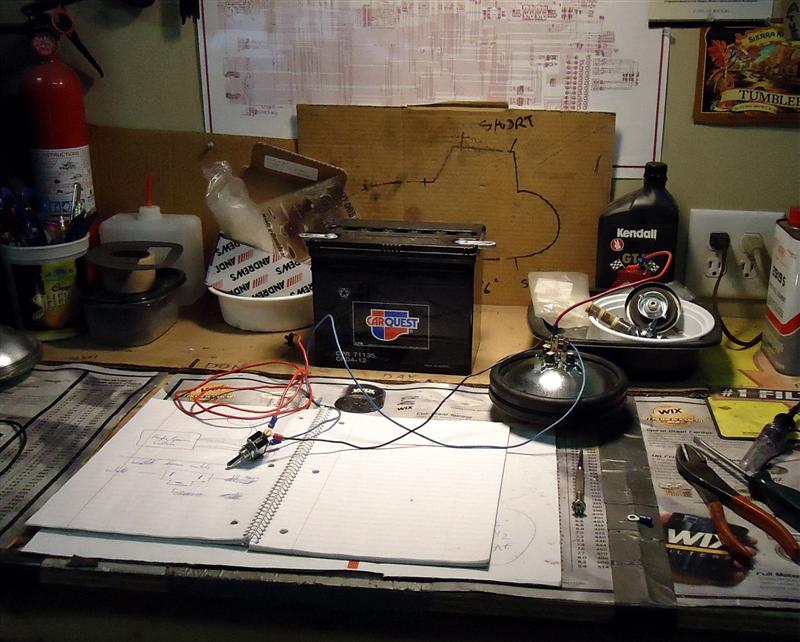
TIP: While wiring/repairing your motorcycle, take pictures of everything for future reference.
******************
Wire Routing
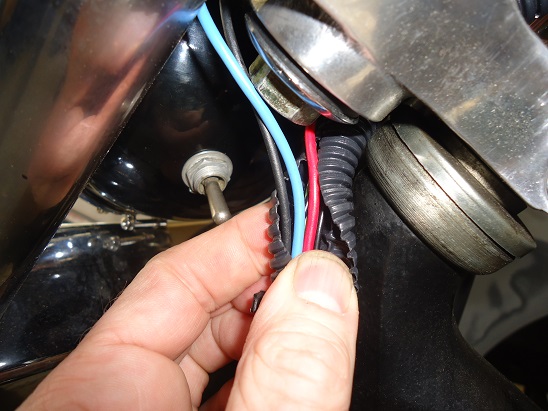
A length of wire any longer than a couple inches should be shrouded into either a cloth or plastic wire loom. Some builders like wrapping wires in electrical tape, or only use heat shrink tubing on the ends. All these methods will work, what's important is that the wires are secure and are away from any sharp edges. They should also be kept away from heat (cylinders and exhaust).
******************
Electrical Troubleshooting
Before tackling an electrical problem, start with a fully charged battery. Have a factory service manual for your make and model and study the wiring diagram.
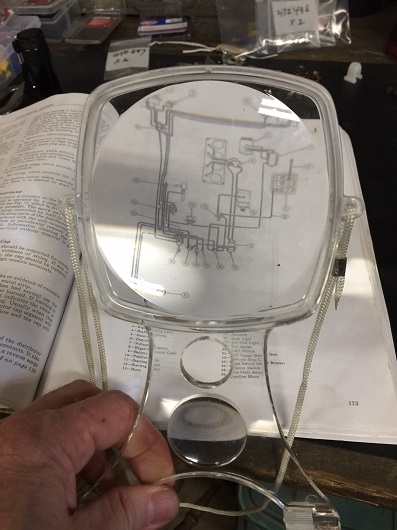
TIP: If a diagram is too small to read clearly, pick up a magnifying lens with a large viewing area and transcribe the information you need onto a larger piece of paper.
******************
Re-wire Handlebars
Handlebars are one of the first things riders change. If you're thinking of installing taller handlebars, you'll need to extend the switch wiring harness.
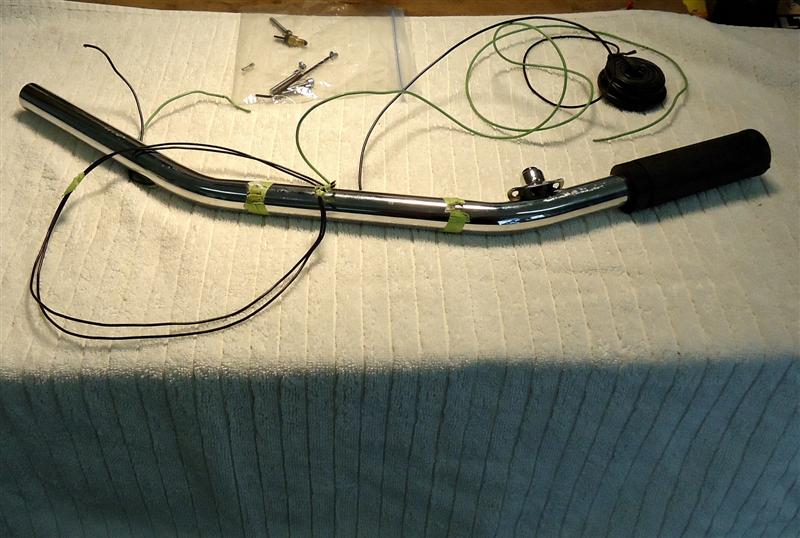
Read: How To Wire Handlebars Internally
Adding Taller Bars
Wire extension kits are available that have all the right colors and terminals for most motorcycles. Or you can be creative and make your own.
******************
Motorcycle Battery Care
Getting tired of buying a new motorcycle battery every couple years? Seems we neglect them until there's a problem, unnecessary damage is done, and we're spending money for a new one.
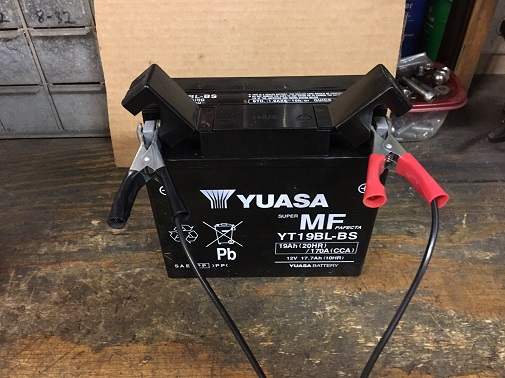
The solution is to have a constant-current charger when the bike will not be in use for a while.
******************
Related Articles:
Basic Motorcycle Wiring
Wiring A Motorcycle From Scratch
Wiring Through Handlebars
AGM Motorcycle Battery Review
