Motorcycle Engine Build
text and pictures by Vintage Vinny
So you're thinking of tearing down the old bike's engine and freshening it up a bit? Three things are for certain; it's not going to be cheap, it's not going to happen quickly, and they'll be surprises.
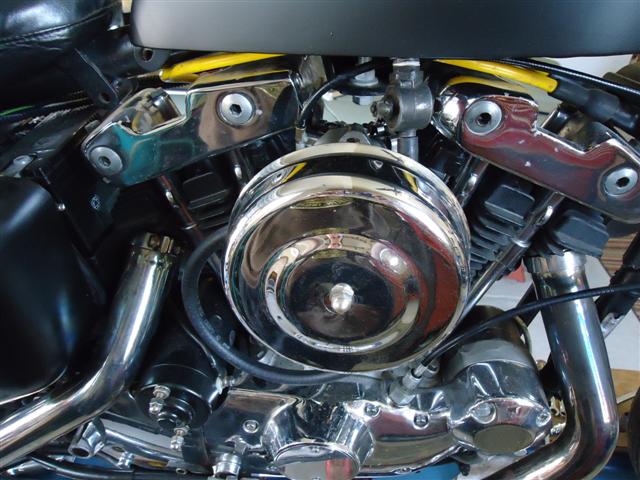
This article is an overview of what to expect while rebuilding a classic motorcycle engine in your own home workshop.
Rebuild It Yourself?
There's a lot to consider before starting a complete engine overhaul. And before any rebuilding is actually done, there's disassembly, cleaning, inspection, and assessing what is reusable.
Before Disassembly
If you can, run a few tests before dismantling the motor. And even if the motor doesn't start, you can kick the motor over and check for spark and compression.
A motorcycle engine build can be broken down into sub-categories. These include:
Top End
Bottom End
Carburetor
Clutch/Transmission
Electrics (distributor, generator)
Each and every step during engine building, large and small, is just as important as the others.
*******************
Tools and Equipment
Of course, things go much smoother when you have the right tools for the job.
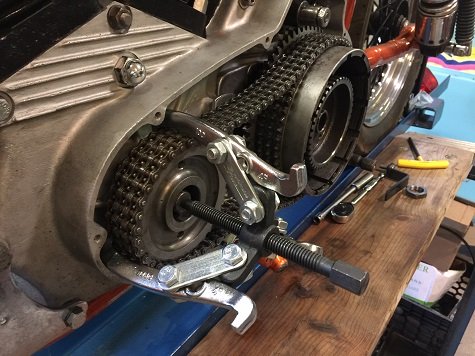
Read: Motorcycle Engine Tools
*******************
Engine Disassembly
Before you start your disassembling, get a notebook and/or take lots of pictures. If you're a DIY mechanic, you may not be able to work on it day after day, so write down/document everything, especially in what order things came apart. (The longer it sits, the more you forget!)
With the exception of a few specialty tools, you should be able to take your engine apart with basic hand tools.
Inspect and measure parts as you remove them.
Inspect the engine cases for stripped threads and cracks.
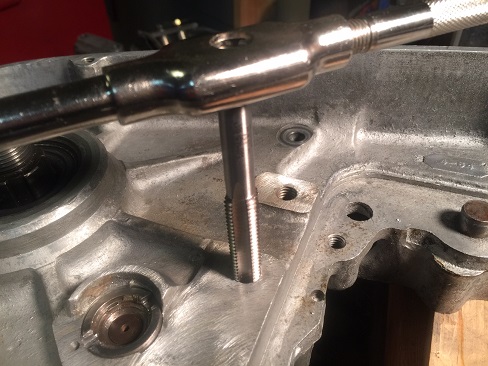
Read: Repair Stripped Threads In Aluminum
*******************
Internet vs Factory Manual
This shouldn't even need mentioning, but...
The internet is full of information and misinformation, and you need to decide for yourself what's true and what isn't.
And while we're on the subject, I don't have the patience to sit through videos. I'm old school and prefer to read something for myself, not being told what to do by some self-professed 'guru' who's half my age.
When performing any major engine work, a service manual for your year and model is essential to have, but they're not always 100% accurate. For example, I have three different service manuals for my old Ironhead Sportster, and I've found mistakes and misprints in two of them (Chiltons and Haynes).
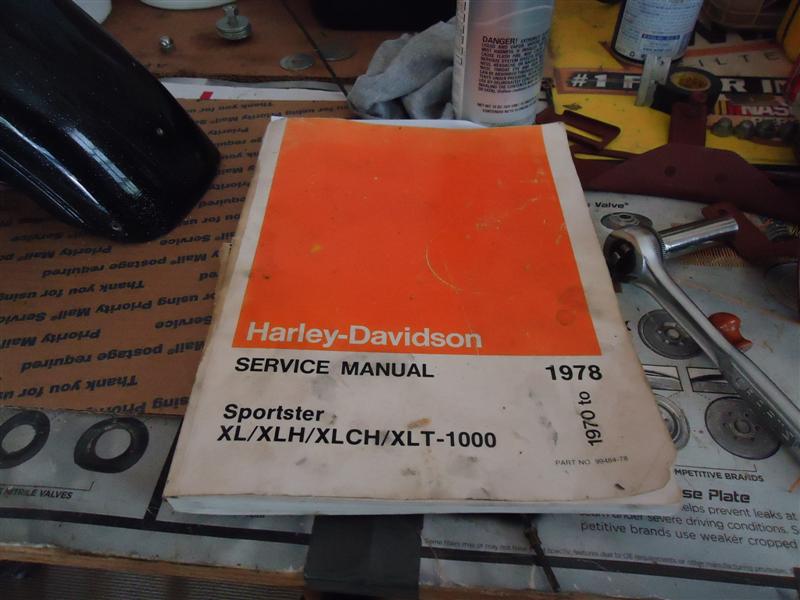
A factory service manual is always the best source.
*******************
Cracked Engine Cases
Aluminum engine cases can be repaired and made as good as new, provided the repair was done right. Don't entrust this job to someone whose only qualification is that they own a welding machine.
Trying to save money here is false economy - a welder with good intentions can make the damage worse than it is. Find someone who is experienced at welding cast aluminum and have it MIG or TIG welded.
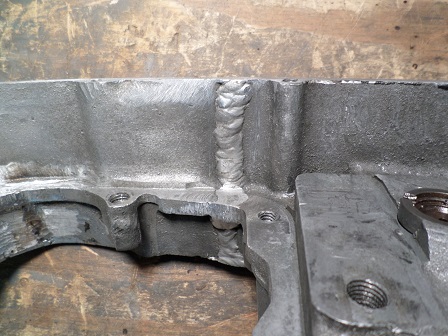
Read: Repair Cracked Cases
*******************
Bottom End Engine Build
The bottom end can be disassembled only after the top end (cylinders, heads, etc) has been removed. Bottom end reconditioning includes pistons, rings, wrist pins, and bearings. If there are any doubts, replace suspect parts while the motor is apart. Oil pump upgrades/modifications can be done at this time.
*******************
Engine Case Sealant
There are dozens of products to seal engine cases, and the ones that are sold at automotive parts stores are almost always wrong for your motorcycle.
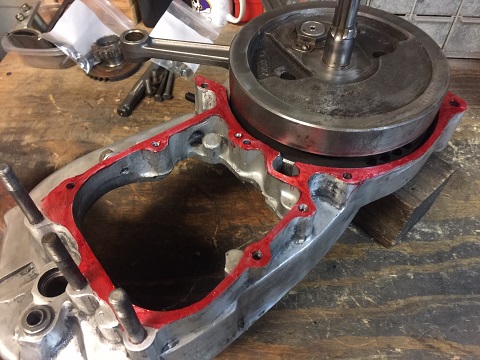
Read: Anaerobic Gasket Sealant Review
*******************
Top End Engine Build
Compared to the bottom-end, a top-end rebuild is easier. Correct measurements are crucial to choose between a re-ring or re-bore. If the motor was burning oil, a re-ring is usually necessary.
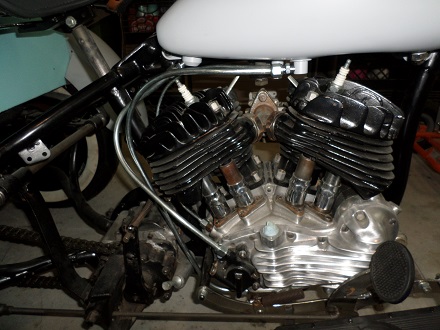
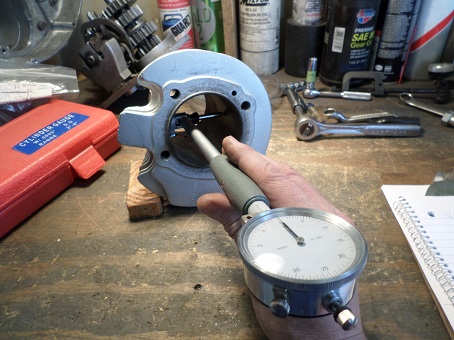
During disassembly, check piston to cylinder wall clearances. A cylinder hone or cylinder bore may be necessary.
*******************
Cylinder Honing vs Cylinder Boring
Many people use the words "bore" and "hone" interchangeably. Boring is a process that is done with expensive machine shop equipment, where as honing can be done in a home garage. The difference is how the metal is removed.
Boring motorcycle cylinders with a hand-held tool will take much longer than a $5,000 shop machine can do it in. But, whether cylinder boring is done in a machine shop or in your home garage, the results will be as good as the operator.
Read: DIY Motorcycle Cylinder Boring
Read: DIY Motorcycle Cylinder Honing
*******************
Cylinder Heads
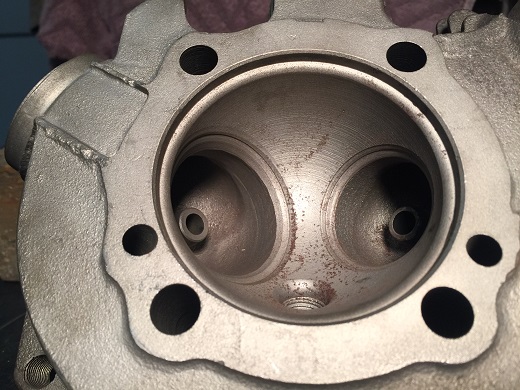
Proper valve seating is crucial to a strong-running engine, and the quality of motorcycle valve job will be co-dependant on valves, guides, and springs.
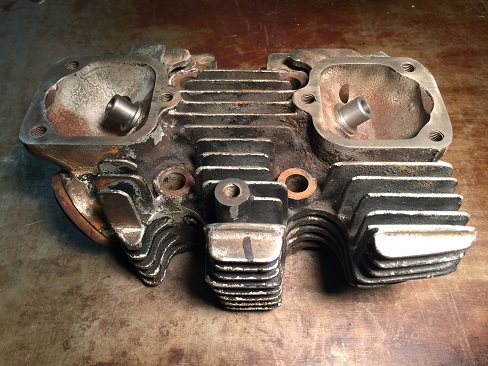
If valves open and close tightly (and at the appropriate times) maximum engine efficiency and performance will be achieved.
If you need valve guides, aftermarket ones are available for most classic bikes. Worn guides are usually pressed out and new ones pressed in.
The use of three-angle seats in cylinder heads has been an industry standard for decades. This is done by having a relief angle above and below a 45 degree center contact surface.
Read: How To Lap Valves
Transmission Overhaul
Many classic bikes have unit transmissions. Two notable exceptions are vintage Triumphs and Big-Twin Harleys, which have separate transmission housings.
When a unit transmission seizes up, it often takes the engine case with it.
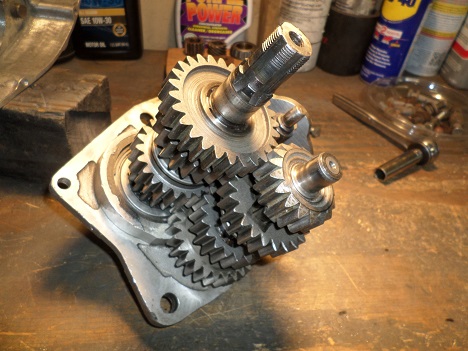
Rebuilding a motorcycle transmission will include removing/inspecting/replacing bearings, shift forks, gears, seals, and gaskets. Transmission work is tedious and requires precision measuring tools.
******************
Engine Reassembly
Re-assembly is always harder than disassembly. Again, everything is easier when you have the proper tools.
*******************
Notes and Misc
If you decide to sandblast your engine parts, make sure there's no grit left before you start reassembly. Clean them thoroughly, two or three times if necessary.
Meticulous attention to detail and cleanliness are needed to build a reliable, strong-running motorcycle engine.
Glyptal Pros and Cons
There are some that swear by this product. Personally, I never felt the need for it. Some claim that it seals the inside of the block and fills in any open pores, giving the oil less resistance, so it drains back to the pan quicker. A common reply is, "I've never heard of an engine locking up because all the oil was stuck to the sides of the block." Another argument is that "it keeps your engine clean", but so does changing your oil on a regular basis.
One particular concern about using Glyptal on motorcycle engine cases is, if gas leaks through the carburetor while your bike is on it's side-stand, the unburned gas would eat away the finish on the inside of the cases.
The longer you handle the old engine components, the more time you have to notice any defects. If you just give them a quick cleaning, you may miss something.
Outside sources needed while restoring your engine include parts suppliers, tool suppliers, and possibly a machine shop.
Read: DIY vs Machine Shop
A motorcycle engine build requires measuring and re-measuring, assembly, disassembly, and reassembly. Make sure everything is right before continuing to the next step.
******************
Related Articles: