Triumph Trident Build
Article by Mark Trotta
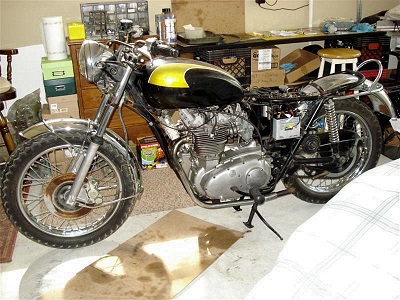
Purchased in May of 2007, this 1974 Triumph Trident was last registered back in 1982. The bike was mostly complete, but the engine was disassembled.
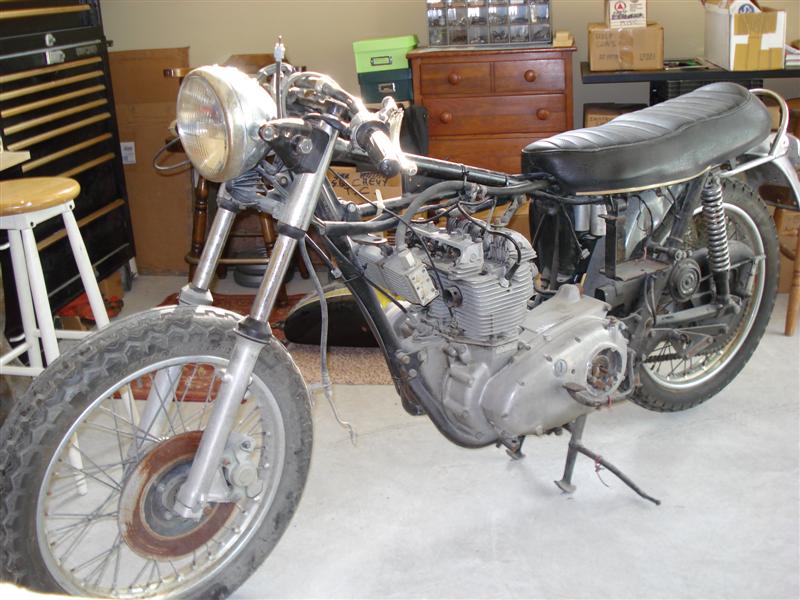
One could only guess as to why a previous owner had taken the motor apart. My worst suspicion was internal engine damage. But I was in luck, and was able to get this classic British machine running again.
Inspection and Testing
Before checking the engine compression, I drained, cleaned, and flushed the oil tank and oil lines. The oil screen was changed and then the motor was refilled with fresh 20/50 weight oil. The compression check showed all cylinders to be within specs. Very good news.
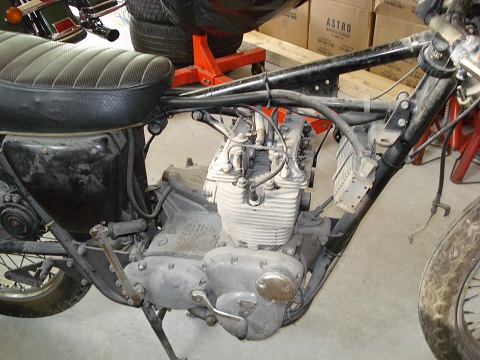
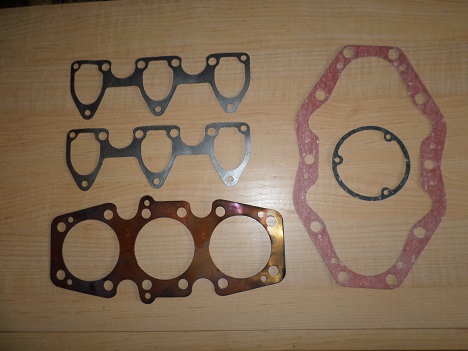
After a valve adjustment, new rocker box gaskets were installed.
Carb Rebuild (x3)
Triumph Tridents were equipped three 26mm Amal Concentric carburetors. Several places online specialize in classic Triumph parts, and three carb rebuild kits were ordered.
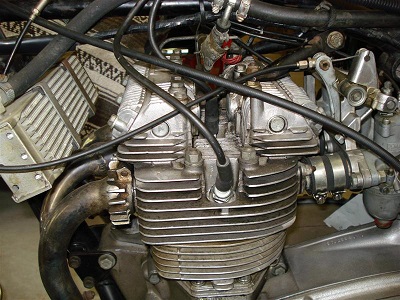
Rebuilding included removal, disassembly, cleaning, inspection, reassembly, and re-installing.
***********************
Gas Tank and Fenders
A session with #000 steel wool revealed both chrome fenders to be in excellent condition.
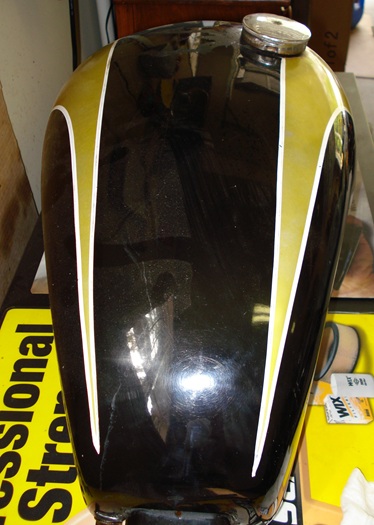
Although the original paint on the tank was still good, the inside was rusty.
***********************
Electrical System
Despite what you may have heard or read, the factory Lucas electrical system isn't terrible. When kept in proper working order, it was completely adequate for the service for which it was intended.
Positive Ground
There was always a mystique about vintage British electrics and there shouldn't be. The simplest way to diagnose a positive-ground system is to reverse any diagnostic procedure normally used on a negative-ground system.
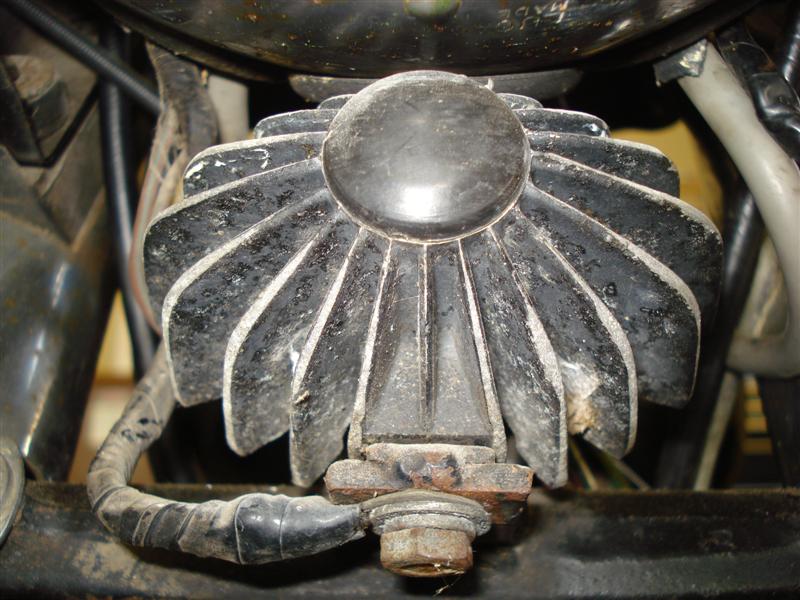
Instead of starting on the positive side of the battery and following the current that way, I started at the negative side of the battery and followed the current the other way.
After tightening up some loose ends and cleaning a few dirty connections the electrical system checked out O.K. The three sets of points were cleaned and properly set.
***********************
Brake Caliper Rebuild
The front rotor was reusable, but the caliper required cleaning and a rebuild kit. After disassembly, the piston and piston bore were examined for nicks and grooves. A rule of thumb here is if a groove can catch your fingernail, it's going to need to be re-sleeved. If needed, replacement caliper pistons are available (measure size before ordering).
Minor pitting of the piston bore was cleaned up, and several small scratches were taken out. This was done by lightly sanding with fine Emery cloth.
***********************
Getting The Bike Started
I was now getting spark at the plugs and gas to the carbs.
After dozens of kicks, it still wouldn't start.
Turns out that without the original air cleaner installed (which I didn't have), the carbs were getting too much air, even with the choke fully out. To compensate, I covered up the bottom halves of the three carbs with duct tape. Within a few kicks it fired up.
***********************
I didn't have this bike long, I sold it shortly after getting it running. At the time, I was neck deep in projects, and something had to go.
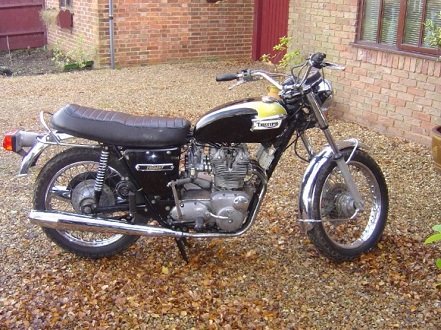
Read: Triumph Trident History
***********************
Related Articles: