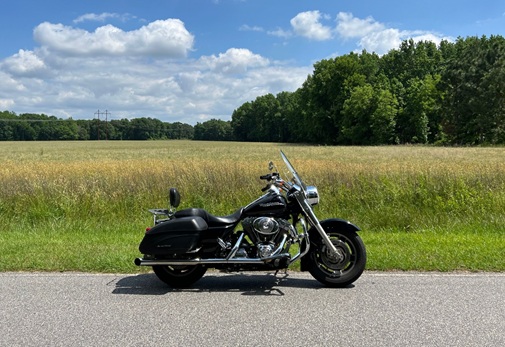
Remove and Install Primary Cover Harley Twin-Cam
Article by Mark Trotta
Reasons for Big-Twin primary cover removal include replacing the clutch or stator, and adjusting or replacing the primary chain.
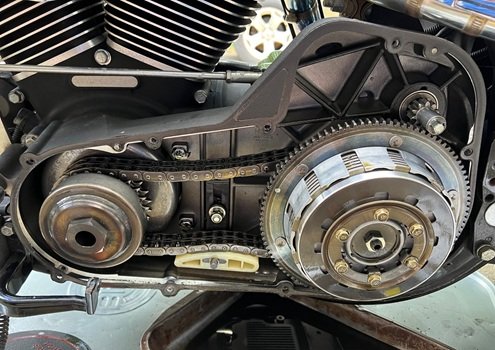
Or maybe your wife is complaining about those oil spots on the driveway again.
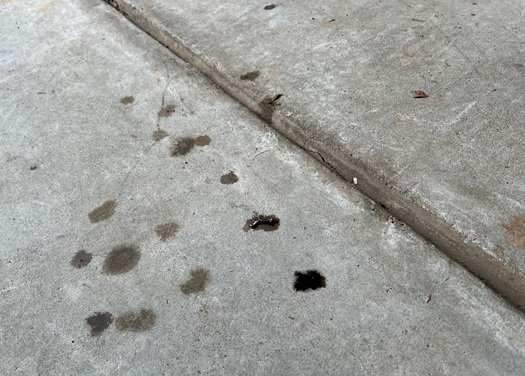
Whatever the reason, here's a step-by-step guide on how to remove and install the outer primary cover on 1999 through 2006 Harley Touring models. Dyna and Softail models have different covers and gaskets, other than that it's basically the same.
Newer models 2007 and up have an automatic chain tensioner, so procedures are slightly different.
Torque specs are listed at the end of the article.
*******************
Tools Needed
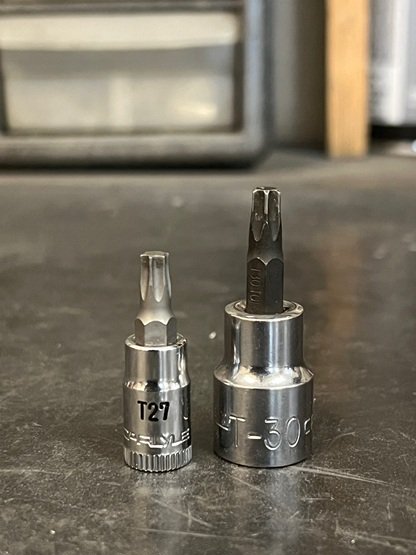
Along with basic hand tools (wrenches and sockets), you'll need T27 and T30 Torx bits and a 3/16" hex key.
Getting Started
To avoid spilling oil on the concrete driveway, I placed a metal drip tray underneath the bike.
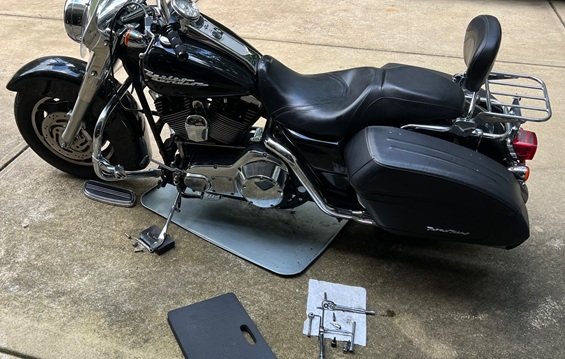
On Touring models, you need to remove the left footboard (socket screw with lock washer).
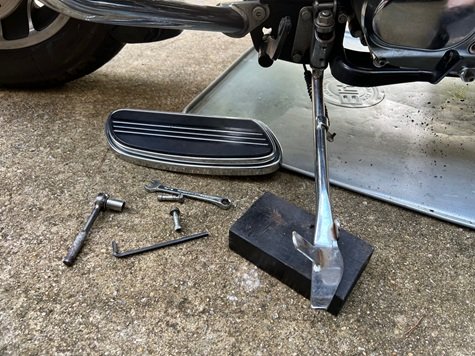
You may need to unbolt the left rear foot-peg as well.
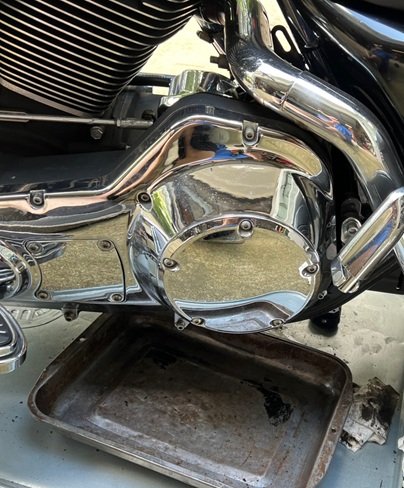
NOTE: Some models may have an exhaust pipe or heat shield in the way.
*******************
Drain The Fluid
Removing the derby cover (5 bolts, T27 Torx) allows the oil to drain quicker.
Place an oil pan underneath the primary.
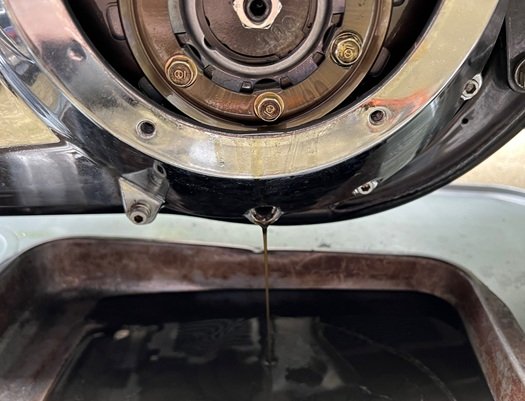
A T30 Torx bit removes the drain plug.
*******************
Two Different Bolt Lengths
There are 10 primary cover bolts which are removed with a 3/16" hex key. The bolts are two different lengths; five are short (1-1/4") and five are long (1-1/2").
To keep them in the correct order, you can draw it out on a piece of paper, or punch holes in the shape of the cover in a piece of cardboard. Either way will save you time on reassembly.
Do I Have To Remove The Inspection Cover?
On 1999-2006 Twin-Cam engines, removing the inspection cover (4 bolts T27 Torx) is optional.
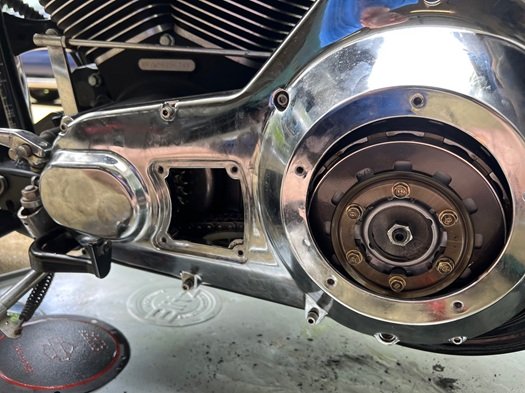
On Evo Big-Twins, two of the four inspection cover bolts go into the inner primary cover, so it must be taken off.
Bolts Removed, Cover Won't Come Off
Once all 10 bolts are out, and the cover doesn't come off, try tapping it with a rubber mallet to break it loose.
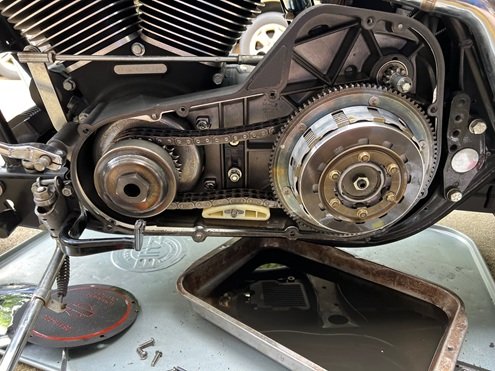
You can also try breaking the seal with a thin flat-blade screwdriver, but if you do, go up from the bottom in case it leaves a small mark.
Once loose, carefully pull it outward and downward to remove it.
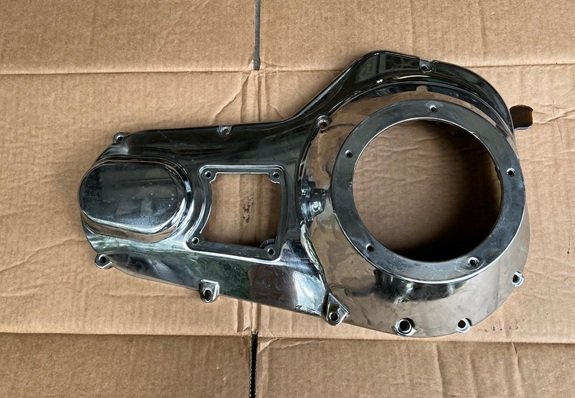
Pictured: Outer primary cover for 1999-2006 Harley Touring models OE #60665-99
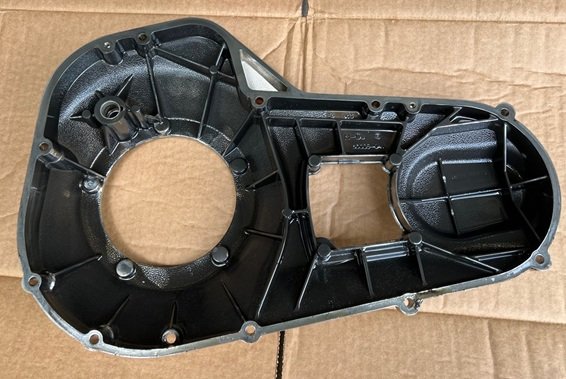
NOTE: If your cover is brushed aluminum, you may want to polish it before putting it back on.
Read: How To Polish Aluminum Engine Parts
*******************
Gasket Replacement
For all of my Harley motorcycle projects (Big Twins, Ironheads, Flatheads), I prefer James Gaskets.
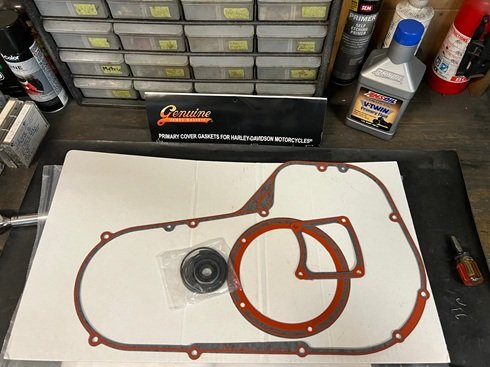
Best gaskets on the market. Made in USA.
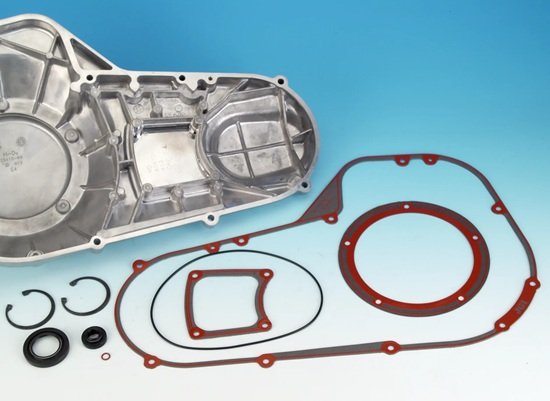
Shop: James Gasket Primary Cover Gasket Kit
*******************
Reinstall Cover
Clean gasket surfaces and align new gasket on dowels. The gasket is awkward to hold in place when the bike is on an angle, and the factory service manual advises against using sealant.
Once the new gasket is on, hand-start all 10 bolts but don't tighten yet.
Make sure the gasket is properly seated all the way around. I took a few pictures from underneath to check that all the bolts went through the proper holes in the gasket.
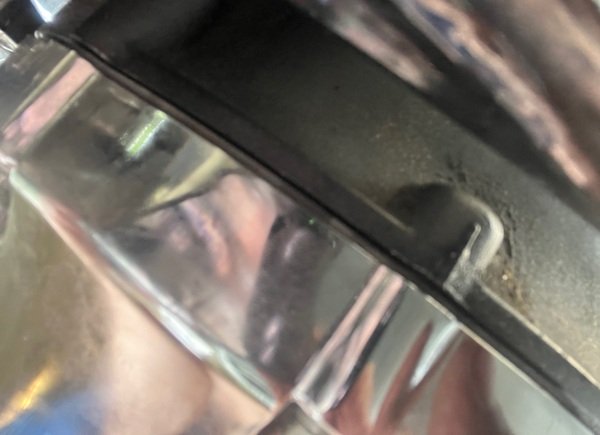
If everything looks Ok, snug all the bolts evenly, then torque to 100 Inch/Pounds.
*******************
Derby Cover and Gasket
The Motor Company calls it a clutch inspection cover, but it's commonly referred to as a derby cover.

Inspect the gasket. Clean or replace as needed.
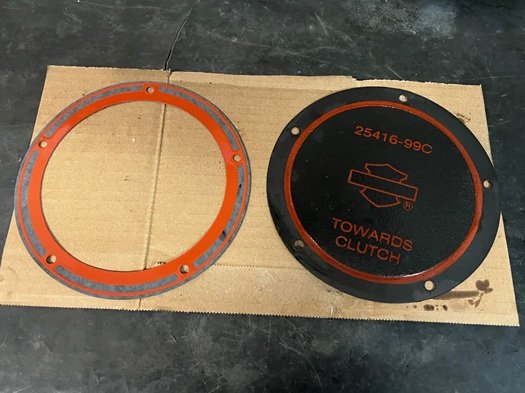
New James Gasket on left, old H-D gasket on right.
Tightening sequence for derby cover, clockwise from top: 1, 3, 5, 2, 4.
*******************
Torque Specs
Primary chaincase bolts: 84-108 Inch/Pounds.
Clutch inspection bolts: 84-108 Inch/Pounds.
Chain inspection cover bolts: 84-108 Inch/Pounds.
Chaincase drain plug: 36-60 Inch/Pounds.
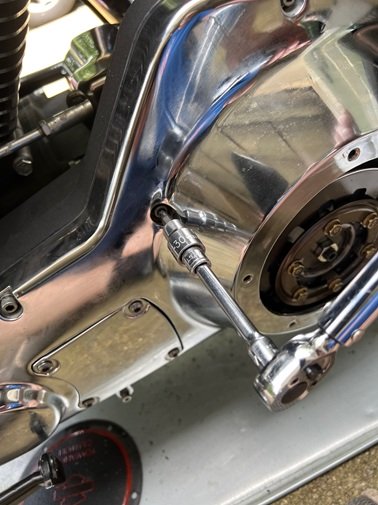
Having an 1/4" drive inch-pounds torque wrench is highly recommended.
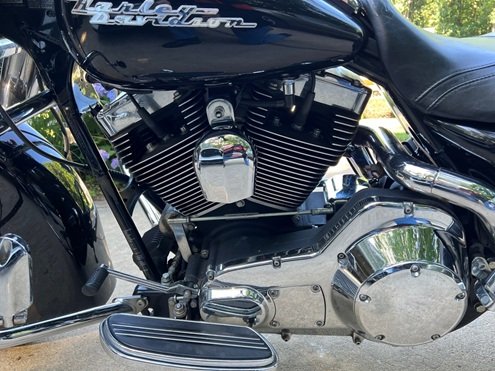
When done, start the engine and let idle for a minute or two. Shut off and check for leaks.
*******************
Notes and Misc
After removing the chain inspection cover on my 2005 Road King, I found that the primary chain needed tightening.
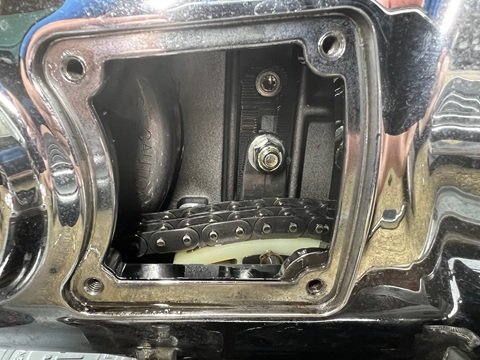
It was difficult to move the adjuster shoe accurately through the 4" x 4" slot, so I took the chaincase cover off for easier access (it was worth it).
*******************
Articles of Interest:
DIY 3 Hole Oil Change
How To Check Harley Twin Cam Chain Tensioners
2005 Harley Road King Review by Owner
Road King Handlebar Adjustment
AGM Motorcycle Battery Review
