How To Check Harley Twin Cam Chain Tensioners
Article by Mark Trotta
If you have a 1999 to 2006 Twin-Cam Harley, and the condition of the cam chain tensioners is unknown, it's best to check them as soon as possible. If you're mechanically inclined (and you should be if you're reading this) it'll take about two hours.
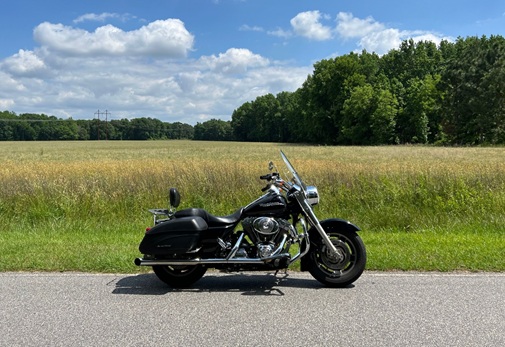
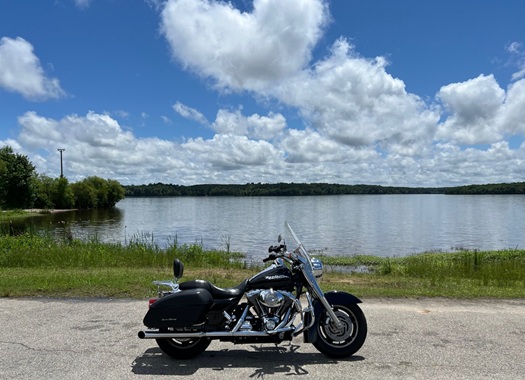
Author's 2005 Road King Custom
********************
Some of them, not all of them, wear out prematurely (before 50k), and could cause damage to the engine if they break apart and particles get stuck in the oiling system.
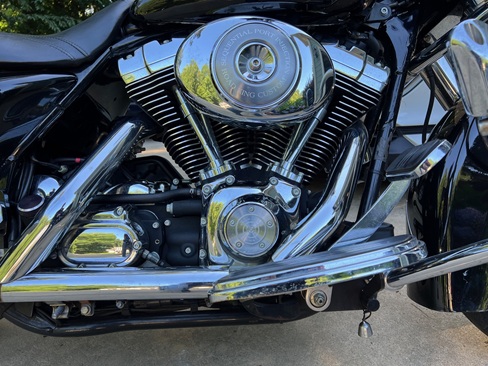
Here are the major steps:
Remove Exhaust
Remove Cam Cover
Check Shoe Wear
Reassemble
I've also listed several options for replacing/upgrading.
********************
Tools Needed
Basic hand tools are all that's required. You'll also need a hand-held work light.
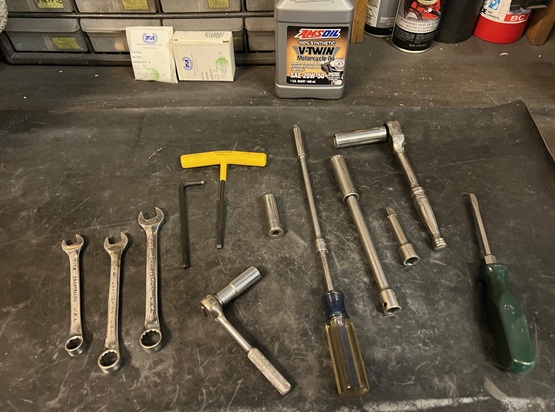
Pictured left to right: combo wrenches, hex keys, 1/4 and 3/8 ratchets, sockets, and extensions, flat-blade screwdriver.
I began by slipping a metal drip tray under the bike, then removing the right-side saddlebag.
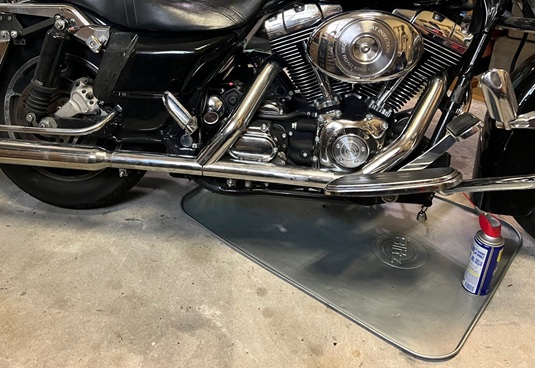
All hardware to be removed was sprayed with WD40 and allowed to soak for an hour.
********************
The right floorboard requires a 3/16" hex key and a 7/16" socket or box-end wrench.
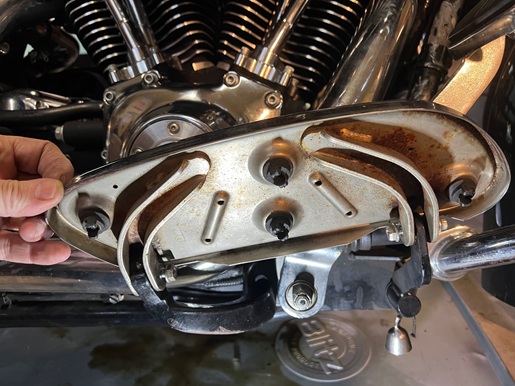
NOTE: The floorboard bolts go in from the front and rear, with nuts on the inside.
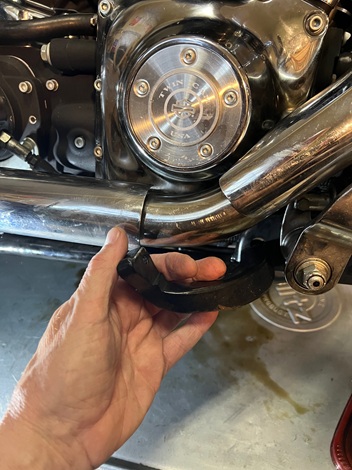
Floorboard bracket can be pushed forward and out of the way by hand.
********************
Exhaust System
The two front exhaust pipe nuts were unfastened with a 1/2" deep socket on a 6" extension.
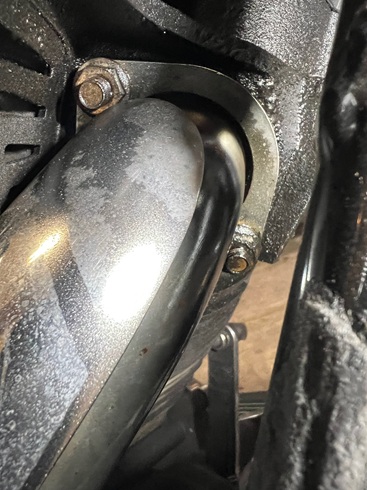
The factory service manual recommends using a swivel socket, but it wasn't necessary on this bike.
Next up were the heat shields, which are held on by hose clamps.
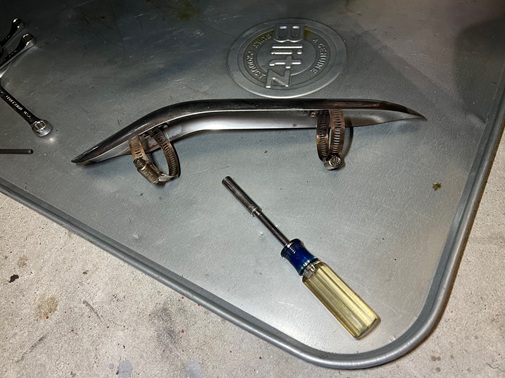
A 5/16" socket on a 1/4" drive spinner handle works nicely.
After the back shield comes off, there is a U-bracket underneath the transmission cover that goes through a frame loop.
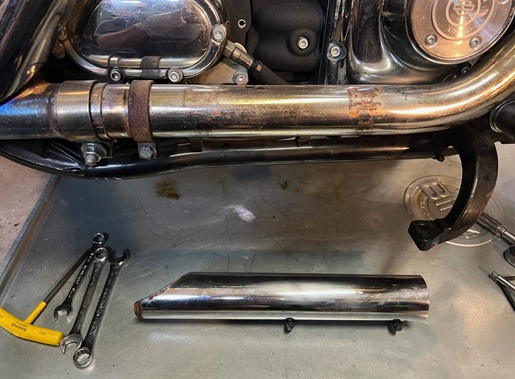
The Torca clamp behind the U-bracket was loosened and left in place. If removing the rear exhaust pipe, it will be necessary to bend clamp and slide out.
********************
The FSM calls for removing the complete exhaust system, however...
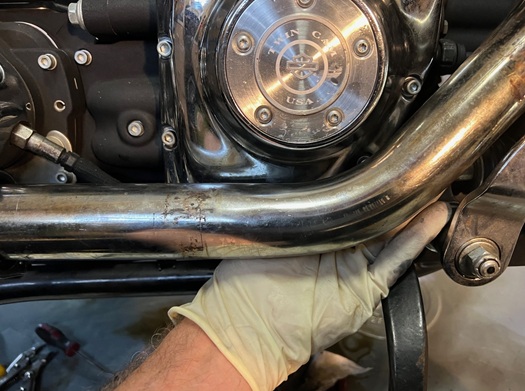
I found that by disconnecting the front pipe at both ends and wiggling it a bit, and I had enough room to unthread all the cam cover bolts but one!
The #3 bolt (clockwise from top) was a little awkward getting out. It took about a dozen 1/2 turns with a short hex key, and then I was able to unthread it with my fingertips.
If you've got long skinny fingers like me, you may to able to do this.
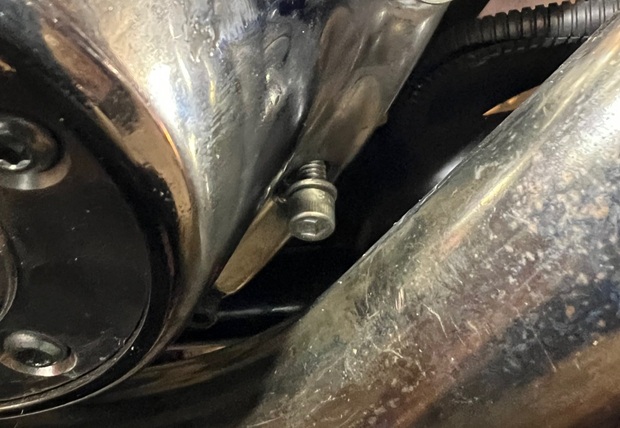
If you cannot take the bolt out this way, you really haven't wasted any time, you'll just have to take off the rest of the exhaust system (front and rear heat shields, front and rear pipes).
********************
Cam Cover Removal
Holding on the cover are 10 Allen head bolts. A 3/16" hex key is needed.
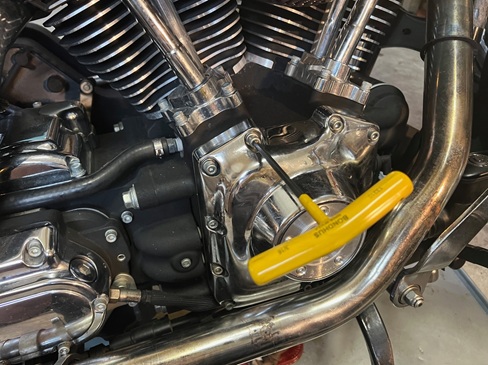
All 10 bolts are the same length (1-1/4").
Stuck Cam Cover
Once all the bolts were out, this cover wouldn't budge!
First, I tried tapping it with a light plastic mallet.
Next, I used a larger plastic mallet. That didn't work either.
Finally, I grabbed the two-pound sledge and a piece of wood, smacked the cover (with the wood in between) on it's side, then again, and on the third rap the cover finally separated from the engine.
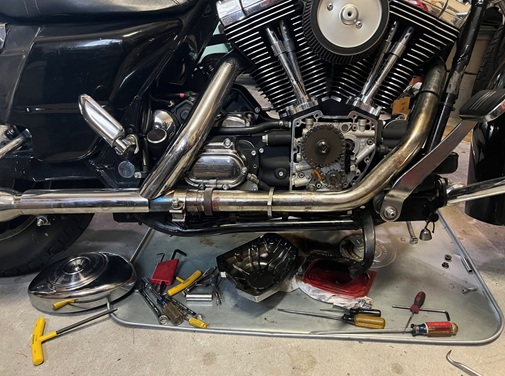
With the front exhaust still in place, I had just enough room to slide the cam cover off.
A little engine oil leaked out.
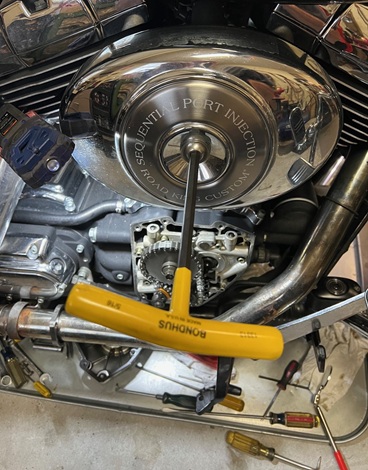
NOTE: Removing the air filter cover (5/16" hex key) allowed more working room to get the cam cover off without damaging the gasket.
********************
Checking Cam Chain Tensioner Shoes
Once the cover is off, the front, or outer tensioner is right there.
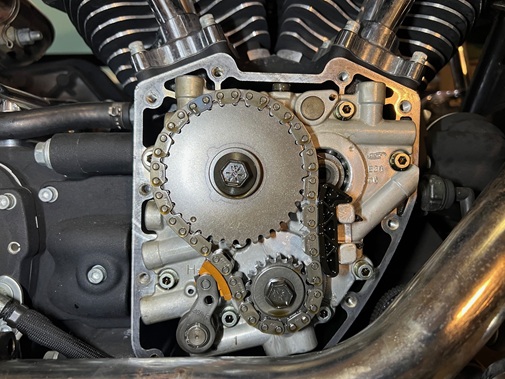
The tensioner 'shoe' is the part that wears.
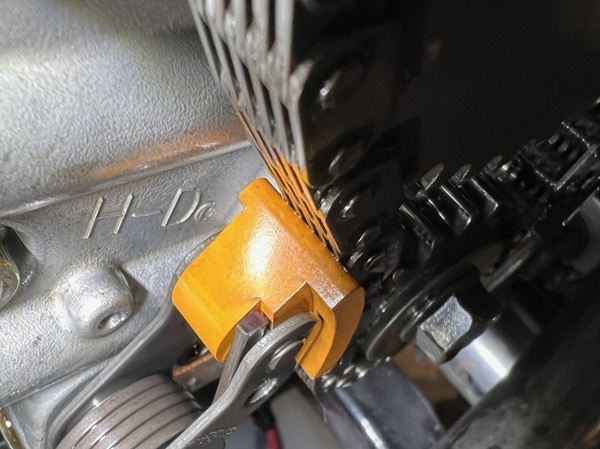
There's several ways you can pry it back to get a better look.
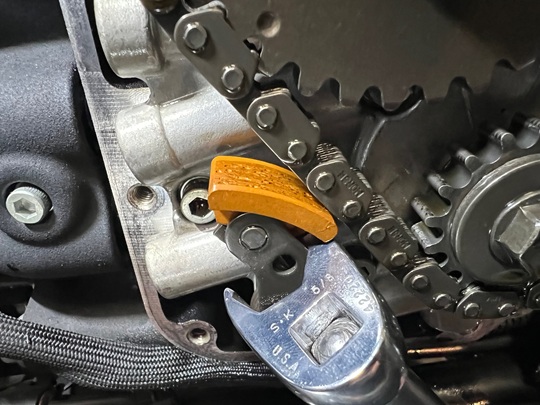
Here, I'm using a crows-foot on an 8-inch extension from underneath.
The rear, or inner tensioner can be viewed with a hand-held work light. To better see the rear shoe, take a long thin screwdriver and pry it up.
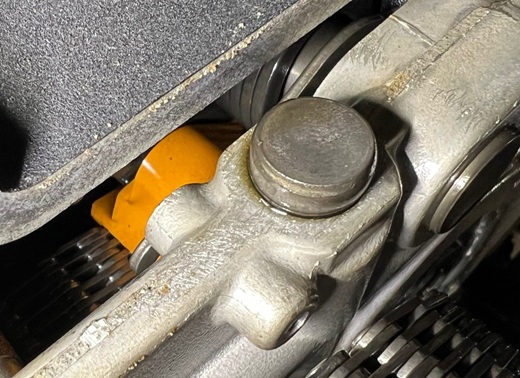
On this engine, both inner and outer shoes have slight wear. At 45k miles, I'm not sure if they're original or if they've been replaced (I don't have complete history on the bike).
These shoes will not be replaced at this time. They'll be checked again at 50K, and by then, a decision will be made which way to go.
********************
Replacement Options
The problem with replacing Twin Cam chain tensioners is, the bottom of the pushrods are pressing onto the top of the cam lobes, which prevents removal of the cam plate.
Method One) - The recommended factory way is, remove the gas tank, disassemble the rocker boxes, remove the pushrods, remove the cam plate.
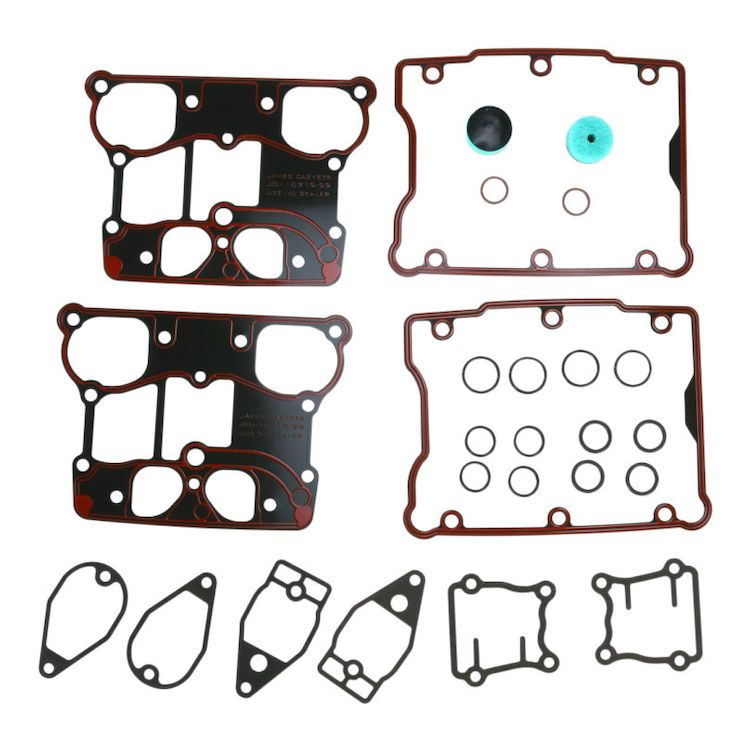
At a minimum, you'll be buying replacement tensioners and a rocker cover gasket kit.
Method Two) - You actually cut the original pushrods in half, then replace with adjustable pushrods.

This way is quicker, but more expensive than the first method.
Hydraulic Tensioner Upgrade
This Screamin Eagle hydraulic tensioner kit, available at your local Harley dealer, updates a TC-88 engine to the later hydraulic style, as found on TC-96 engines.
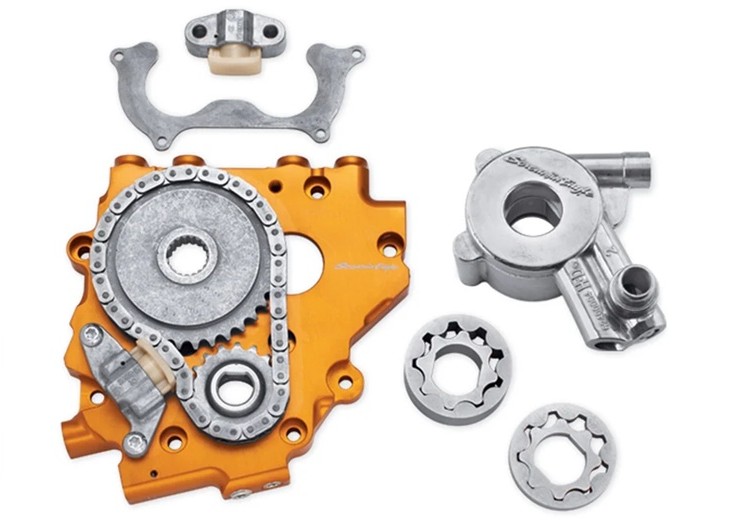
The Screamin Eagle kit fits 1999-2005 Dyna, 2000-2006 Softail, 1999-2006 Touring models, and a high-flow oil pump is included. Installation will also require separate purchases of spacer kit #25285-08, cam service kit #17045-99D, and drive gear retention kit #91800088.
Gear Drive Upgrade
S&S Cycle offers a Camshaft Gear Drive Kit that will increase valve timing accuracy by eliminating loosely-fit stock cam gears as well as eliminating timing chain lash.
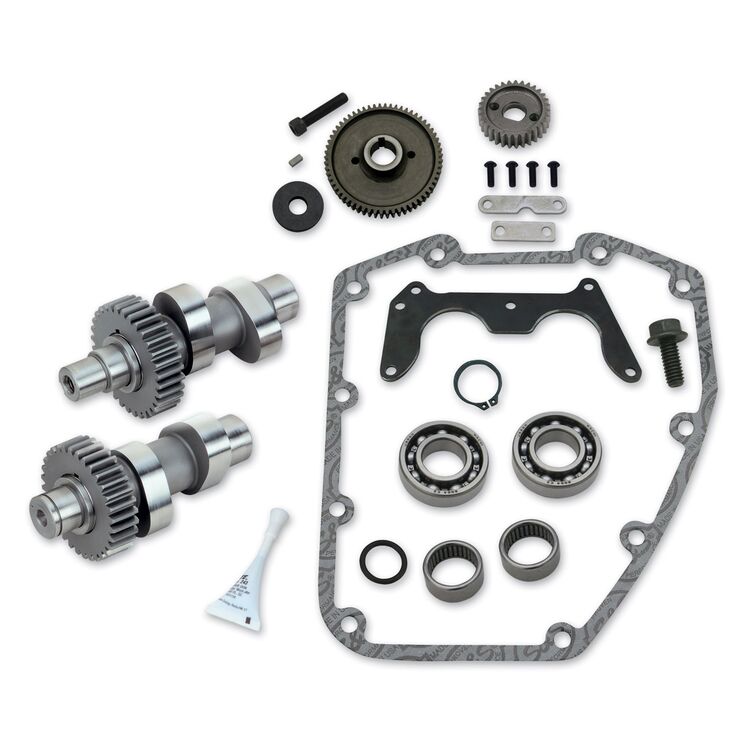
The S&S kit fits 1999 through 2006 Twin Cam 88 engines.
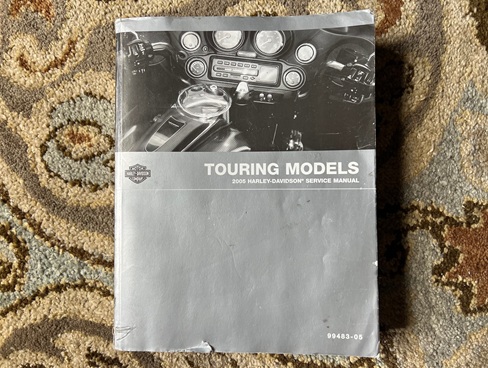
NOTE: Regardless of what you read or see on a video, you should have a factory service manual on hand.
********************
Reassembly
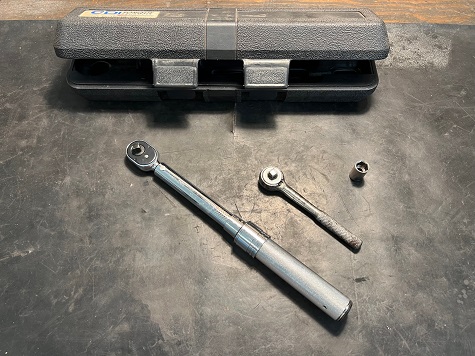
For bolt-tightening, you'll need a torque wrench that reads in Inch-Pounds.
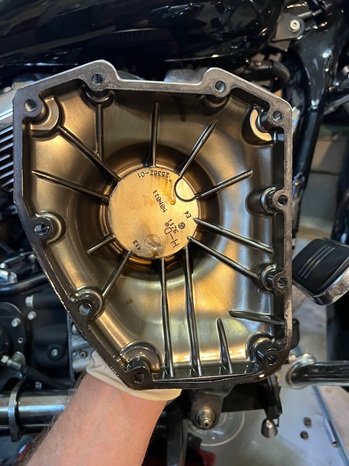
Before reinstalling, check cam cover gasket. This one was Ok for re-use.
If needed, replace the head pipe to cylinder head gaskets. A seal driver of proper size works well.
Exhaust pipe nuts get torqued to 100 Inch-Pounds. I did this in sequence: 50, 60, 75, 85, then 100 Inch-Pounds.
Rear U-bracket for front pipe reinstalled.
Re-attach heat shields.
Re-install air filter cover if removed.
Check/add engine oil.
Total time it took me to disassemble and reassemble, about three hours, but remember, I was stopping to take notes and pictures!
Road test when done.
********************
Related Articles: