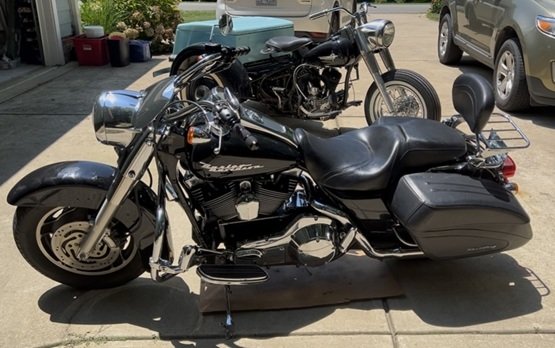
Road King Handlebar Adjustment
Article by Mark Trotta
The following is a step-by-step of how I adjusted the handlebars on my 2005 Road King Custom. It's basically the same procedure for all FLHR models up until 2009, when a redesign made it a whole lot easier.
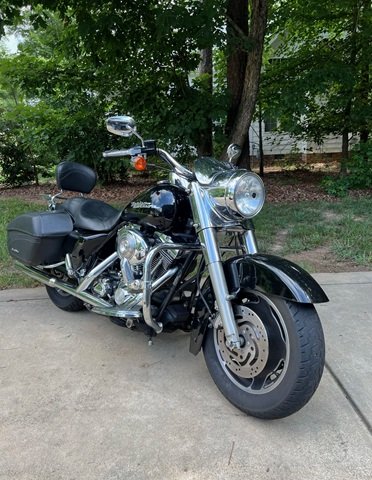
If you're replacing the handlebars, the same procedures are followed.
Tools Needed
Basic hand tools are all that's required.
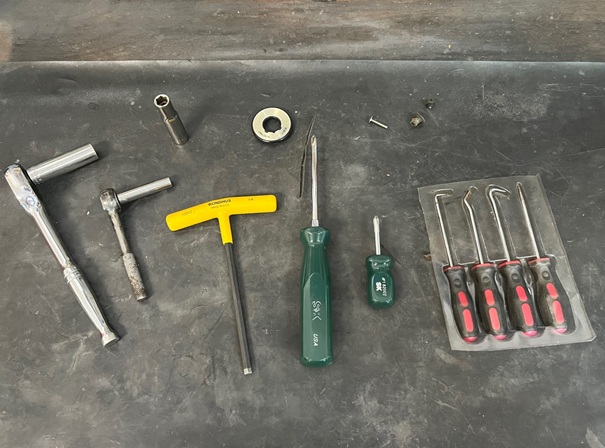
Left to right: 3/8" ratchet with 1/2" socket, 1/4" ratchet with 5/16" socket, 1/4" hex key, Phillips screwdrivers, pick-outer tools.
Getting Started
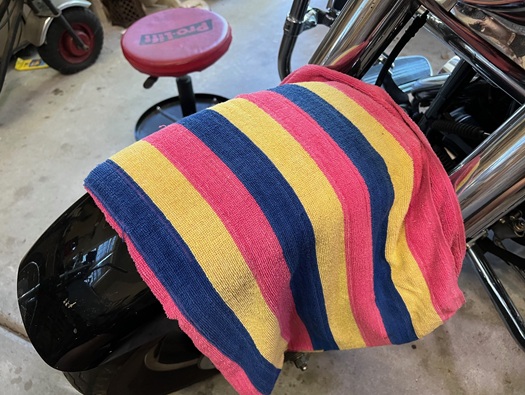
Place a clean soft towel on your front fender. You may also want to put one over the gas tank.
*****************
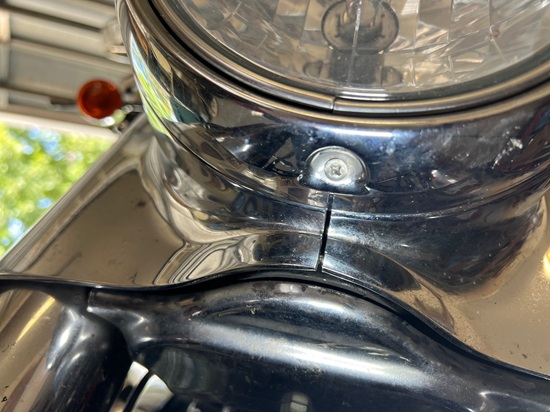
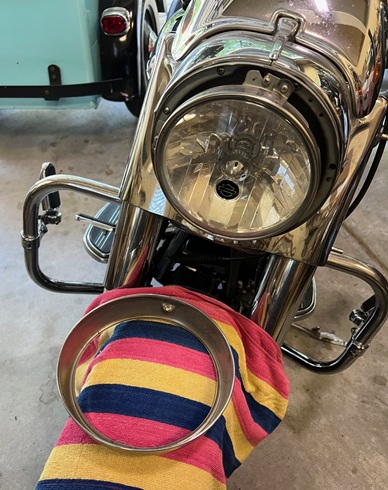
Step 1) - On the bottom of the nacelle, remove the Phillips screw holding on the headlamp door.
*****************
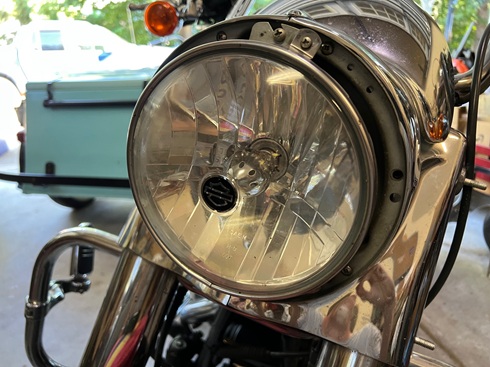
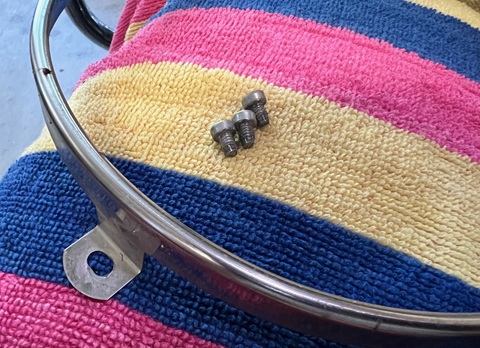
Step 2) - Remove the three retaining ring screws.
*****************
Step 3) - Carefully pull away headlamp bulb and unplug it.
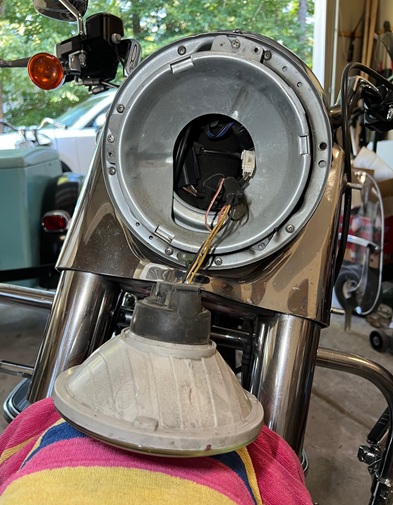
The pigtail socket may have two external tabs that squeeze together.
*****************
Step 4) - Remove the seven Phillips screws that thread into the well-nuts (the little threaded rubber grommets).
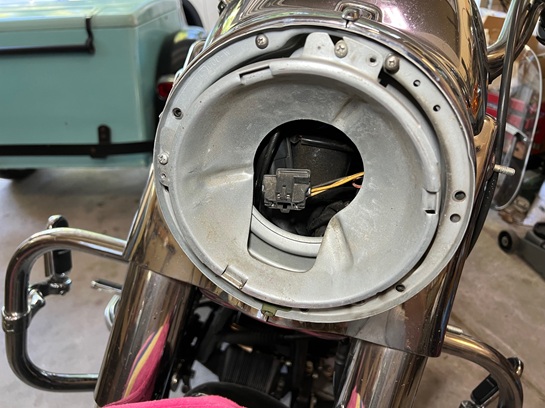
There is no need to separate the trim ring bracket from the headlamp housing.
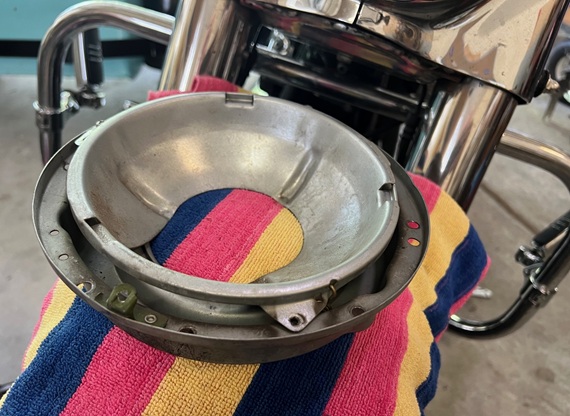
When you remove the screws from the well-nuts, several will undoubtedly fall out into the bottom of the nacelle and onto your garage floor.
If you have less than seven, that means someone was already in there and lost one or two.
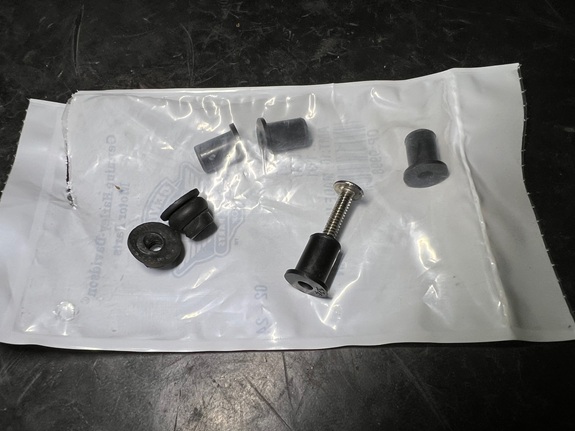
Four of mine were broken, so I ended up taking a trip to the local Harley dealer the next day.
*******************
Step 5) - Inside the nacelle, you'll see the trim spear speed nut.
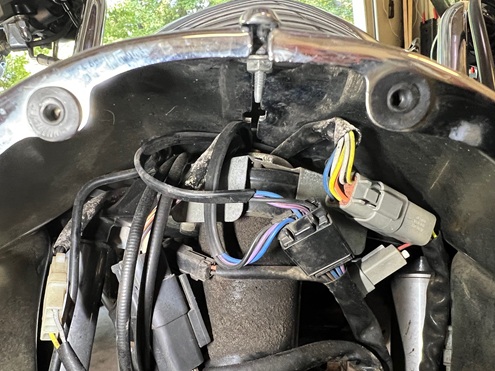
It is removed with a 5/16" socket.
*****************
Step 6) - On either side of the upper forks are two acorn nuts. If you have a detachable windshield, they are part of the docking hardware.
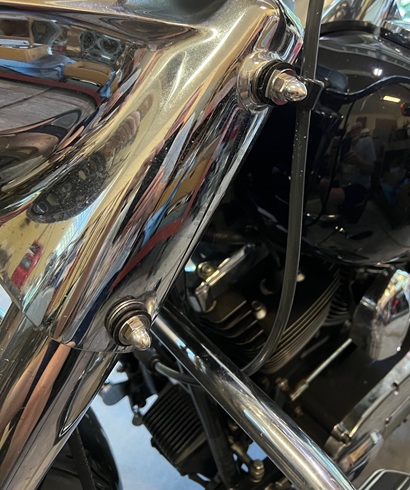
Take off the four nuts with a 1/2" socket.
*****************
Step 7) - There is a plastic cover (fork lock plate) that fits over the key lock.
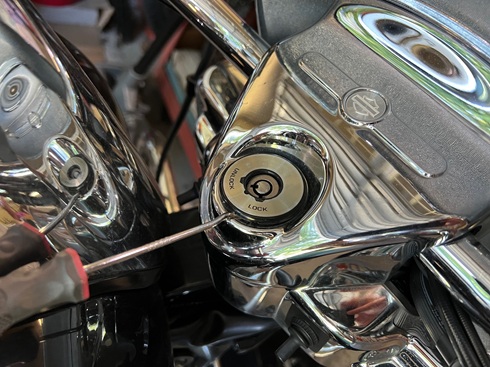
Gently pry it off from the bottom with a picker-outer tool or something similar.
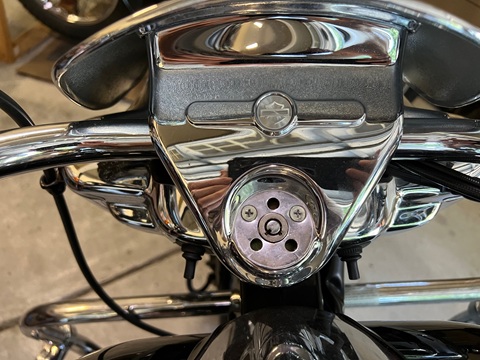
It will expose two screws that hold on the handlebar clamp shroud assembly.
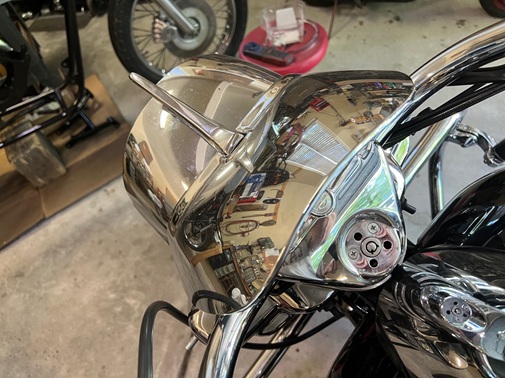
Remove the two screws.
Step 8) - Lift and remove handlebar clamp riser cover assembly.
The handlebar clamps are now accessible.
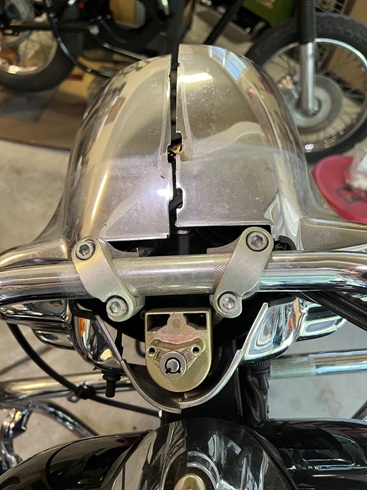
They can be tightened/loosened with a 1/4 hex key.
*****************
All Road King Custom models were factory-equipped with a 'duck bill' wind deflector.
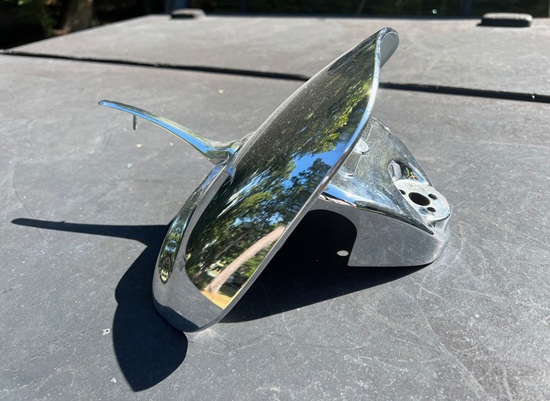
It is a popular option for other FLHR models as well.
*******************
Reassembly
When re-installing the headlamp door, the thin wire clip goes into the slot in front of the nacelle.
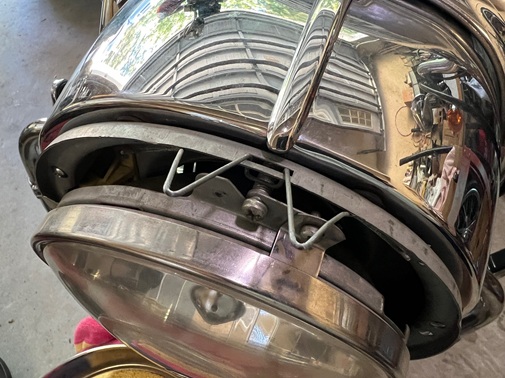
The headlamp door then fits over clip.
The windshield docking bushings were replaced during reassembly.
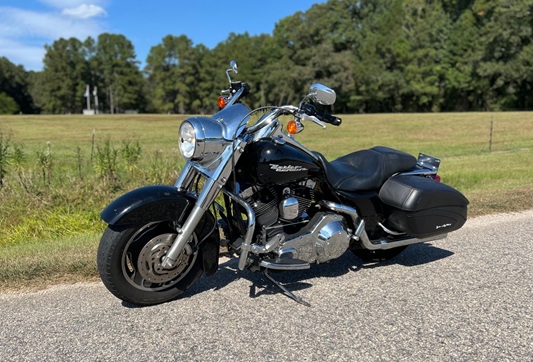
2005 Road King Custom with duck bill wind deflector.
*****************
Headlight Upgrade
For those with older Harleys, if you want to upgrade from the factory sealed beam headlight, but don't want to go LED, the next step in brightness is a Headlight with H4 Bulb for Motorcycles.
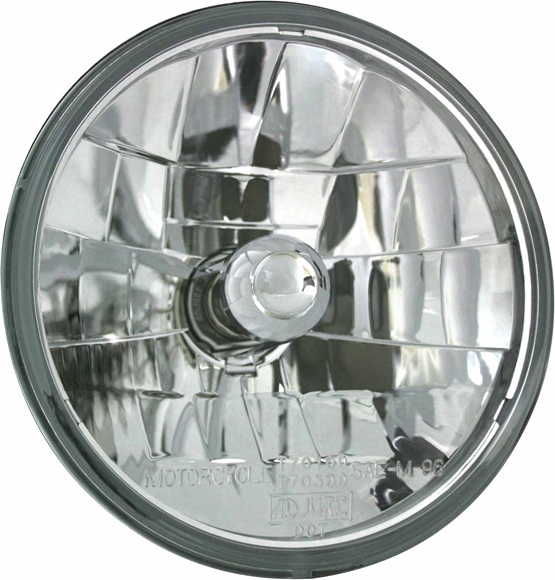
It will be a noticeable improvement over the stock headlight, and you won't need to fuss over adapters and transformers that LED conversions usually require.
*****************
Related Articles:
2005 Harley Road King Review by Owner
Remove and Install Primary Cover Harley Twin-Cam
How To Check Harley Twin Cam Chain Tensioners
Sunday Morning Motorcycle Ride
