Ironhead Clutch (Remove and Install)
Article by Mark Trotta
If you're experiencing clutch slippage with your 1971-up Ironhead Sportster, and you've already tried lubing and adjusting the cable, it's time to remove the primary cover and see what's going on.
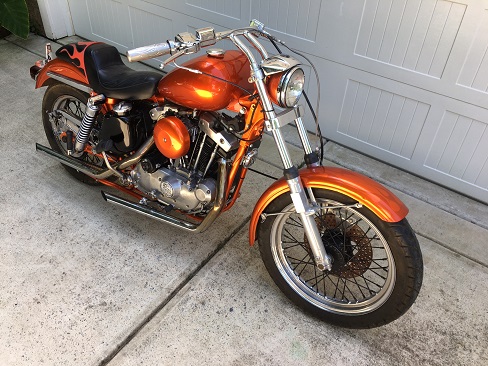
Clutch Slippage
Slippage can be caused by worn friction discs or weak spring tension. If your clutch is dragging or not releasing, the discs may be gummed up or warped.
This article covers 1971 to early 1984 Ironheads with a wet clutch. Late 1984 and up Sportsters have a different clutch setup and installation/removal procedures are slightly different.
NOTE: 1957-1970 Sportsters have a dry clutch and will be covered in a future article.
*********************
Clutch Removal Procedure
Stabilize the bike in an upright position. If you don't have a motorcycle work stand, put the front wheel into a chock or clamp so the bike is vertical. Another way is place a piece of wood under the kickstand so the bike sits more upright (careful it doesn't fall over the other way).
If you have an electric-start bike, disconnect the battery. You may have to remove the battery and the battery tray to remove the primary cover.
Remove left foot peg. Remove rear brake lever on 1974 or earlier bikes, or shifter lever on 1975 and later bikes.
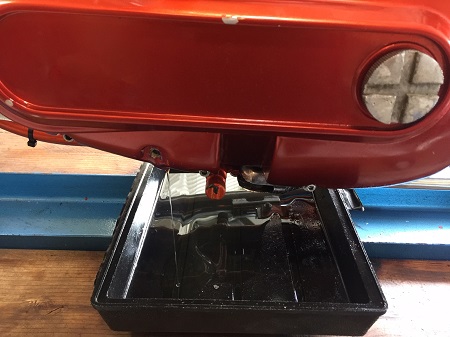
Place a drain pan under the motorcycle. Remove the bottom oil plug from the primary cover and drain the oil.
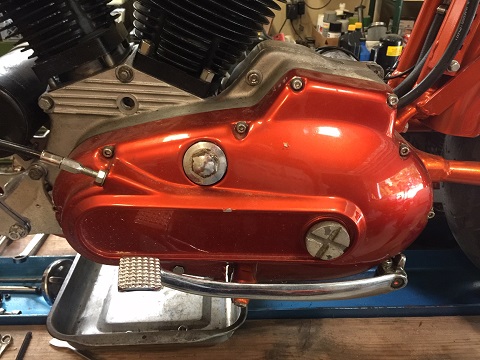
Now's the time to remove the large primary cover plug, while the cover is still on the motor. If you don't have the proper primary cover plug tool, the side of a wrench usually works. Or you can carefully tap it off (counter-clockwise) with a hammer and blunt chisel.
Remove the primary chain cover and gasket. Note that some of the bolts are longer than the others, and one of the bolts is thinner than the others.
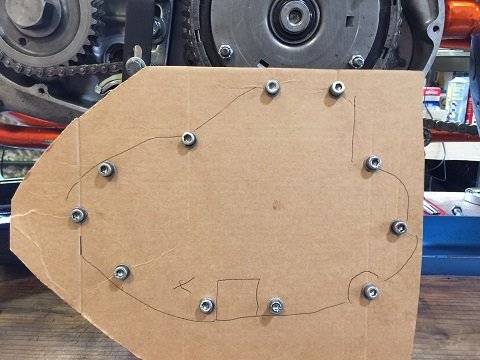
TIP: To keep the bolts in order, punch holes in the shape of the cover in a piece of cardboard. Not only does this prevent them from getting lost, it also saves time on reassembly.
*********************
Do I Have To Remove The Clutch Cable?
The clutch cable can stay attached to the primary cover, but you may want to take off the hand lever (two screws) so you can put the cable and cover aside somewhere out of the way.
Inspect the outer casing for nicks and abrasions, and replace if questionable.

If needed, you can buy a replacement clutch cable here.
*********************
Clutch Spring Compressor Tool
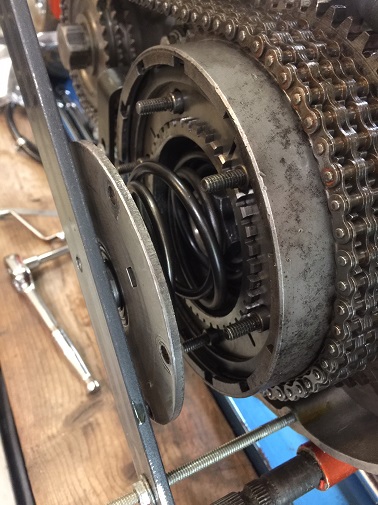
To remove the 6 pressure plate nuts, a clutch spring compressing tool is needed to take pressure off the clutch assembly. You can either buy one, borrow one, or make one.
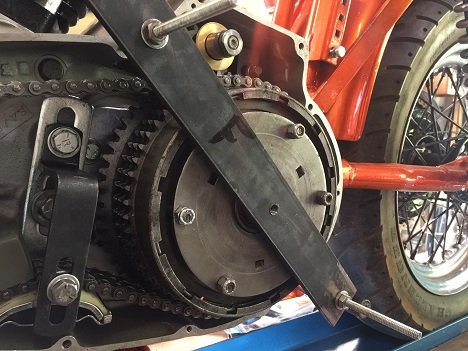
Here's an article on how to make one yourself:
Read: DIY Sportster Clutch Removal Tool
*********************
Ironhead Clutch Removal
After you have removed 6 six lock nuts, slowly back off the two nuts holding the tool to the primary cover.
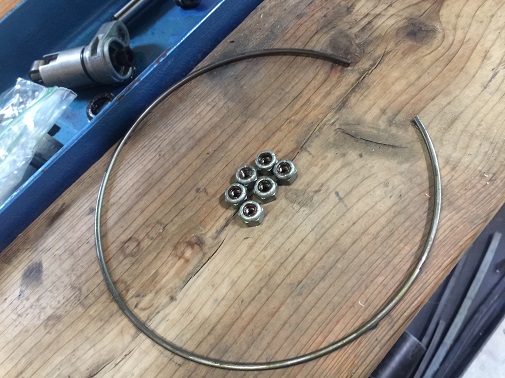
With a flat-blade screwdriver, remove the large retaining ring from its groove in the clutch shell. The first clutch piece to come out is the outer drive plate.
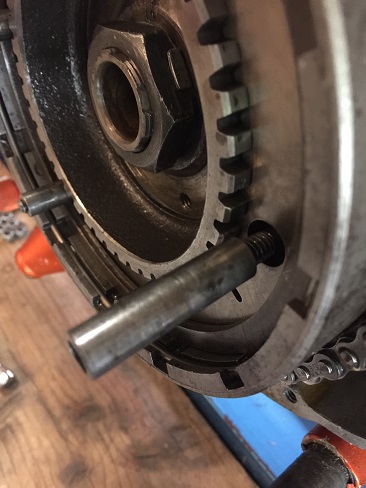
NOTE: 1971-1974 Sportsters have six spacers behind the nuts.
Remove the eight friction plates and eight steel plates from the clutch hub. The friction plates with the teeth are called drive plates, and the steel ones are called driven plates.
The metal ring with the six studs inside the clutch shell is called the pressure plate, or clutch backing plate. It is removed by holding the studs and pulling it out.
*********************
Parts Inspection
If the motor was exposed to excessive heat, the two clutch springs may be damaged. Visually check them, then measure their height.
The Harley service manual species the clutch springs to be approximately 2-25/64" tall. Rounded off to a more common fraction, that's just a dot below 2-3/8" tall.
If either spring measures below 2-11/32" (which is the fraction just above 2-5/16"), replace it.
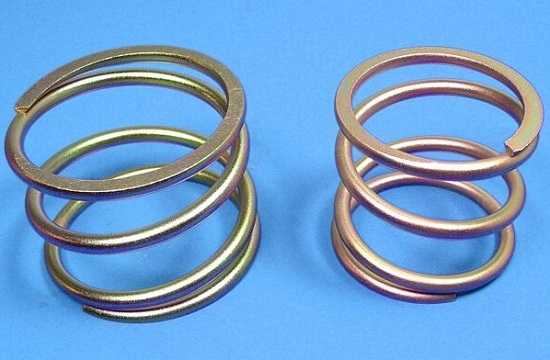
To buy replacement 1971 through 1984 Sportster clutch springs click here.
Once the clutch plates are out, inspect each one of them. The friction plates come with oil grooves in them. If the grooves are gone, replace the plates. Also check for burns or scores, indicating they have been overheated.
Check for warped steel plates. A little blueing is OK. If the plates are rusty, pitted, or grooved, replace them.
Clean all parts before reassembly - wipe the steel plates with a clean cloth or rag - do not use cleaners.
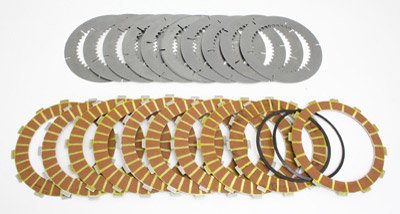
Shop: Sportster Clutch Kit
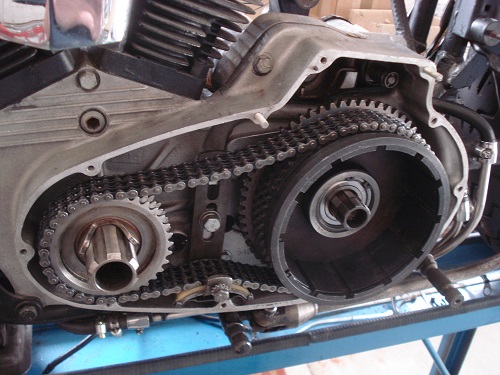
Inspect the clutch shell for any wear, particularly the teeth. If you need to remove the clutch shell, see Primary Chain Remove and Install.
*********************
Clutch Installation
Install the pressure plate back in the clutch basket with the studs sticking out. On 1974-1974 Sportsters, the six spacer tubes make the correct plate adjustment and also line up the pressure plate.
Install a friction plate, then a steel plate over the studs. Alternate steel plates and friction plates until eight of each are installed. This should leave a steel plate on the outside.
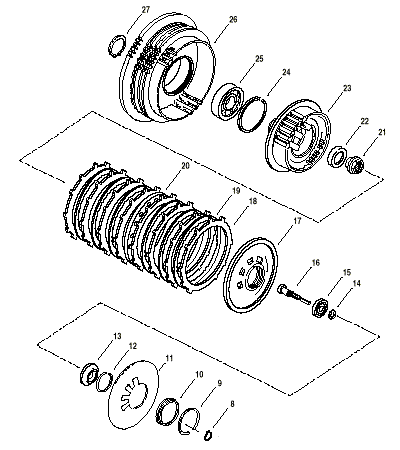
Once the eight drive plates and the eight driven plates are installed, the outer drive plate goes back on. Set up your clutch compressing tool and slowly tighten both ends evenly.
Tighten the tool until you can thread the lock nuts (1/4"-20) on at least three of the six studs. Tighten these nuts on the studs until the others show enough threads to be started.
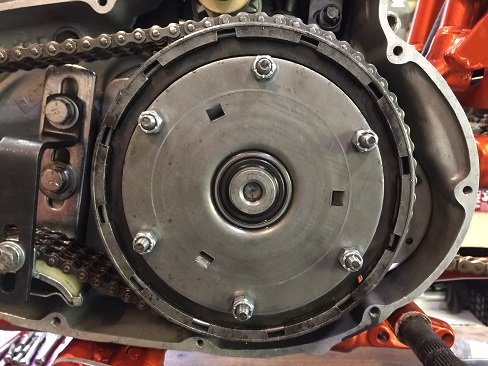
Tighten all six nuts evenly. Do not re-use the old nuts - buy new ones. The lock nuts are 1/4" x 20, which any hardware store should have. Or you can buy them here.
*********************
Clutch Cable Release Adjuster Assembly
Before installing the primary cover, inspect the clutch cable release mechanism.
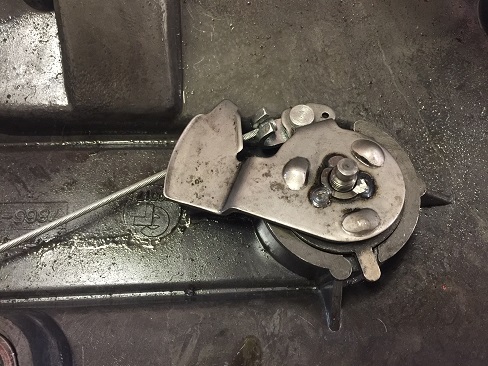
Make sure that none of the three ball bearings in the release mechanism are missing or distorted. A ball out of round will cause binding, and the clutch will fail to function properly.
If yours is missing parts or broken, V-Twin Mfg offers a clutch release kit assembly.
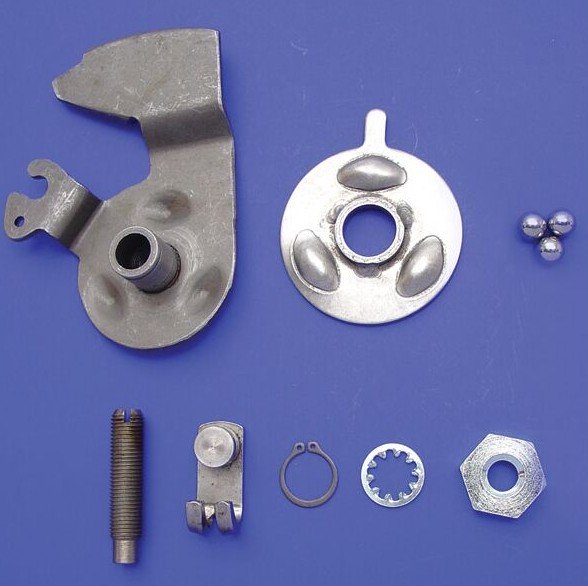
V-Twin 18-3619 Clutch Release Kit for Ironheads
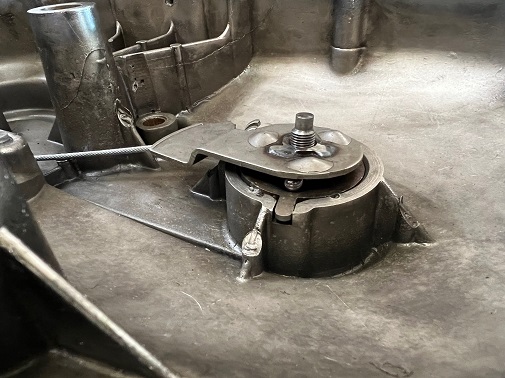
If all is well, install the primary cover with a new gasket. Note that there is an early and late primary cover gasket. If you buy a James Engine Gasket kit, it comes with both.
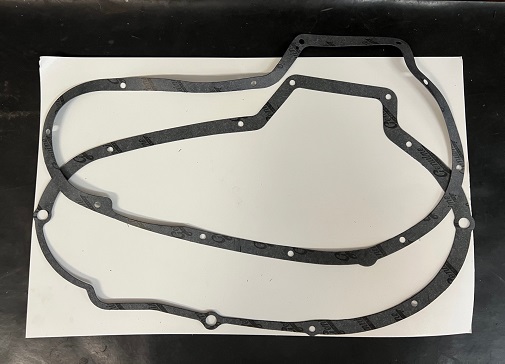
Shop: Ironhead Primary Gasket
NOTE: You don't need to use gasket sealant, but it does help keep it in place.
After the primary cover is back on and bolts tightened, the rear foot brake lever and foot peg can be re-installed.
Next step is to refill the oil.
Remove the top oil plug and bottom oil plug. Use the same oil as you put in the motor.
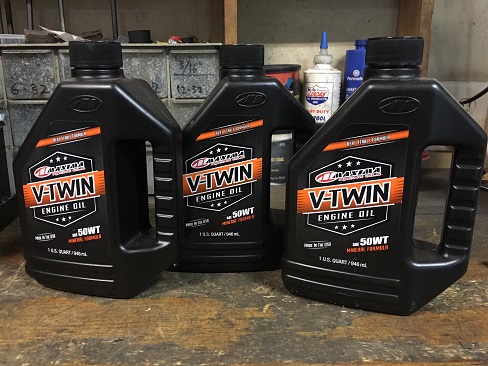
I've been using Maxima V-Twin mineral oil. It's also offered in synthetic.
Add oil through the top plug until it starts coming out the bottom plug, then re-install both plugs.
*********************
Ironhead Clutch Adjustment
With the primary cover re-installed, the clutch can be adjusted.
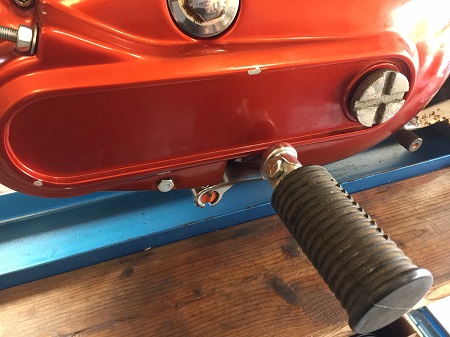
If you haven't yet, unscrew the clutch access plug. Loosen the 13/16" locknut. With a flat-blade screwdriver, take up the free-play on the adjusting screw, then back off a 1/4 to 1/2 turn.
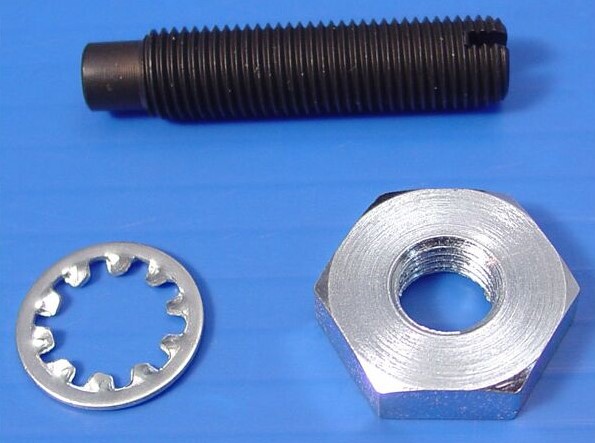
Clutch Adjuster Screw for Harley Sportster 1971-1984
Basically you are turning it in (clockwise) until you feel pressure, then backing it 1/2 turn. The backing off is to make sure the clutch is fully engaged.
Tighten the locknut without moving the adjusting screw. Make sure there is an O-ring on the back of the assess plug before re-installing (to prevent a possible oil leak).
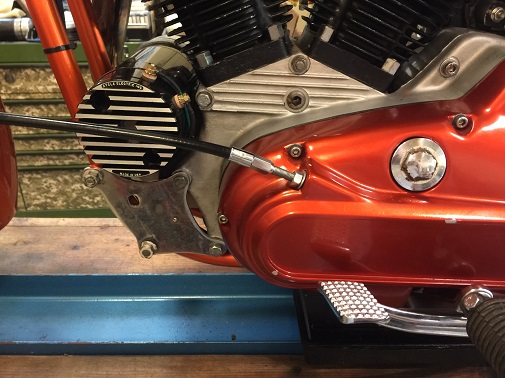
The clutch can be final-tuned with the threaded rod and locknut at the front of the primary cover. The factory service manual calls this mechanism the "clutch control coil".
*********************
Related Articles: