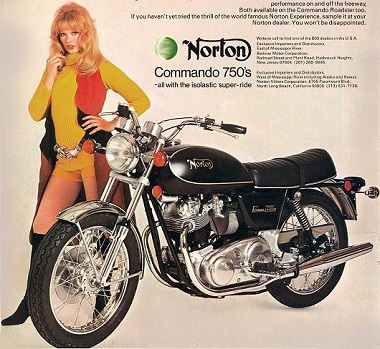
Swing Arm Overhaul Norton Commando
Article by Mark Trotta
The flanged bushings on Commando swing arms are made of sintered bronze, which is a porous metal known to have excellent wear resistance.
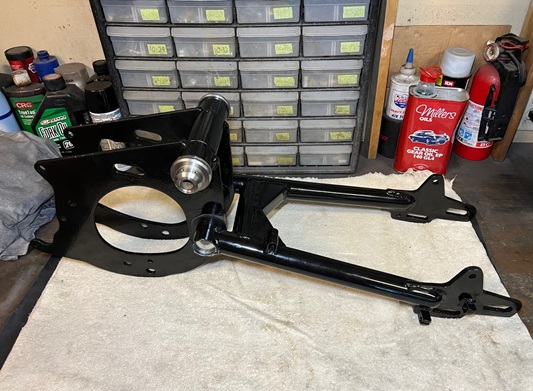
So why do they go bad?
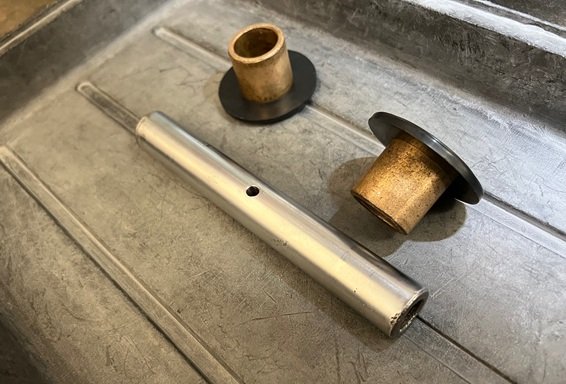
Lack of lubrication is often cited for premature wear, all too often caused by owners adding grease instead of the recommended 140W oil.
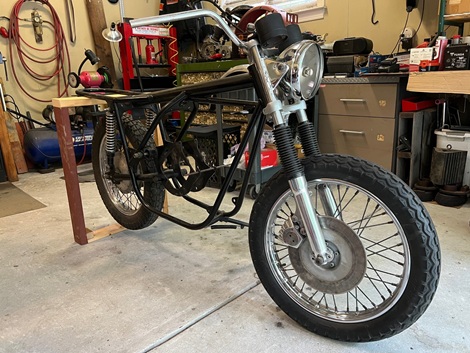
This article covers swing arm overhaul on a 1974 Commando Roadster, presently in the middle of a complete restoration.
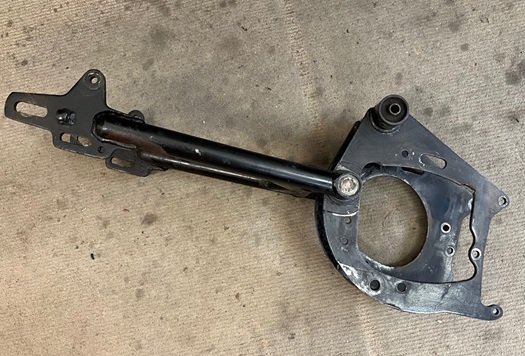
For article on Swing Arm Removal click here
*****************
Early vs Late Spindle
There are two Commando swing arm spindles, original long and a later short.
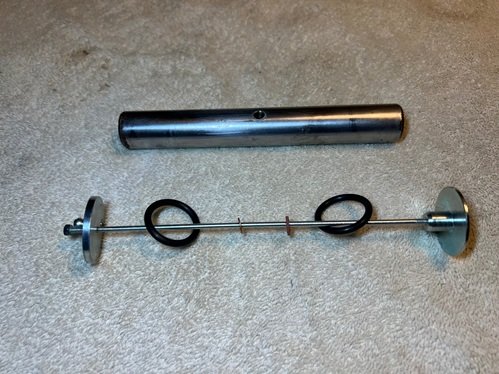
On 1968 through 1974 models, the spindle is 6.3" in length. It has a long skinny rod running through it, which holds left and right end caps in place.
To keep it from turning in the cross tube, there is a 1/4" bolt threaded into the top of the tube and into the spindle.
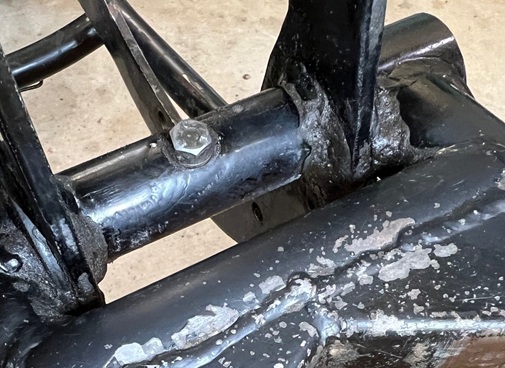
Before Norton installed the 1/4" bolt, there was factory-installed nipple, but too many owners (who didn't read the service manual) would mistakenly add grease instead of the proper 140W oil.
Problems With The Early Design - It was found that with aggressive cornering and hard acceleration, the bore of the cross tube would prematurely wear due to the lateral stress. And the end caps were known to leak oil.
Updated Design
Starting with 1975 Mk3 models, a new longer spindle (6.9") was secured in place with two wedge pins, which in 'Brit-Speak' are cotter keys.
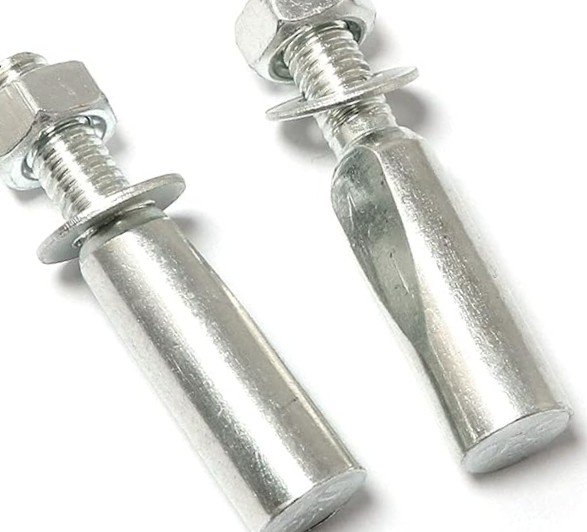
The two swing arm bushes were now slightly shorter, and the end caps and skinny rod were discarded in favor of Welch plugs.
NOTE: Some 1974 Mk2 and Mk2a models were factory fitted with Welch plugs, but kept the longer bushings and shorter spindle.
*****************
Inspection and Cleaning
If the cross tube was run dry for a long time, the spindle may need replacing. Carefully check the surface for irregular wear.
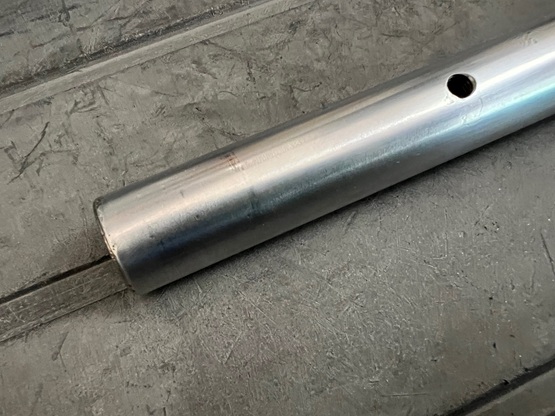
This one had some light scuff marks, but was Ok for re-use.
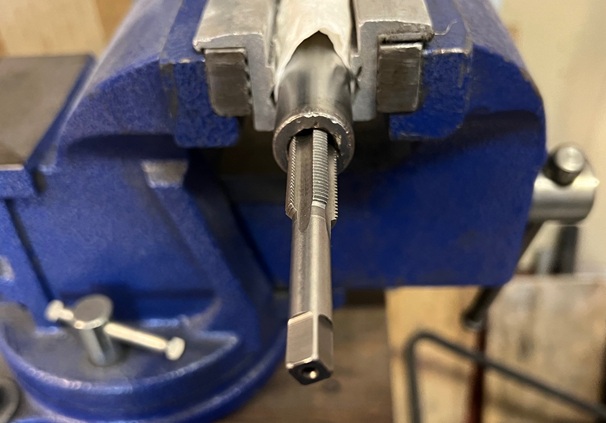
The internal threads on both ends were a bit rusty, but cleaned up nicely after a few passes with a 1/2-20 UNF tap.
*****************
Stripping Paint
A combination of grinding wheel and die grinder removed most of the paint, along with scratches and surface rust.
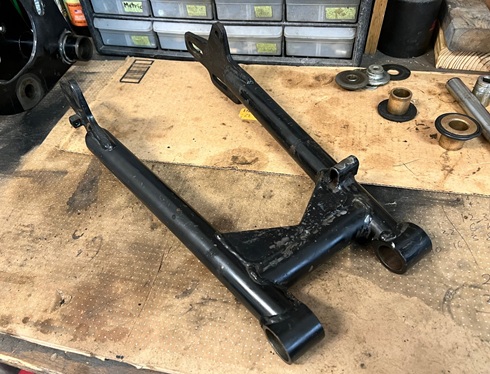
A wire wheel attachment was used to get into the 'nooks and crannies'.
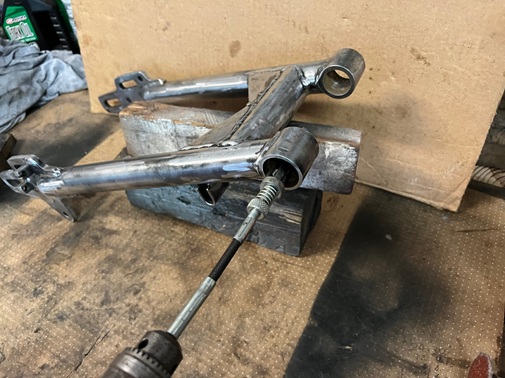
A brake hone with 240 grit stones cleaned up the rusty bores.
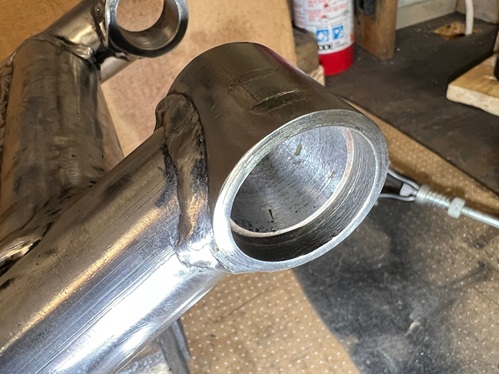
As evidenced in the pictures, Norton frames and swing arms were produced from the highest quality steel.
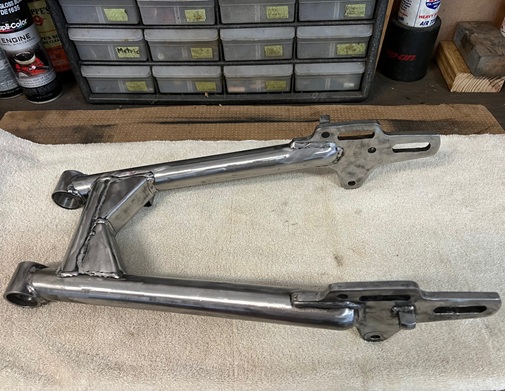
The holes were stuffed with balled-up shop towels so no paint went into the bores.
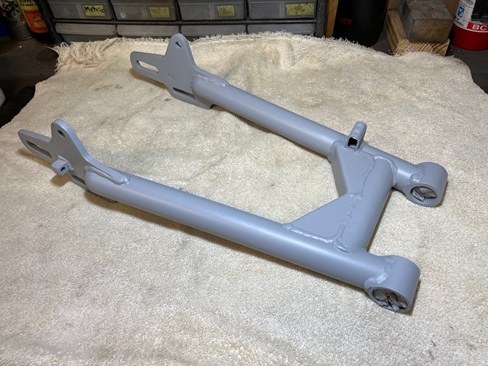
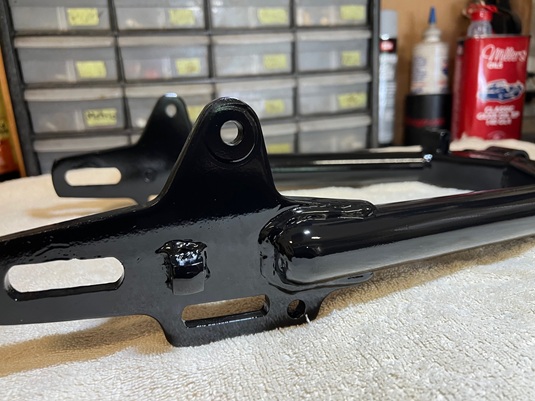
A few coats of epoxy primer were sprayed, then a few coats of gloss black.
*****************
Heat and Soak Bushings
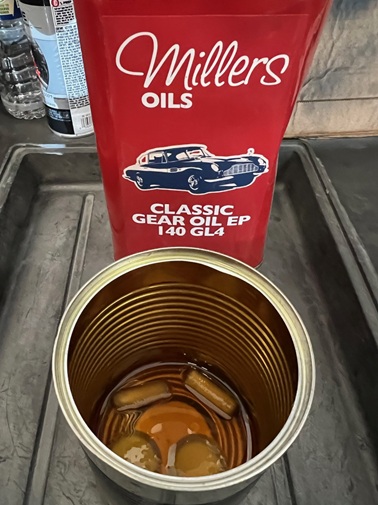
Bronze bushings are self-lubricating. They are oil impregnated and have pores that release during operation under applied force. New ones should be soaked in oil before installing.
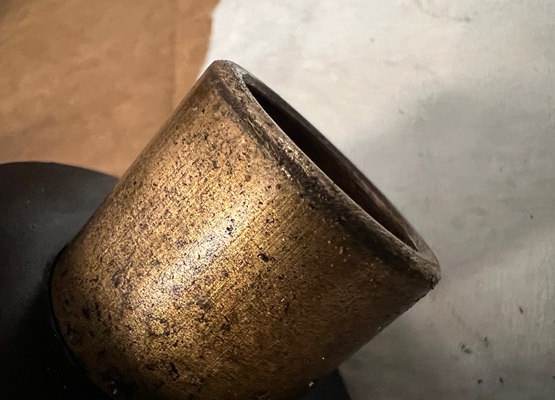
NOTE: Grease will not soak into bronze. It will actually clog the pores.
With the bushings on a metal tray, they were heated up, then placed into a metal can with 140w gear oil.
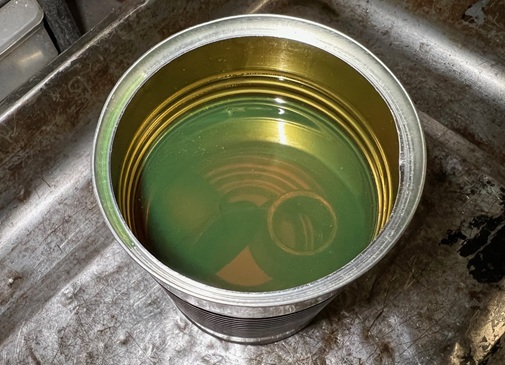
I'm not sure if the heat really helped, but in theory...
The heat will burn off any old oil or grease, and will quicken the capillary action of the bronze.
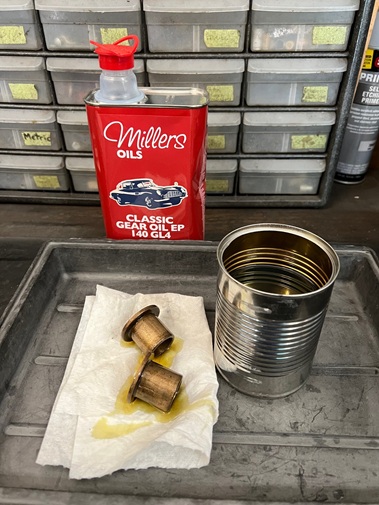
Oilite bushings after a good soak.
*****************
Bushing Installation
New seals were slipped onto the bushings. These are the later-style seals and are directional (flat side faces out).
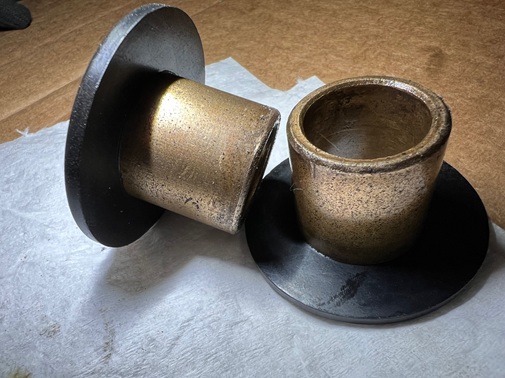
If you have the earlier design, don't forget the metal dust shields before installing.
Bushings are a press fit into the swing arm, and may be installed in one of several ways.
I installed mine with a C-Clamp and two pieces of metal stock on either end.
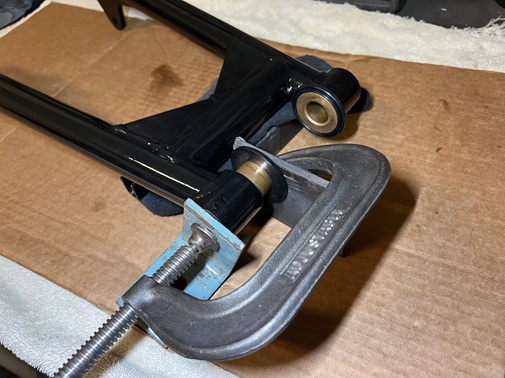
To help pull them in straight, the edges were lightly chamfered.
Alternatively, there are specialty tools that will pull the bushing through the bore. These can be purchased individually or in sets.
You can also fabricate a tool yourself. Basically all you need is a bolt, nut, and washers with a socket slightly smaller than the inner diameter.
Installing them with a hammer should be a last resort, and if you need to go this route, do so with care. It's better to use many soft blows rather than several heavy ones.
Regardless of which method you choose, the hardest part will be not scratching the paint!
*****************
Spindle Fitment
When re-installing the swing arm to the gearbox cradle, it will be a really tight fit. If you've painted the cradle or had it powder-coated, make sure that there is no paint where the two join up.
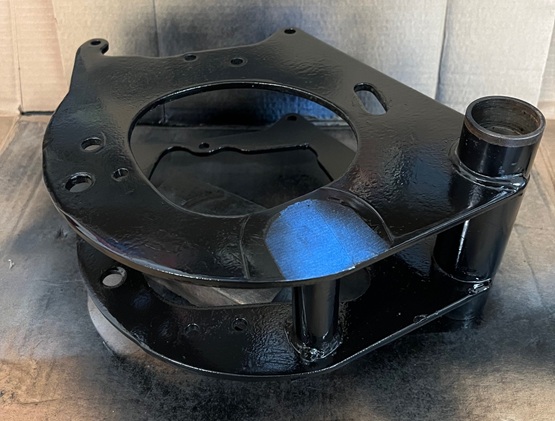
Prior to painting, the cradle mating area was taped up.
Align the shaft to pass through the swing arm and engine cradle.
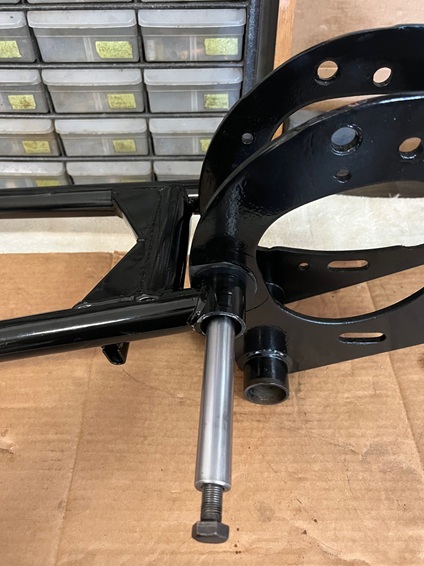
Threading in a 1/2" bolt will help align the shaft once it's in. It can now be turned with a wrench to help line up the cross tube bolt/cotter keys.
After joining the two pieces, check swing arm movement. It should be tight, but move freely without any binding.

A snug but rotatable fit is what you're after.
On early models, install the O-rings, left and right end caps, and long skinny rod.
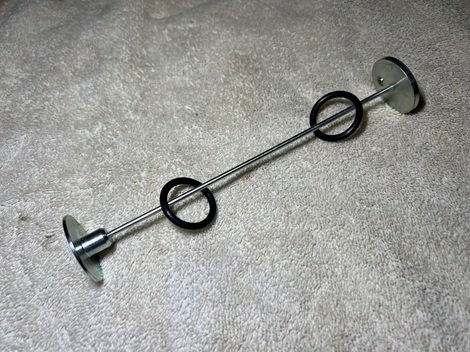
The rod goes in from the left side and threads into the right-side cap.
On late Mk2A and all 1975-1978 models, new oil wicks (felt pads, two on either side) and Welch plugs are now installed.
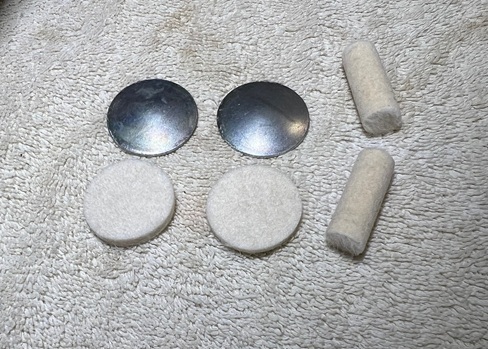
Let the pads soak in 140w oil before installing.
Install Welch Plugs
The Welch plugs are slightly larger than the bore, as they need to be oil-tight. Tap them in around the perimeter, keeping them convex.
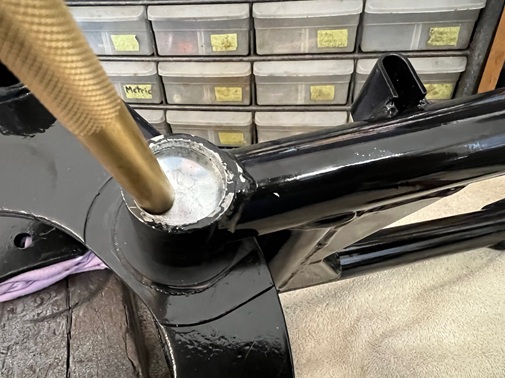
A brass punch is best, as it won't distort the plug.
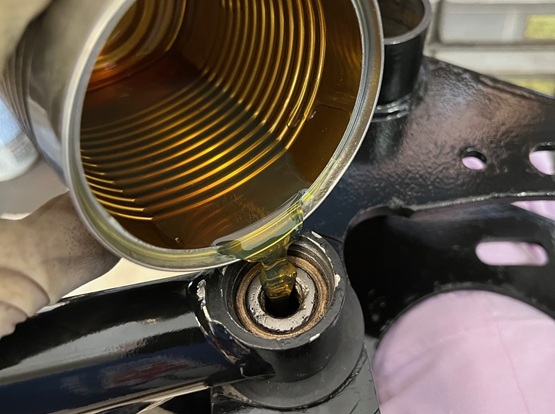
With one side done, I flipped over the assembly and poured in a little oil before buttoning up.
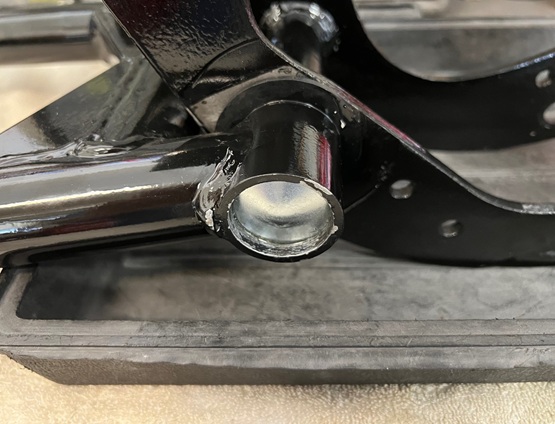
Additionally, you can apply sealant around the plug circumference to guard against leakage, but if they were installed correctly, it's not necessary.
Rear Isolastics were pulled through with a homemade tool comprised of a piece of 1-1/2" tube, threaded rod, nuts, and washers.

The later Mk3 style Isolatics were installed.
*****************
Notes and Misc
Although advertised as "ready to install", new bushes may need to be reamed for a perfect fit.
Replacement Spindle
Current aftermarket short spindles have both the cotter flats and the central hole, so it can be used with either the standard central bolt cradle or a cotter cradle upgrade.
Bearings vs Bushings
Although there are bearing conversions available, the stock setup is fine for normal street riding.
There are also modern graphite bushing replacements.
If you'd like to ponder the many options, you can spend an hour on the Norton Access Forum.
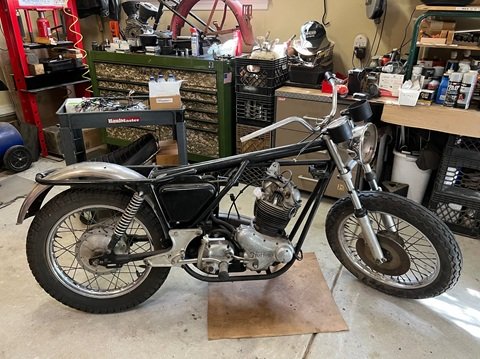
I've decided not to re-engineer this bike. Just restore it.
*****************
Related Articles:
Norton Commando Build - Main Page
Remove Front End
Front Fork Disassembly
Front Forks Overhaul
How To Polish Motorcycle Forks
Commando Swing Arm Removal
Norton Commando Upgrades
