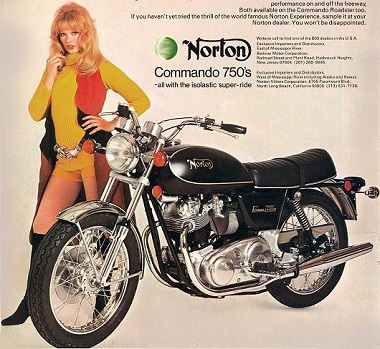
Norton Commando Swing Arm Removal
Article by Mark Trotta
As a motorcycle enthusiast, I embrace every detail of the original Commando's design. But at the same time, I must accept that it was not engineered for rapid disassembly!
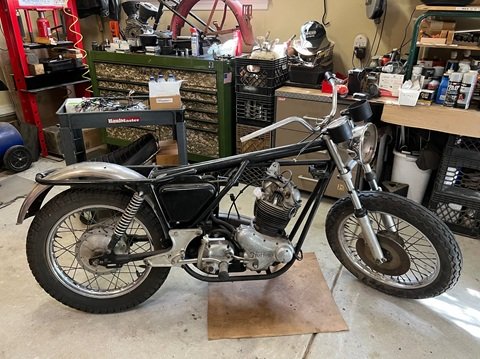
Swing arm removal includes removing the exhaust system, chain, and rear brake cable, dismantling the primary, propping up back of the bike, removing the rear wheel, and finally, extracting the pivot spindle from the right-hand side.
*********************
However, during a complete restoration, disassembly can be approached in a more strategic way.
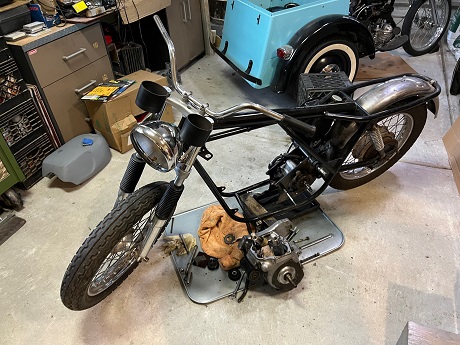
Having already removed the engine, gearbox, and primary, the bike was now a whole lot lighter. The considerable weight removal allows for a simple wooden frame to hold up the rear.
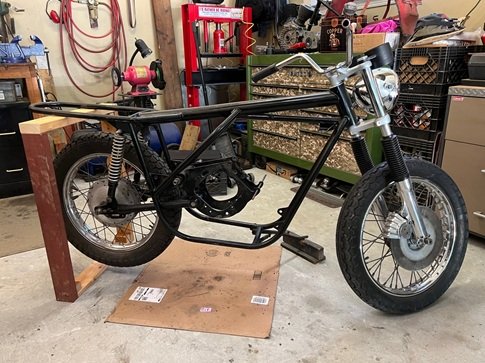
NOTE: If motor is still in place, a more robust support would be advisable.
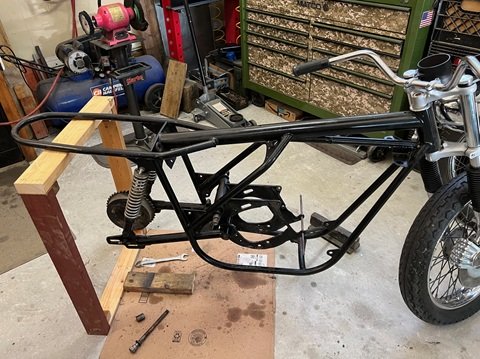
At this stage of disassembly, all that was needed was remove the rear wheel, knock out the engine mount stud, and unbolt the bottom of the shocks.
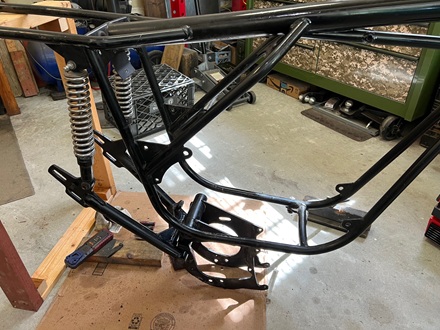
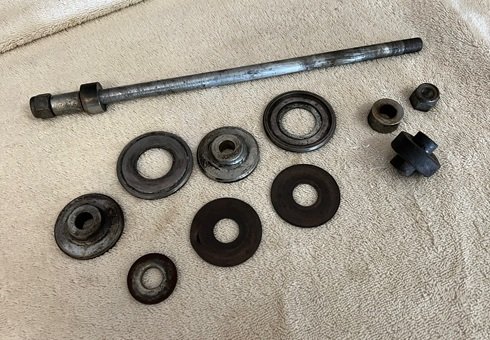
Sliding out that engine mount stud also releases the rear Isolastic components (gaiters, collars, washers, caps, bushes, and shims).
*********************
Separating Swing Arm from Cradle
In contrast to other motorcycles of the day, a Commando swing arm does not attach to the main frame.
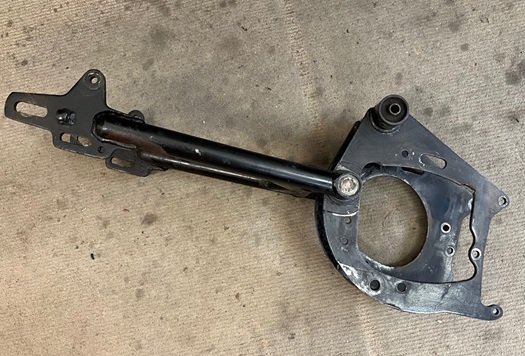
Instead, it bolts onto the rear of the gear box cradle, which attaches to the main frame.
Early vs Late Spindles
Early Models - After unbolting the center hex bolt from the top cross tube, unbolt and remove the thin rod, copper washer, O-rings, and right and left end caps.
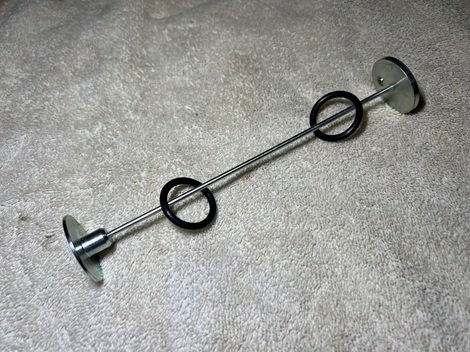
NOTE: While reassembling, these caps cannot be reversed. If they were, the primary chaincase would interfere with rod removal.
Later Models - After removing the two wedge pins (cotter keys), the Welch plugs need to be taken out.
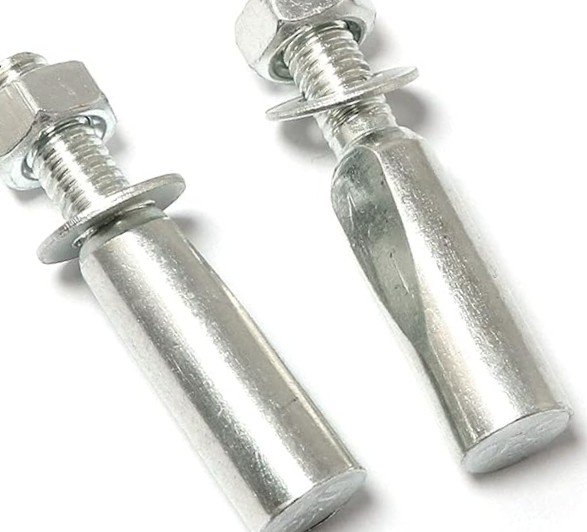
Above: Wedge Pins, also known as Cotter Keys
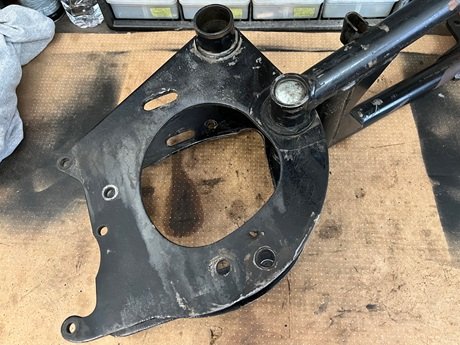
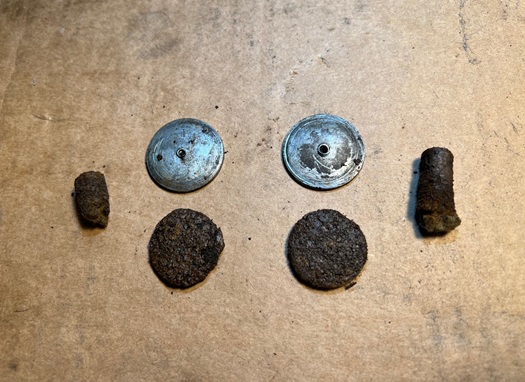
Since their function is to hold in oil, the plugs should be a tight fit, and are often destroyed during removal.
*********************
Welch Plug Removal
A popular method for removing Welch plugs is to thread in a self-tapping screw, then pull them out with a pry bar.
After punching a center mark, drill a pilot hole. Here, I'm using a 1/8" drill bit.
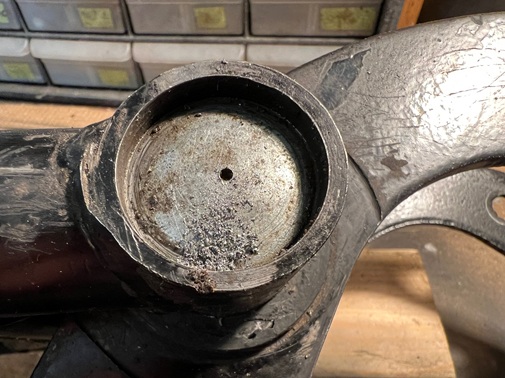
Wipe or blow away the drill chips.
Next step is to thread in a self-tapping screw.
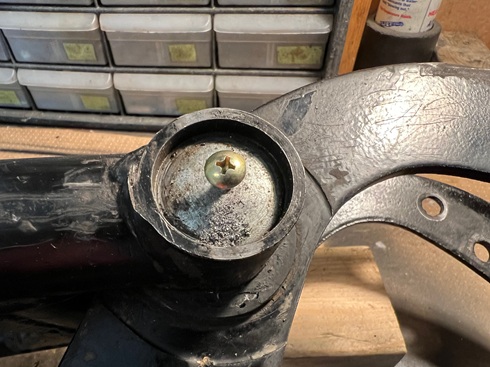
The screw is used as a fulcrum to prise the old plug out. The plugs are fairly thin, and will bow out during removal.
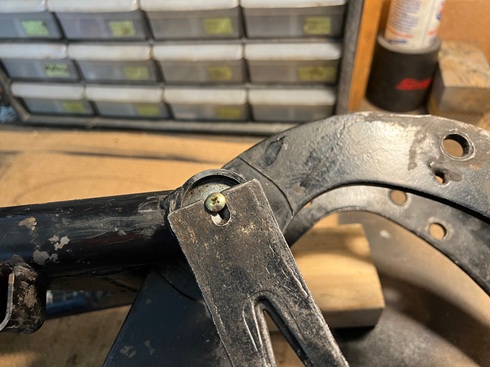
Note how the pry bar spreads the load over a larger area.
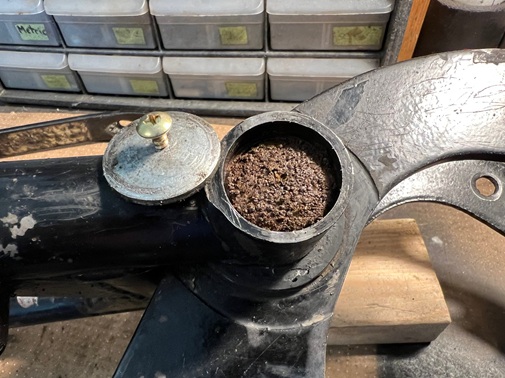
Spindles with Welch plugs are lubricated by four oil-soaked felt pads.
For Welch plug installation see Commando Swing Arm Overhaul
*********************
Spindle Removal
Both early and late spindles are internally threaded on both sides. There is a specialty tool available to remove them, but a long 1/2-UNF bolt can be threaded in, then tapped with a hammer.
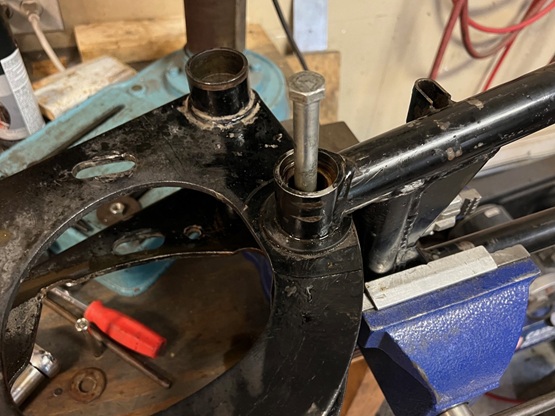
Spray around spindle with penetrating fluid and allow to soak into the tube.
A few light taps on the bolt head will (hopefully) knock the spindle through.
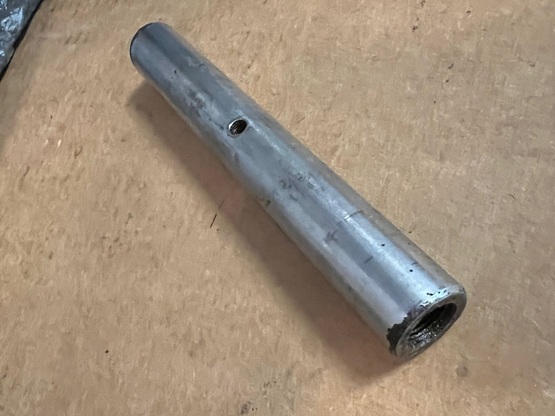
If it won't budge, STOP. Spray more penetrating fluid and let it soak overnight.
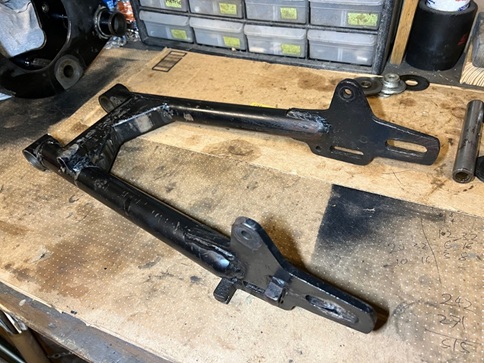
Up Next: Commando Swing Arm Overhaul

*********************
Notes and Misc
If your bike has a center kick stand, the spring needs to be removed before the cradle comes off.
*********************
Related Articles:
Norton Commando Build - Main Page
Remove Front End
Front Forks Disassembly
Front Forks Overhaul
Remove and Install Isolastics
What Are Whitworth Tools?
Norton Commando Upgrades
