Front Forks Overhaul Norton Commando
Article by Mark Trotta
After disassembly and inspection, with all parts clean and accounted for, it's time to re-assemble the forks on the '74 Roadster.
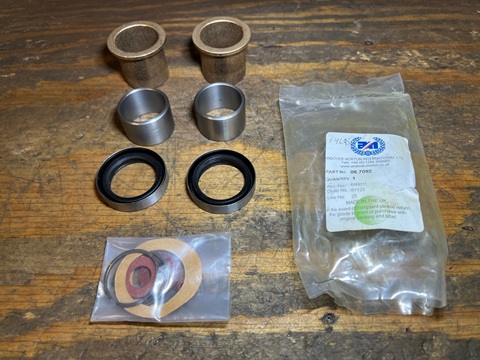
For article on Front End Removal click here
For article on Front Fork Disassembly click here
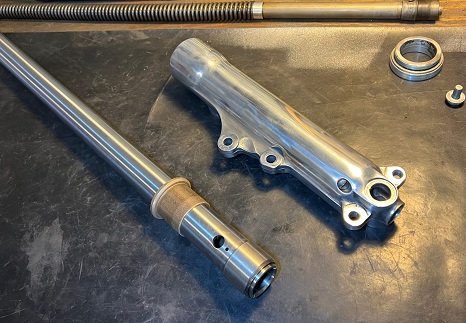
***************
Fork Damper Assembly
Below, left to right - damper rod with roll pin, fork damper valve, valve seat, 3/8" UNF nut.
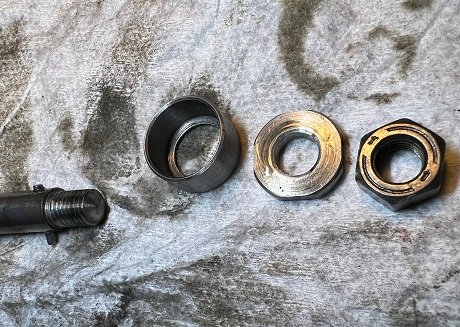
If any of these show signs of wear, replace them.
With the damper rod mounted in soft jaw pads, re-install roll pin, damper valve, valve seat, and nut to bottom end of damper rod.
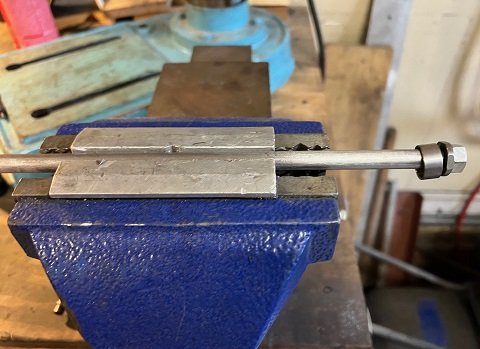
Wrench size on damper rod nut is 9/16".
***************
With a Phillips screwdriver in workbench vice holding the damper tube, insert rod into tube.
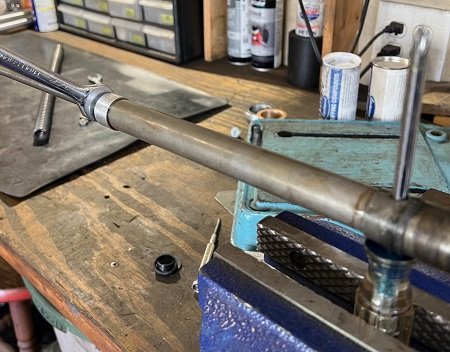
The damper tube cap can now be installed and tightened with a 1/2" wrench.
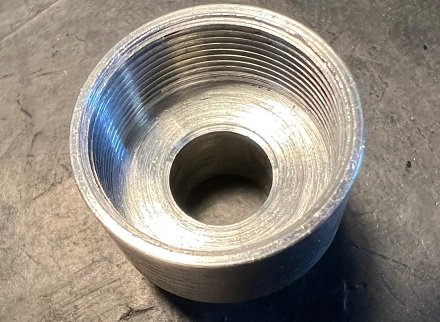
Damper Tube Cap
***************
Install Springs Now or Later?
At this point, there are two ways to proceed. The factory manual specifies installing the spring over the damper rod, then installing into the slider. Trouble is, when it comes time to add fork oil, the process will be long and slow due to the fork spring being in the way.
The alternative method is leave the springs out until later. Once the fork assemblies are back on the bike, oil will pour easily into the tubes.
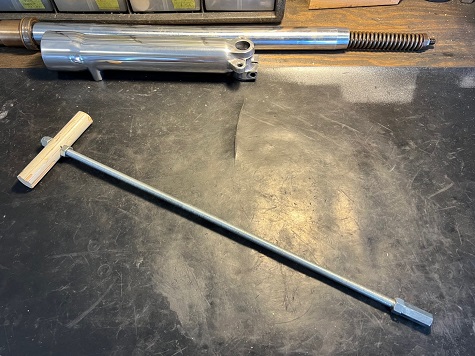
To install the spring, the damper rod can be retrieved with a T-handled threaded rod with 3/8 UNF female coupler on the end.
Read: DIY Motorcycle Tools
***************
Upper Bushing Fit
The Commando restorer has a choice of upper fork bushings; original style 'Oilite' or new technology low-friction plastic. For this 1974 Roadster, we're staying with original style Oilite bushings.
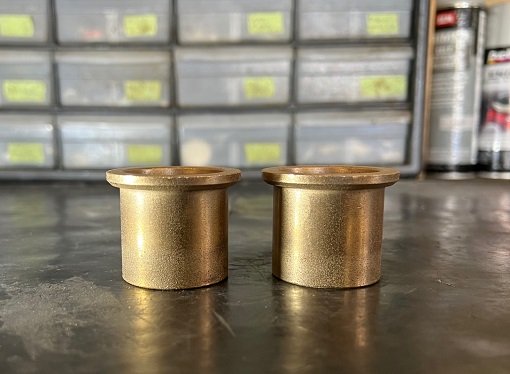
The upper bushings need to slide freely up and down on the stanchions, but due to variances in manufacturing, they don't always fit right.
Too tight a fit will cause binding when the forks are rebounding. Some techs refer to this as 'stiction'.
Here's a simple way to test for bushing fitment:
'Drop-Down' Test
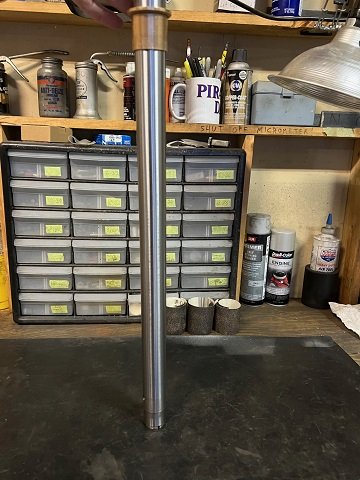
While holding the stanchion upright, the bronze bearing should slide down from top to bottom with no friction.
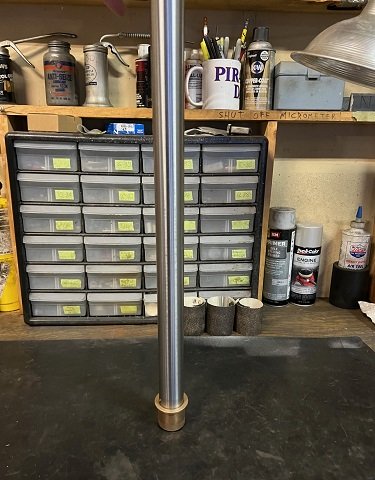
One of the new bushings was a little too tight.
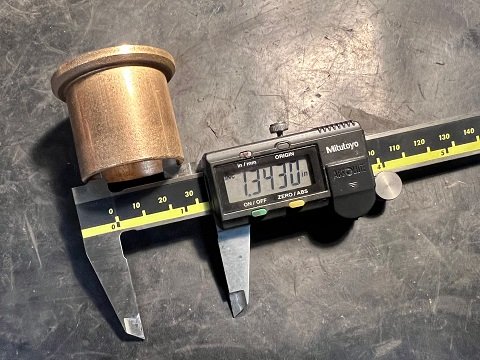
Using a Digital Caliper, the measured difference in I.D. between these two bushings was .013".
That little bit is enough to cause problems in fitment.
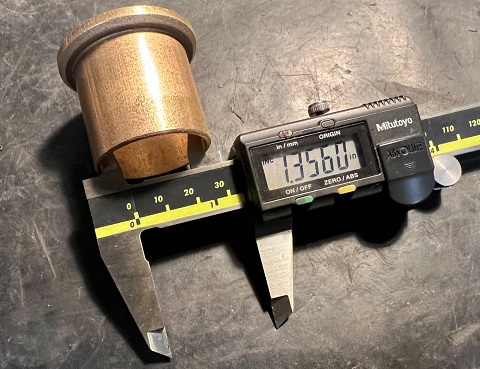
The solution was to hand-sand the ID of the new bushing with a piece of medium Emory cloth until correct fitment was obtained.
NOTE: Oilite bushings are a bronze material that retains oil within it's surface. Caution should be exercised here, as grinding may cause bushings to lose their self-lubricating properties. However, by hand-sanding, there isn't enough heat generated for this to realistically happen.
***************
Install Lower Bushing on Stanchion
The lower bushing is made from steel. Install it onto stanchion, making sure it rotates freely.
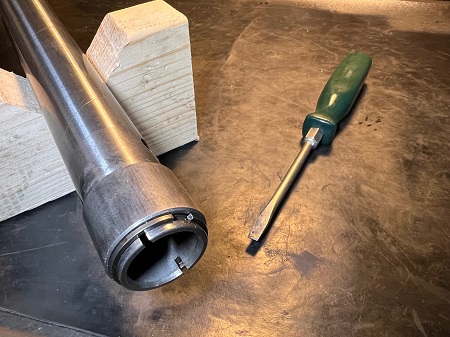
It's held on by a clip, which can be installed with help from a flat-blade screwdriver.
***************
On this Commando fork overhaul, we'll be installing the springs later. So the next step was installing the damper rod assembly into the slider.
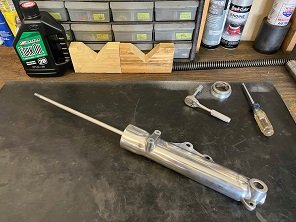
Place damper rod assembly into slider. Install 5/16" bolt with washer into bottom of slider.
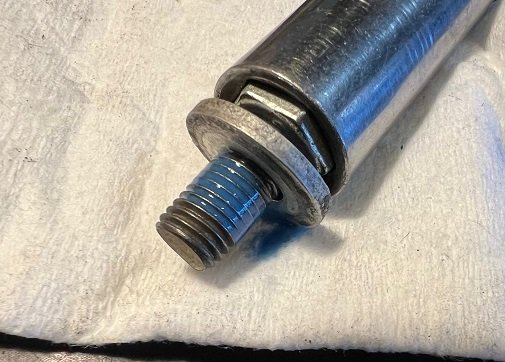
Adding a few drops of blue (medium strength) Loctite to the bolt threads will not only help lock it in place, it will help prevent leakage as well.
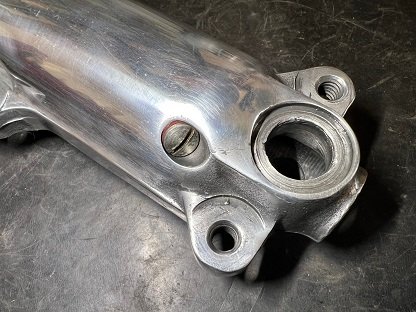
Install oil drain screw with fibre washer on bottom of slider.
***************
Lower Fork Bushing
Place fork leg upright and install new stanchion, with lower bushing attached, into slider.
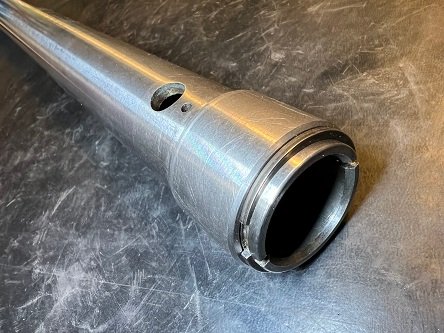
The lower bushing should fit smoothly into it's recess. If it doesn't, find out why.
***************
Upper Fork Bushing
Slide upper bushing onto stanchion.
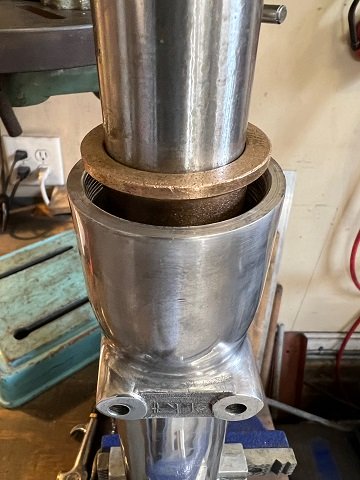
Tap with a drift and hammer until completely into recess.
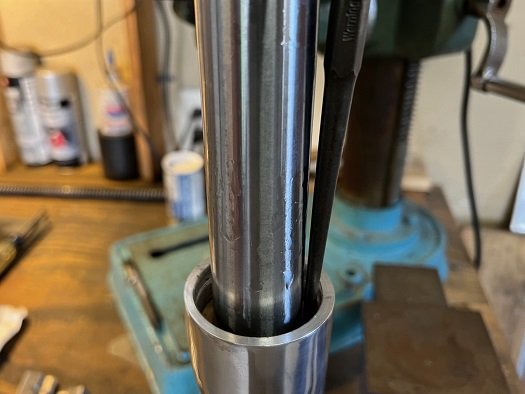
TIP: When tapping in the bushing, listen to sound of the hammer hitting the bushing. When completely in, the tone will change from a "clink" to a "clunk".
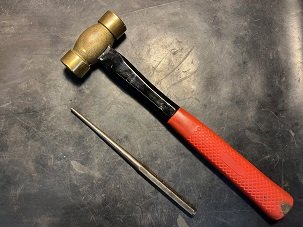
Drift and lightweight hammer.
***************
Fork Seals and Washers
Before installing the new fork seal, the thin paper washer goes in first. It sits on top of the upper bushing.
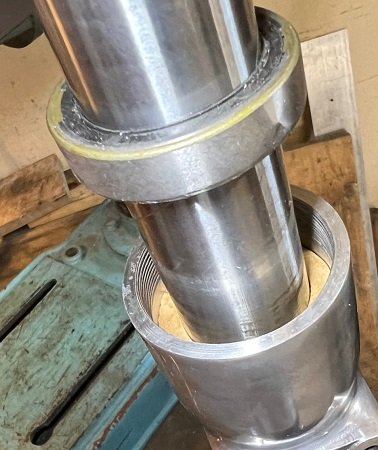
Fork seals are installed with the open part facing downward.
The new seal was lightly coated with fork oil before sliding over stanchion. If you don't have a seal driver, they can be tapped in lightly with drift and light hammer.
***************
Fork Seal Collar
Before threading in the top collar, apply some light grease or never-seize to the threads.
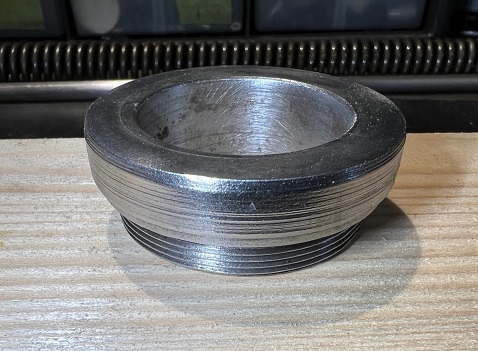
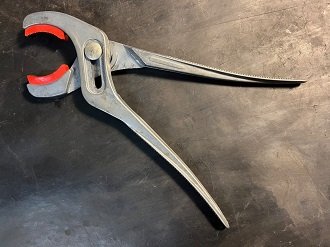
Cannon plug pliers were used to install collars. A strap wrench can also be used.
***************
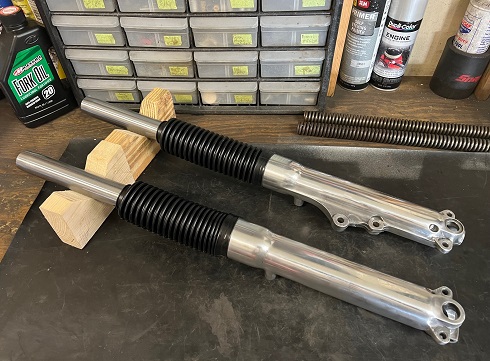
Short vs Long Gaiters
The purpose of 'accordion' rubber fork gaiters is to protect the bare stanchions from dirt, dust, rocks, and other harmful debris.
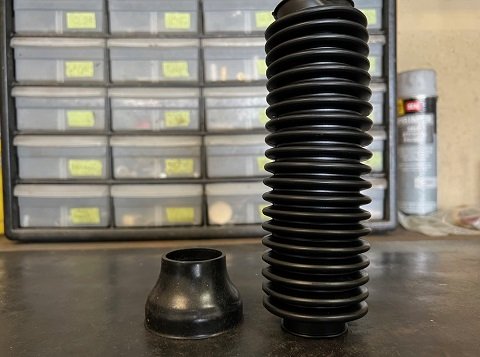
Most U.S. bound bikes were factory-fitted with short gaiters that offer very little protection.
***************
Re-Install Fork Assemblies on Bike
Fork assemblies install from the bottom triple tree. The tops of the tubes are tapered, as are the inside of the brackets they slide into.
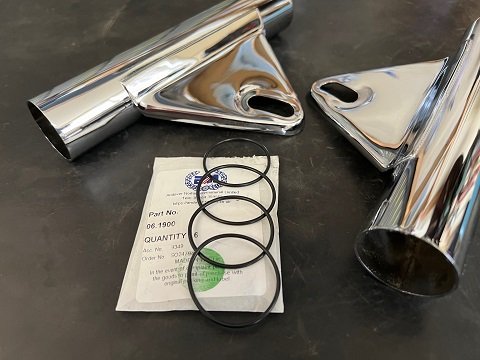
Don't forget the headlamp brackets and O-rings!
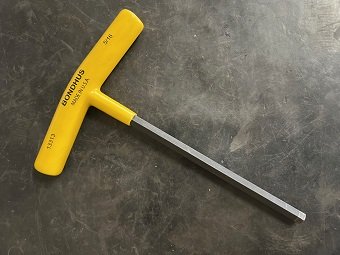
Loosening and tightening the pinch bolts is made easy with a 5/16" T-handle Allen wrench.
Fork Oil Capacity and Weight
All Commando models require 150cc (5 fluid ounces) of fork oil per leg.
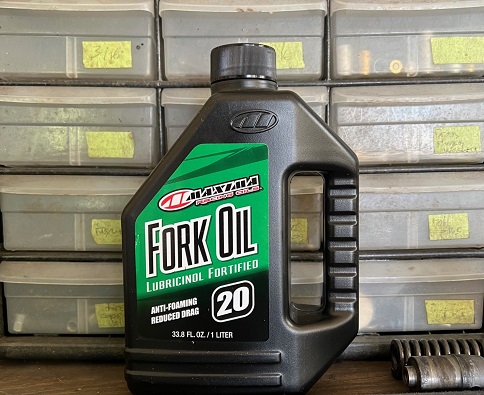
Most motorcycle manufacturers recommend 20 weight fork oil for average conditions. For extreme conditions, use 10 weight (cold weather) or 30 weight (warm weather).
Add Fork Oil
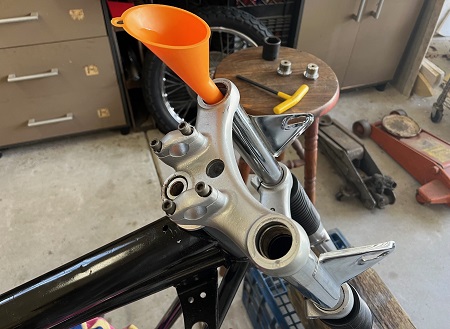
With fork springs not yet installed, oil can be poured easily into the tubes.
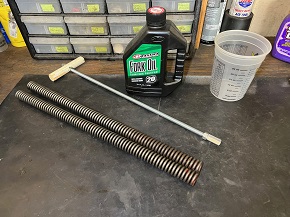
Next, place fork spring into tubes, then thread the T-handle rod onto top of damper rod and pull up.
Install gauge cups, washers, nuts, thick washers, and top nuts.
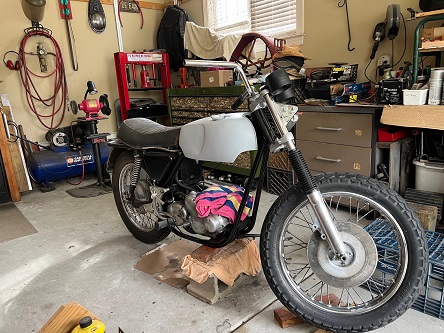
Once the fork tube assemblies are back on, you'll need to adjust them to get them square with each other. Re-check fit and alignment before tightening everything up.
***************
Parts Diagram
If you get confused about what parts go where, Andover Norton has a large exploded diagram of front forks on their website. To see it click here.
***************
Related Articles:
Norton Commando Project - Homepage
Remove Front End
Front Fork Disassembly
How To Polish Motorcycle Forks
Remove and Install Isolastics
Swing Arm Removal
Swing Arm Overhaul
Norton Commando Upgrades
