Norton Commando Cylinder Head Removal
Article by Mark Trotta
Removing the cylinder head on a Norton Commando is a long, laborious task, but if you want to look on the optimistic side, it's a good way to get to know your motorcycle!
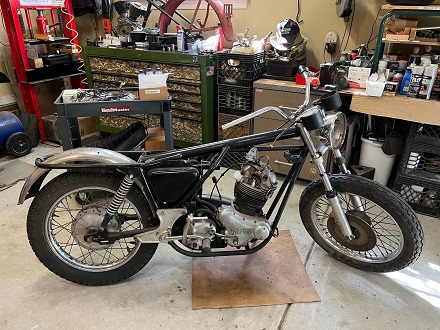
This article shows step-by-step disassembly, as well as what tools are needed.
Getting Started
There's quite a few things in the way that need to be taken off.
After the fuel lines to the carbs are disconnected, the gas tank can be drained, then unbolted and set aside.
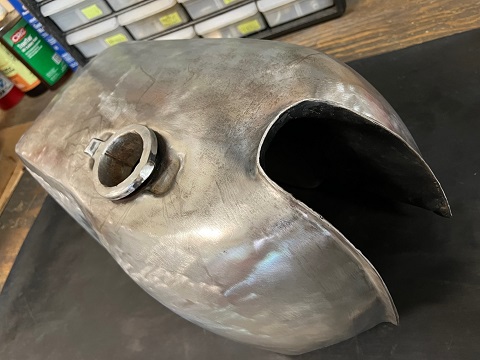
On my '74 Roadster, the tank had already been removed.
The two ignition coils were taken off, along with the wiring harness (which is being replaced).
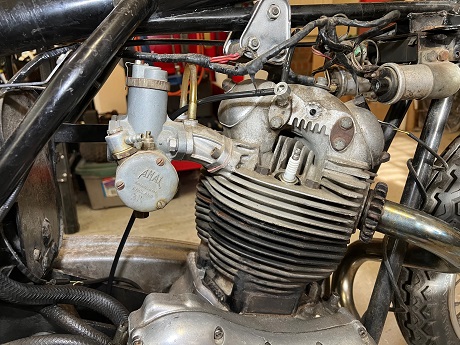
Exhaust Removal
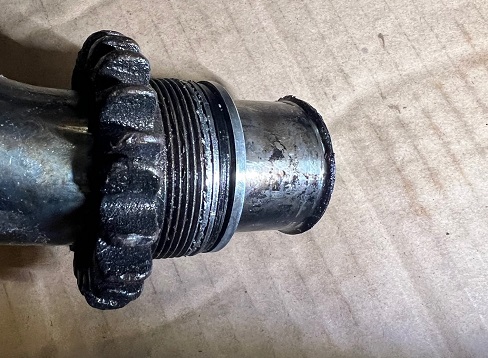
A lock-ring spanner is required to take off the two finned exhaust pipe nuts from cylinder head.
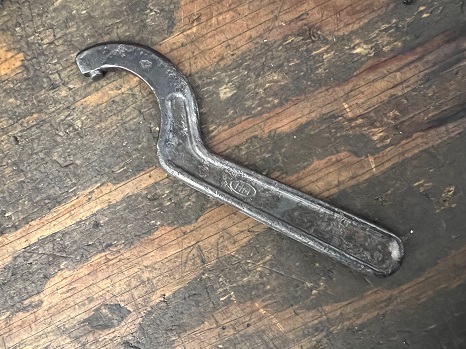
Some models may have locking tab washers, which need to be bent back in order to remove.
Carbs and Manifolds
Next up was the carburetors and manifolds.
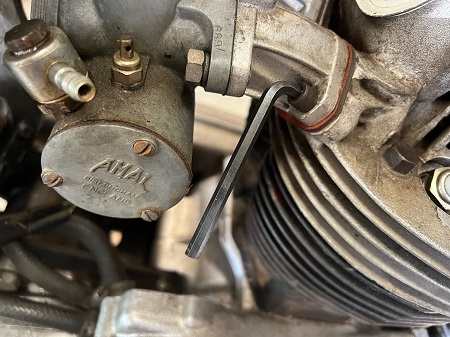
To remove the hard-to-get-to Allen bolts that hold the intake manifolds on, an Allen key is needed, but most Allen keys are too long.
A common hack is to cut one down for more swing room.
The original air filter box was missing from this bike, which saved me the bother of disconnecting it.
********************
British Bike Nomenclature
The bike is English, and I'm American, and we call the same part different names.
For example, mudguard is the U.K. word for fender.
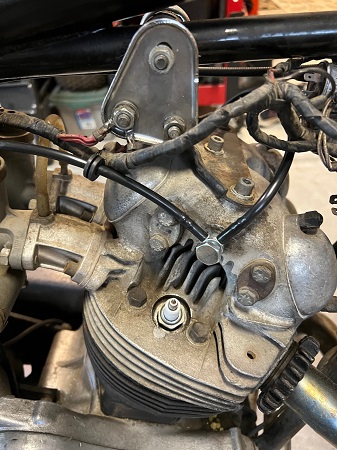
And what we Yanks would call a top engine mount, the Brits call a head steady.
To avoid confusion, I've adopted the same nomenclature that the Norton factory service manual uses.
"Regret, do not understand English, only American." - Charlie Chan in London
********************
Finding Top Dead Center
With the spark plugs out, slowly move the kick pedal to get the pistons at top dead center. You can look down the plug hole with a flashlight to see if the piston is at the top of it's stroke (TDC).
Another way is to stick a screwdriver in the plug hole and watch it rise with the piston, but care must be taken that it doesn't get stuck and scratch the bore surface.
Set Engine To TDC
When the engine is at top dead center, the push rods are engaging the valves. Once all the head bolts are removed, they'll put a bit of pressure on the head and help lift it off the barrel.
********************
Oil Feed Lines
To avoid dripping oil out of the open cylinder head holes while turning the engine over, unbolt the rocker oil feed lines after the engine is set to TDC.
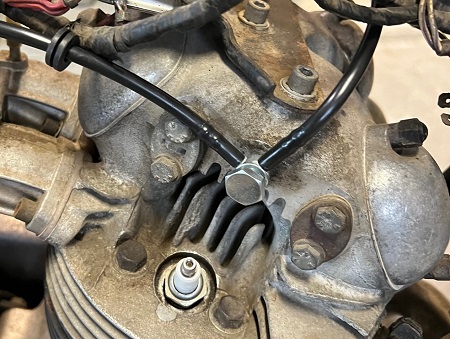
The upper rocker feed bolts require a 5/8 Whitworth socket to remove. As a rule, the alloy washers do not get re-used.
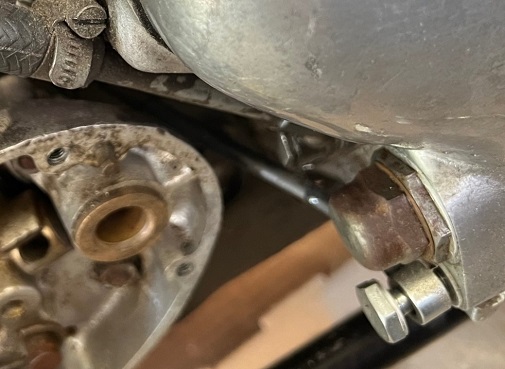
Rocker oil feed pipe on bottom back of timing cover requires a 5/16 Whitworth socket.
After the head-steady and rocker oil feed lines, the intake rocker cover and two exhaust rocker covers can be removed.
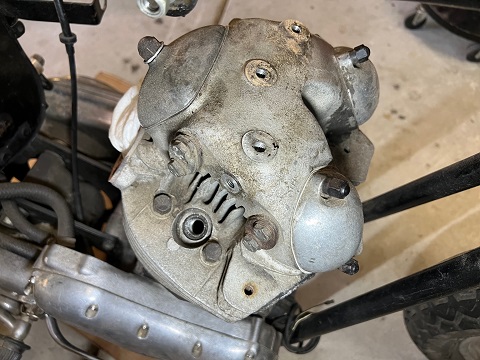
At this point, the cylinder head fasteners were sprayed with WD40 and allowed to soak overnight.
********************
More Tools Needed To Remove Head
There are a total of 10 nuts and bolts holding the cylinder head to the cylinder barrels.
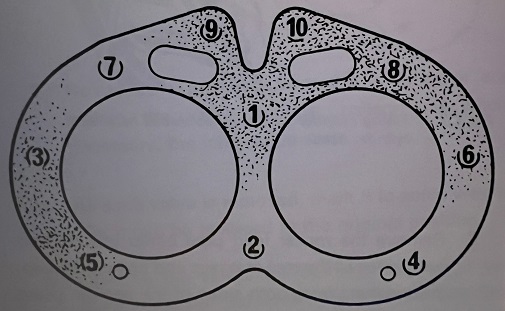
They are positioned on top front and sides, inverted front, and behind the cylinder.
At a minimum, you should have a set of Whitworth sockets.
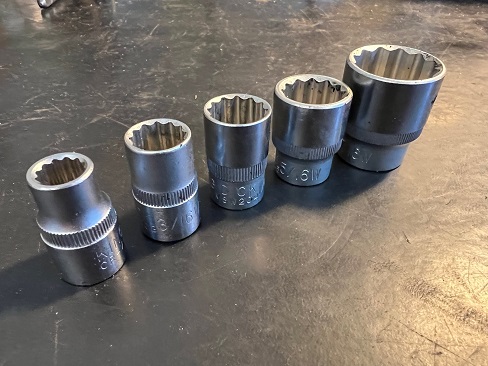
To get the recessed front bolts (#'s 9 and 10), a 1/4 WW socket is needed. The socket has to have an O.D. thin enough to fit into the bolt hole openings, which are .811 of an inch.
The inverted head bolts under the exhaust ports (#'s 7 and 8) take a 3/16 WW socket from 1971 up. Pre '71 they are 1/4 WW.
Rear Head Nut
It would have been nice to have the special 1/4 WW box spanner for the rear nut (#2). The price of the tool wasn't bad, but the closest one I could find was 3,800 miles away in England, and I'm in North Carolina, USA.
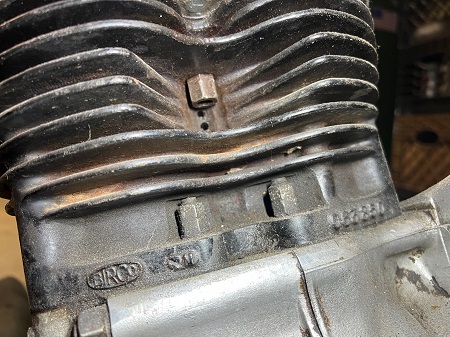
So, I drove to a local parts store and bought a cheap 13mm wrench. Then I opened it up a bit with a 3" grinding wheel, and ground down the front and back to make it thin enough to fit between the fins.
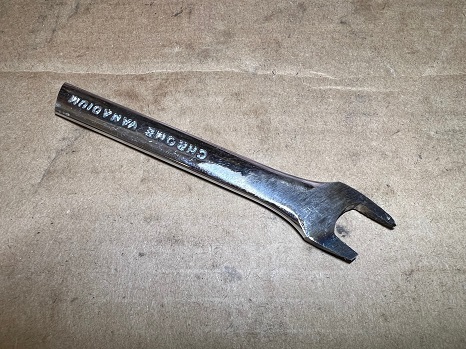
It was ugly, but it worked.
The last bolt to be removed (#1) also requires a 1/4 WW socket.
Cylinder Head Fasteners
CAUTION: The number one cause of cylinder head fins being broken is trying to force the head off. Make sure you have all 10 nuts and bolts off and accounted for before trying to remove the head.
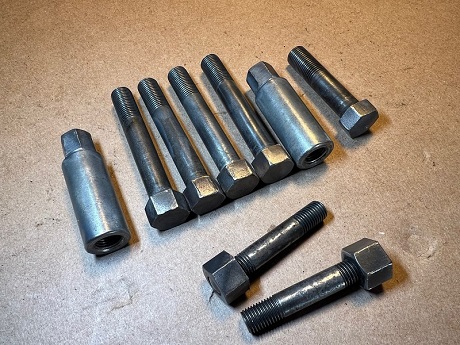
Four bolts on top of head (two on either side).
Two nuts on top/front in crevices.
One nut below rear of head (not shown in picture).
Two inverted 'barrel' nuts in front, behind fins facing up.
One bolt top middle, remove last.
********************
Removing Head From Cylinder Barrel
After the all the nuts and bolts are unfastened and accounted for, the head will lift up, but will not clear the cylinder barrels due to the length of the push rods.
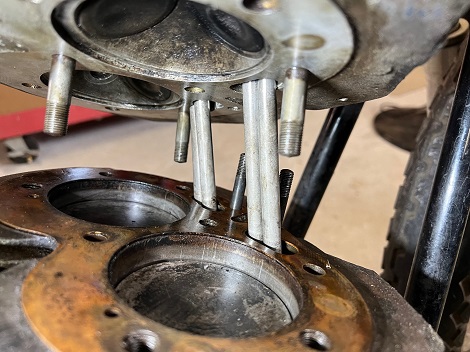
There are at least two methods to overcome this:
Method 1) Push the push rods up into the head. A third hand is helpful here.
Method 2) Remove the front Isolastic mount and drop the motor down. This will give a few extra inches for the head to clear the frame.
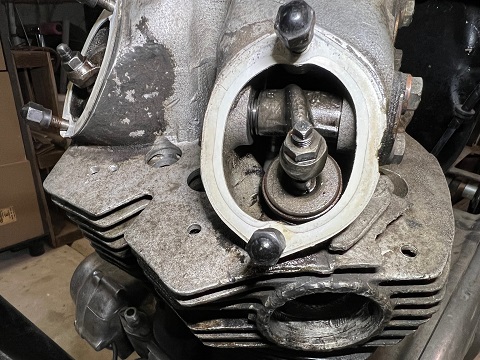
What I did was, remove the front (intake) rocker arms, which allowed more room to push the push rods up and out of the way.
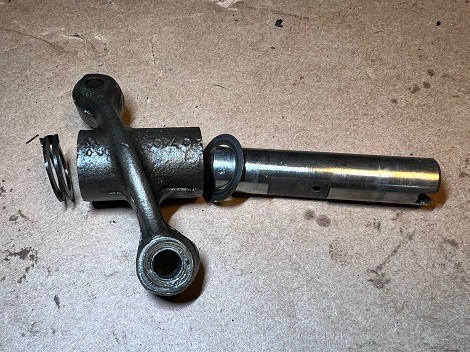
If you decide to take the rocker arms out, make sure that the plain washer and spring washer come out with the arm and spindle.
********************
Cleaning Carbon Off Heads
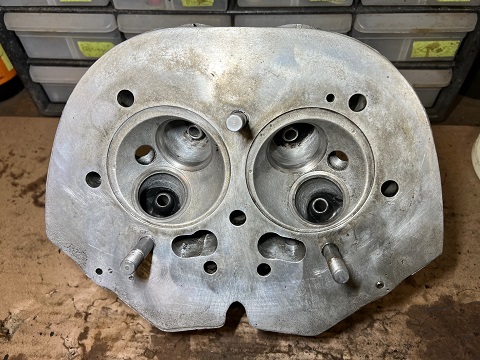
Cleaning cylinder heads can be done by hand, using a spray or liquid degreaser. It will take longer than more modern methods, but results are the same.
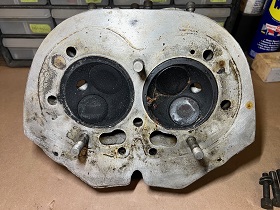
Before and after cylinder head cleaning.
Read: Clean Carbon Off Cylinder Heads
Read: How To Measure Valve Guide Wear
********************
Related Articles: