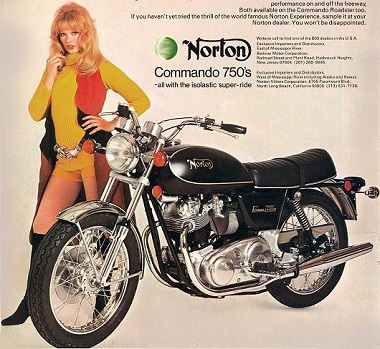
Remove Commando Gearbox
Article by Mark Trotta
This article details how to remove a Norton Commando gearbox without removing the gearbox cradle.
Cradle Differences
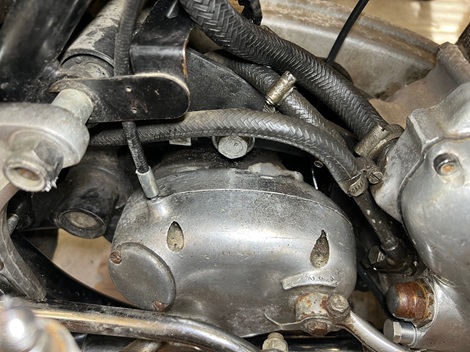
Prior to Mk3 models, all Commando cradles had the same part number (06-4060) but there are minor differences:
1968, 1969, and 1970 are not drilled for an oil filter mount or a center-stand mount - it is frame mounted on those models.
1971 is drilled for the center-stand but not for the oil filter.
1972, 1973, and 1974 are drilled for both.
Mk3 models have a different cradle (06-5140) which has no provision for primary adjustment. So, it will not work on previous years.
*********************
To quote the factory service manual:
...remove the rear three crankcase bolts (or studs, depending on year), the rear wheel and on 1971 and later models, support the motorcycle by the lower frame rails on a strong box and remove the centre stand."
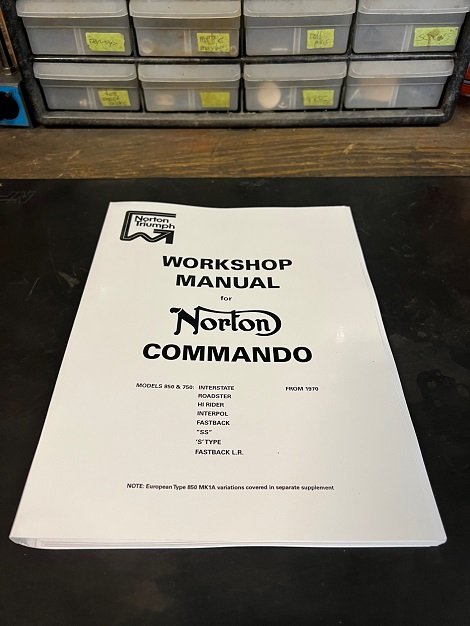
However, supporting the motorcycle and removing the rear wheel is not necessary on Mk2 and earlier models if you have a side kick-stand.
*********************
With Engine Still In Frame
Exhaust system, kickstart lever, foot pegs, shifter, gear selector, and clutch cable all need to be taken off.
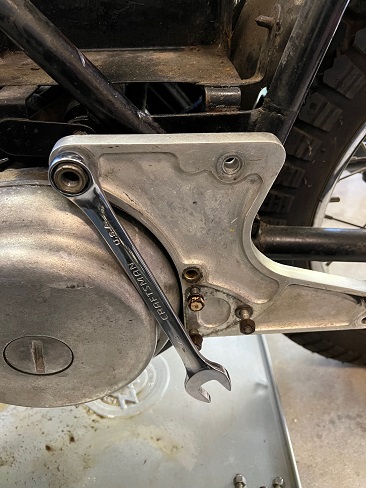
Unbolt left and right side Z-plates.
If your bike has a spin-on oil filter, it will need to come off.
The battery tray does not need to be removed, but in this case, the bike was being stripped down to the bare frame.
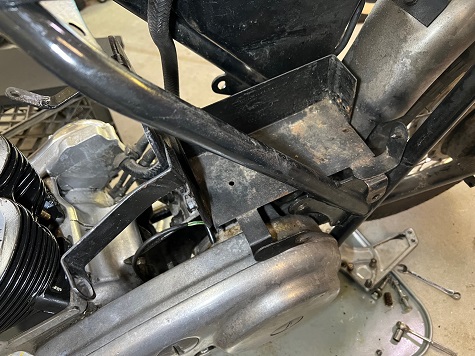
On my 1974 850 Roadster, there were seven tabs and brackets that needed to be unfastened to take out the battery tray.
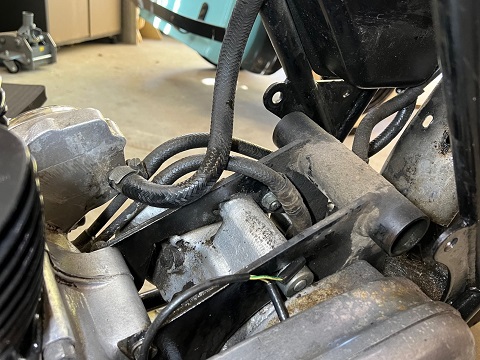
Clutch removal is covered here.
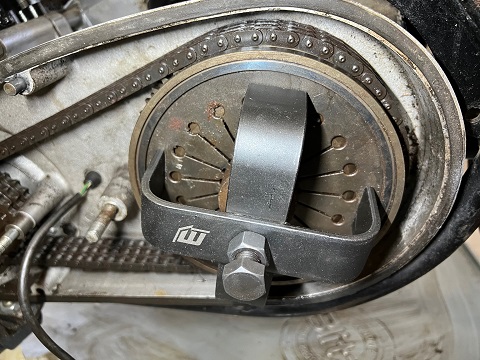
Removal of stator and rotor, primary chain, engine sprocket, clutch, chain-wheel, and chain-case is covered here
Primary chain, engine sprocket, and chain-wheel come off together.
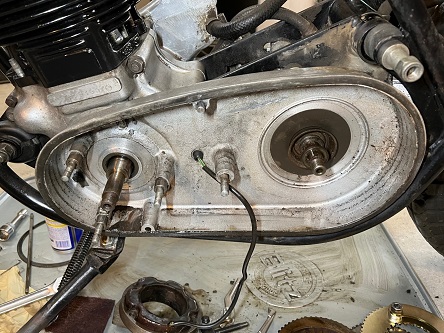
The rear engine mounting bolts in the front of the cradle can stay.
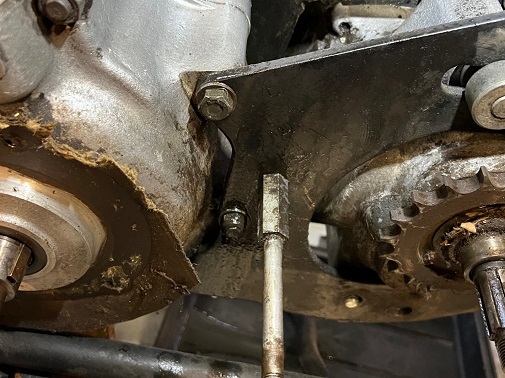
NOTE: The gearbox drain plug needs to come off, or it won't clear the cradle opening. Plus, draining the oil is easier while it's still on the bike.
*********************
With Engine Out Of Frame
After removing the engine from the frame on my 1974 Roadster, these were the final steps before removing the gearbox:
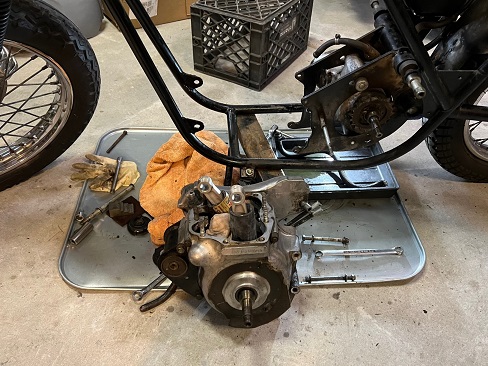
First, an 8" x 6" x 6" block of wood was placed underneath for support. This bike has a side stand which was left in place, if yours has a center stand, it will need to be removed.
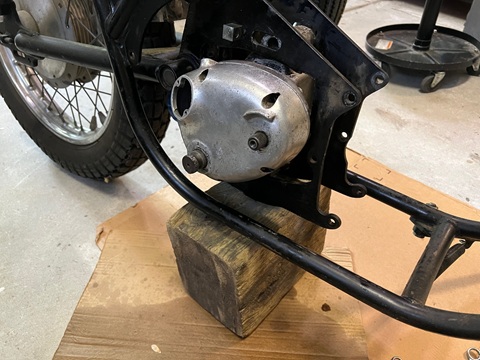
On the bottom of the cradle is the gearbox pivot stud (06-0597). It is 1/2" UNF X 5" with nuts and flat washers on both sides.
The end with more threads was on the left side of the bike, but it doesn't seem to matter much.
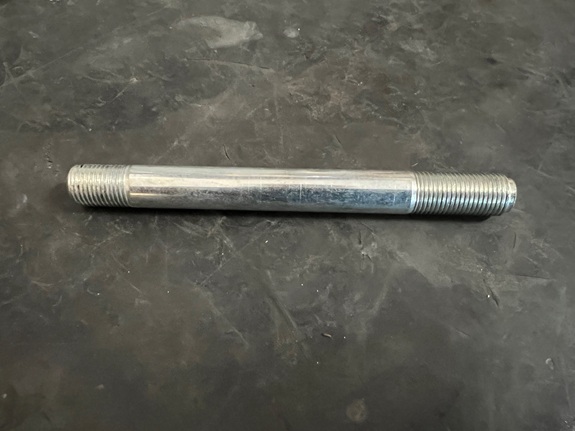
Once one of the nuts is off, use a punch and hammer to knock the stud through to the other side.
*********************
Pictured below is the top mount bolt (06-2653). The socket size required is 7/16 Whitworth.
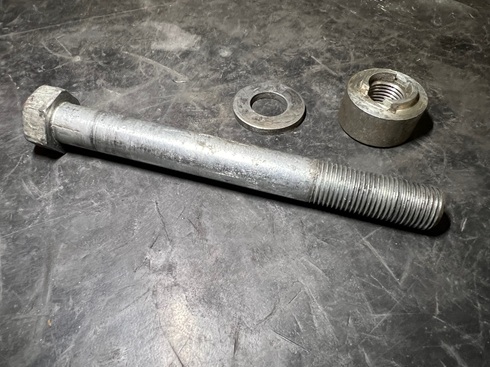
The top mount bolt goes through the gearbox adjuster, through the right side of cradle, the top of the gearbox, and then the washer/spacer (03-0023) before going through the left side of cradle. It then threads into the nut (06-2656) on the left side.
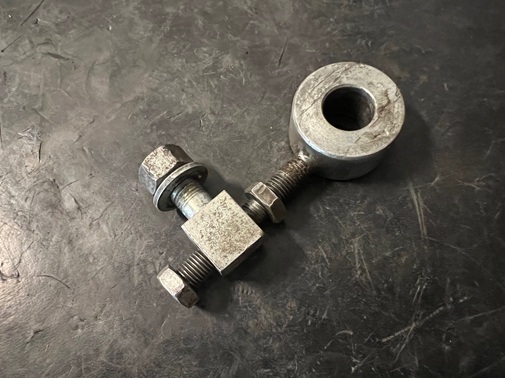
Once the top mount bolt is removed, the adjuster (06-2654) is unbolted, along with the adjuster cross-head (06-2657).
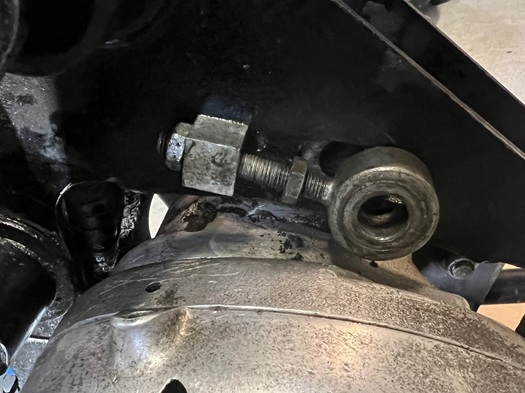
NOTE: The thread pitch on the adjuster is 5/16-UNF, and the stud which holds it onto the cradle is 3/8-UNF.
At this point, you should be able to twist the gearbox up and back (counter-clockwise from right side).
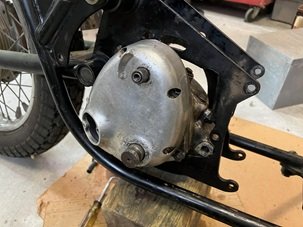
Withdraw it from the right side.
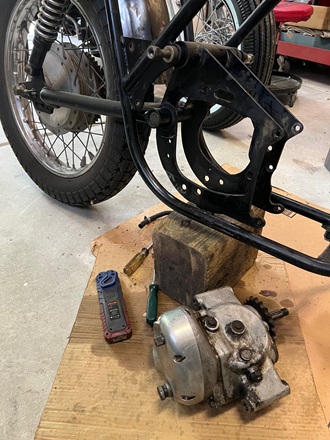
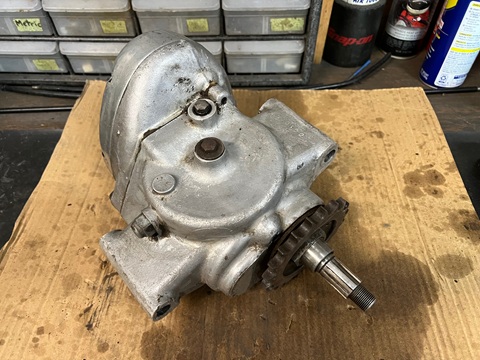
And finally, on the workbench for cleaning and inspection.
Before removing the wood block, a 1/2" steel rod was slipped between the lower cradle bolt holes.
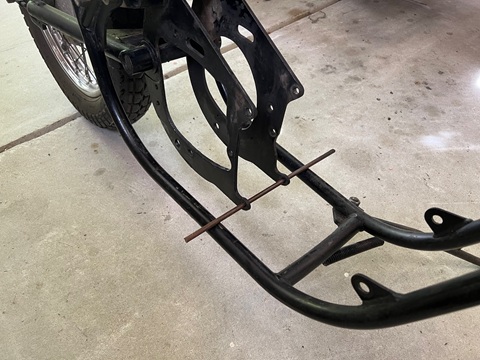
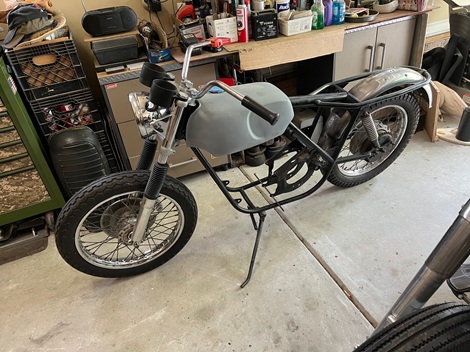
This allowed the bike to sit up properly and roll about the garage.
*********************
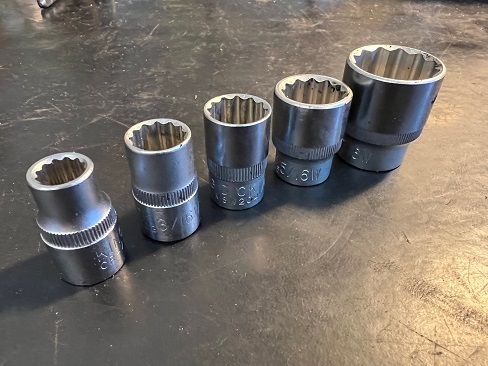
Read: What Are Whitworth Tools?
*********************
Related Articles:
Norton Commando Build - Homepage
Swing Arm Removal
Swing Arm Overhaul
Norton Commando Upgrades
