Norton Commando Sludge Trap Cleaning and Crankshaft Reassembly
Sludge traps on 1970's British motorcycles were a leftover from the days of no filters and no detergents in the oil. The only way to clean them on Norton Twins is to remove the crankshaft and disassemble.
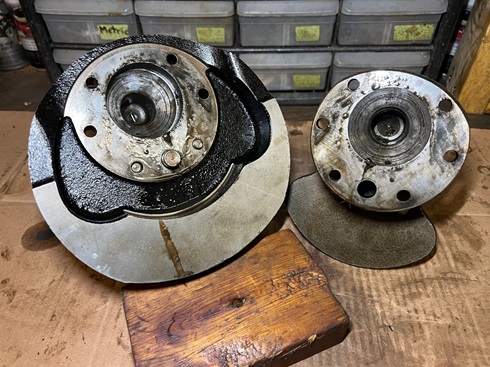
Of particular concern is when there is no previous history of an engine, or a bike that had sat for years allowing sludge to dry out and harden.
Regardless of whether it's clean or sludgy, it's a relief to know either way.
Later Commando engines like this '74 Roadster I'm working on came factory-equipped with a spin-on oil filter, which helps keep sludge to a minimum.
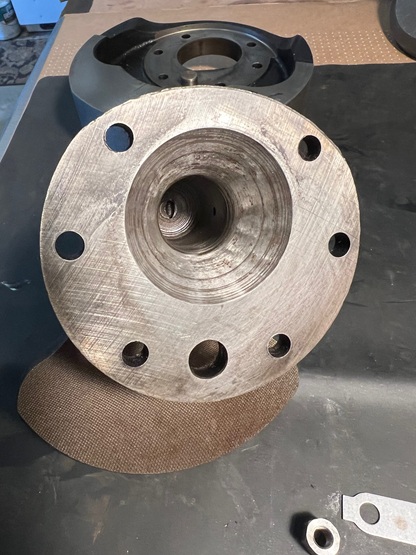
Pictured: sludge trap after cleaning with brake parts cleaner and shop towels.
********************
Assembling Flywheel and Crankshaft Cheeks
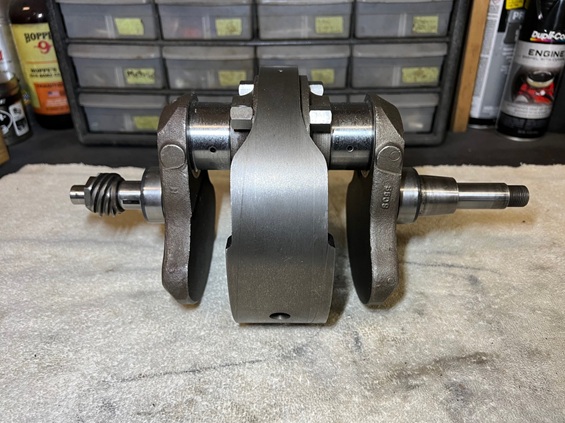
Prior to disassembly, the two crank cheeks were marked DS (drive side) and TS (timing side), so that they go back onto the flywheel as they came off.
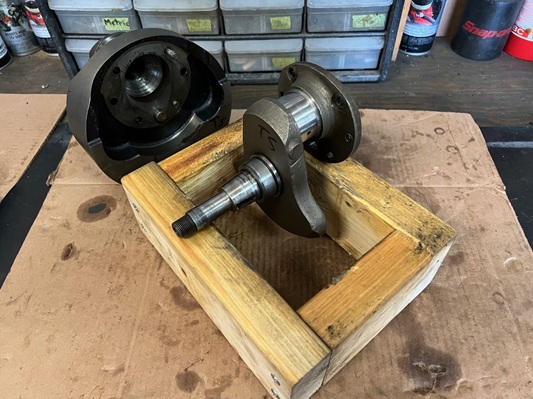
Studs, Nuts, and Locking Plates
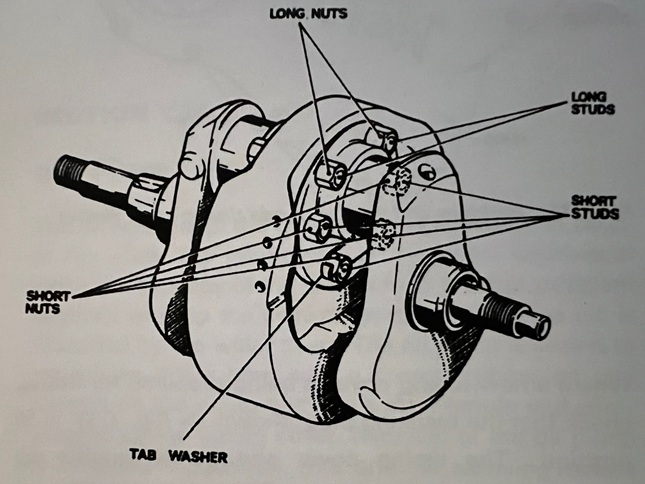
On 1972-1974 Commandos, crankshaft hardware consists of six studs, twelve nuts, and two plates with lock tabs. Reusing old hardware is not recommended.
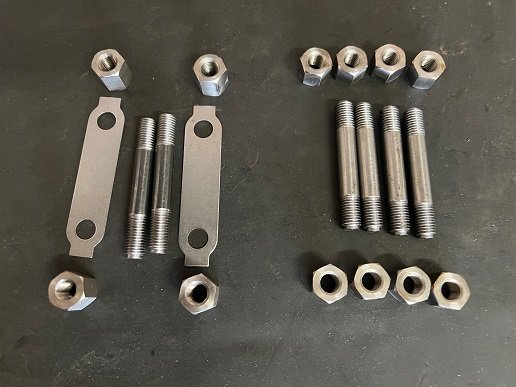
Pictured: Stud/Nut Kit 06-7094
Locking plates have two functions; they keep the nuts from loosening, and they keep the dowels in place.
On this 1974 850 motor, there are four short and two long studs, and eight short and two long nuts.
Install two short studs through the bottom two holes from DS to TS. Then fit locking plates over studs and fit new nuts.
TIP: Bend up the lock plate ears before installing.
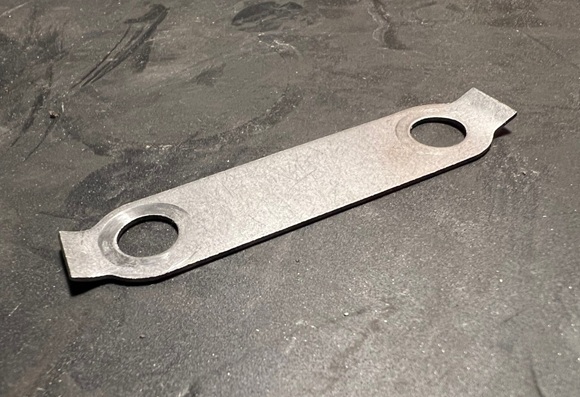
This makes it easier to tap and bend over when they're laying flat on the flywheel cheeks.
The two upper bolts are longer than the others, and are referred to as 'fitted' studs.
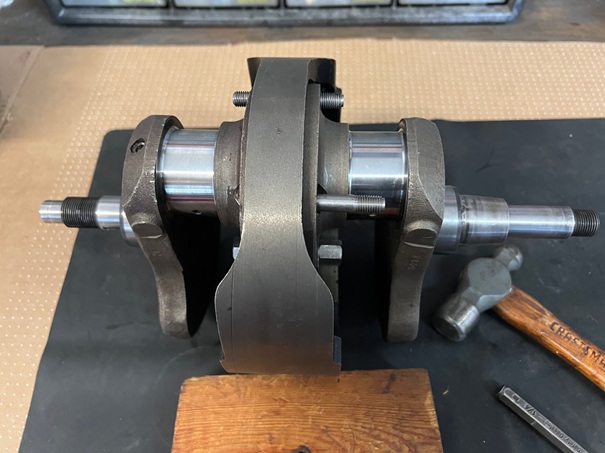
The top studs should not fit by hand--they are to be tapped in with a hammer and drift.
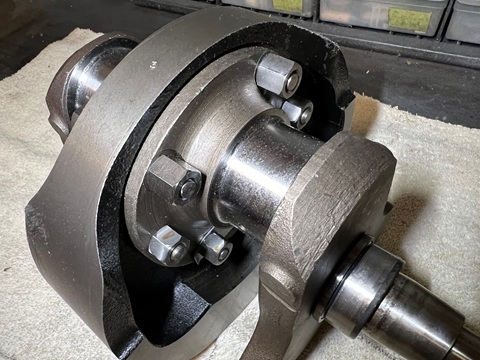
Note that the corresponding nuts for the two top studs are longer than the others. This is to allow a little more grip with a socket or a wrench.
Install the remaining studs and nuts.
Working in a diagonal pattern, tighten all nuts evenly.
********************
Torquing
A solid workbench vice is recommended when torquing crankshaft nuts.
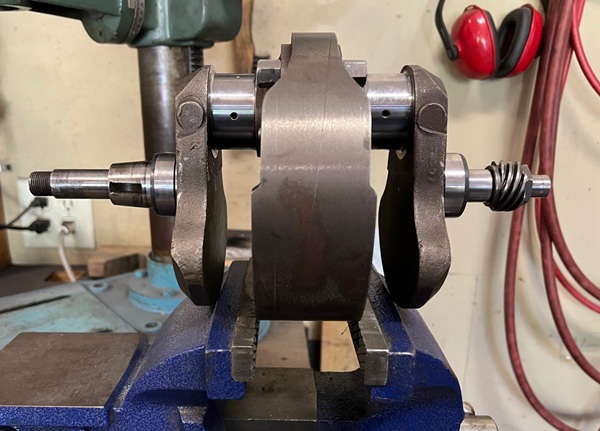
Limited Clearance To Nuts
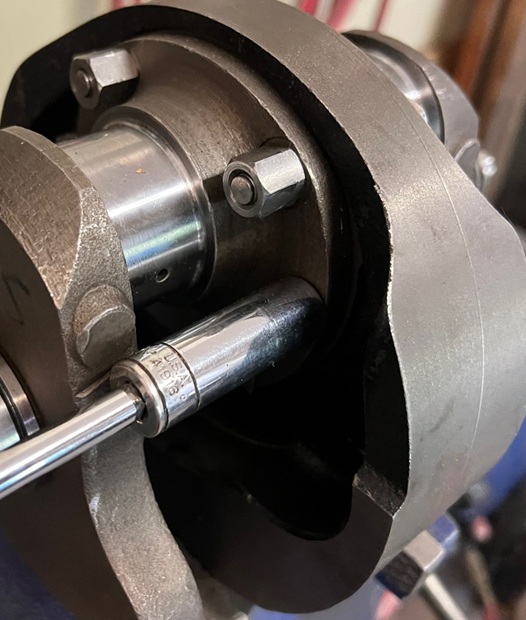
To get past the crank web, I used a thin-wall socket with 4" extension. This allowed me to tighten the upper and middle studs.
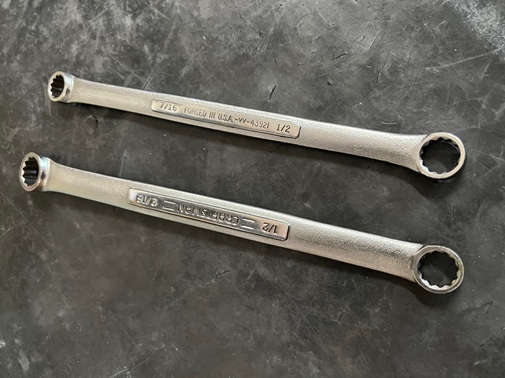
The bottom nuts with tab lock plates are difficult to get a socket on, and were tightened "by feel" with a pair of offset box wrenches.
With torque specs of just 22 lb/ft, a 3/8" torque wrench will provide easier and more accurate readings than a 1/2" torque wrench with an adapter.
Should I Add Loctite To Crank Studs?
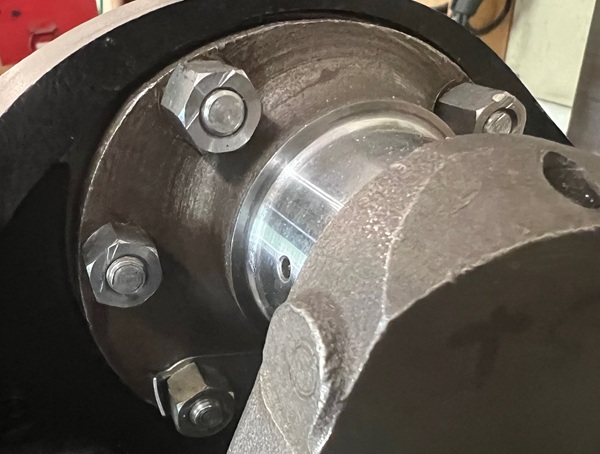
If you're staking the nuts as the FSM recommends, no Loctite is needed.
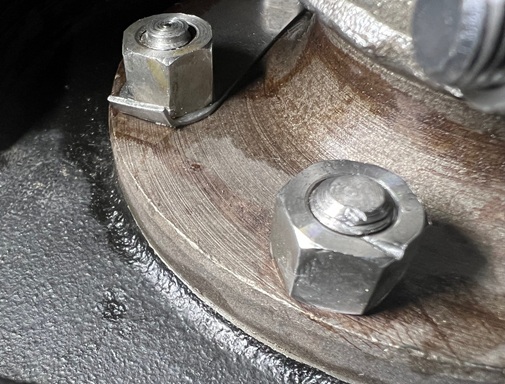
When done torquing, bend locking plate tabs over nut with a hammer and punch.
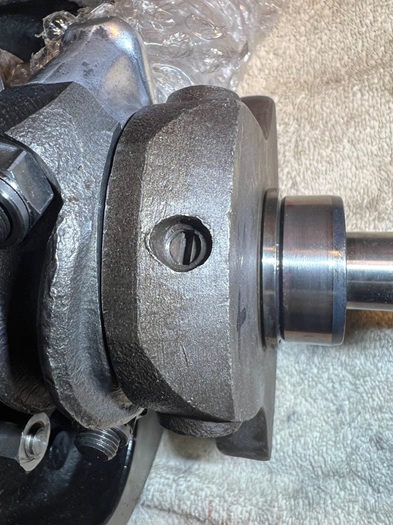
Verify that oilway blanking plug (1/4x26 tpi) is fitted into the timing-side cheek.
********************
Crankshaft End Float
Excessive end float mis-aligns the primary chain during acceleration and deceleration, prematurely wearing out the chain side-plates.

Read: Norton Commando History
Permissible end float for 850 Commando engines was increased to .020" from earlier models. This was to allow for flexing of the crankshaft at higher revs. Minimum play should be .005", but keep in mind that there is nothing to be gained by having less-than-maximum end play.
Checking Crankshaft End Float
Before bolting up the connecting rods, I installed the crank assembly into the cases (without sealant) and checked the end play with a dial test indicator.
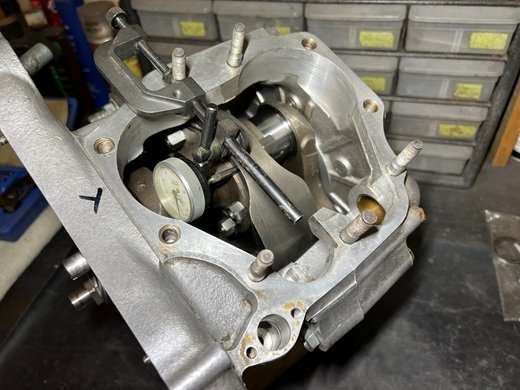
I actually did this test before disassembly; this is a re-check to see if anything has changed. Same end play as before at .018".
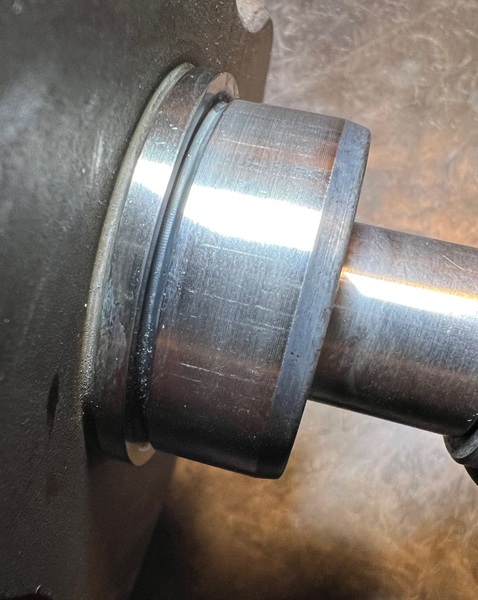
They're difficult to see, but crank shims were installed (if needed) at the factory behind the outer bearing races. Shims can be added or subtracted as needed.
********************
Crank Journal Polishing
Crank journals may be polished with a fine grade emery cloth. Be sure to wash thoroughly when done.
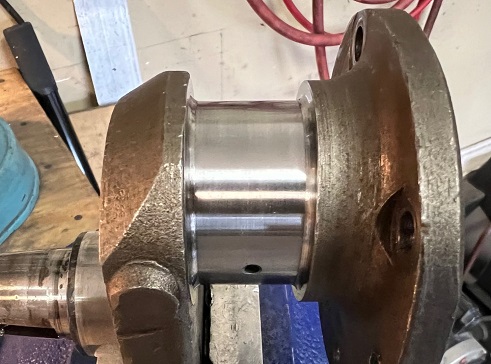
Read: Crankshaft Journal Polishing By Hand
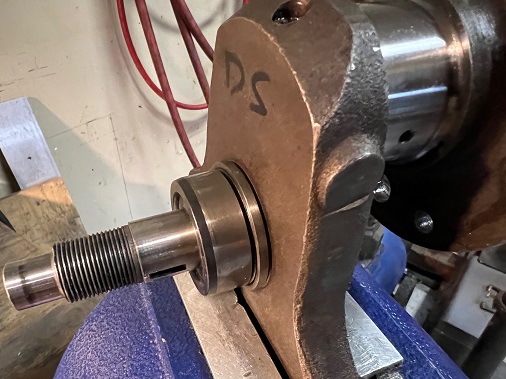
The drive-side race was also polished (400 wet).
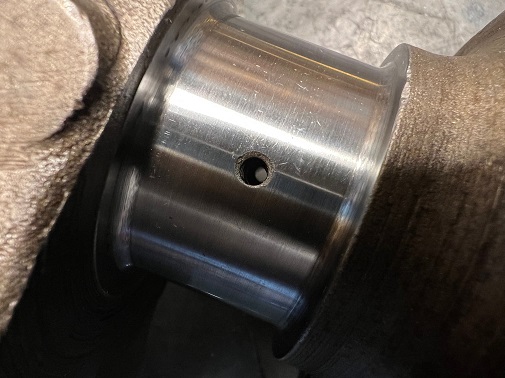
Crank journal oil passages can be cleaned by blowing compressed air through them.
********************
Do I Need To Have The Crankshaft Balanced?
Unless you are replacing or significantly altering connecting rods and/or pistons, you do not need to rebalance a Norton Commando crank. The factory balance factor is a compromise that works well with the Isolastic mounting system to cancel vibrations at certain RPMs. So, if you are building a stock engine and replacing components with new standard parts, rebalancing is not necessary.
********************
Related Articles: