Remove Front End Norton Commando
Article and Pictures by Mark Trotta
After sitting unused for 20 years, the fork tubes on this 1974 Commando were badly pitted and needing replacement. In view of the time that it sat, it was decided to overhaul the entire front end.
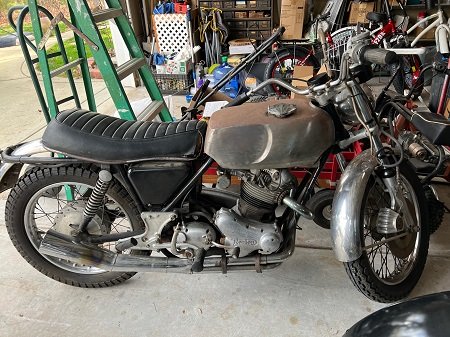
This article details step-by-step removal of Commando front ends 1972 and later, and what tools are needed. Earlier models will have slightly different procedures.
Disassembly included front wheel, brake caliper, and fender (mudguard), as well as fork sliders, caps, pinch bolts, and tubes.
For article on how to disassemble forks click here.
For article on how to overhaul and assemble forks click here.
NOTE: Although the front end cannot be removed as a complete assembly, it can be removed with the lower yoke still attached. However, it will still be necessary to disassemble each and every part for proper inspection and overhaul.
*************
Getting Started
Removing the fuel tank prevents accidental scratching, plus a gives you little more working room.
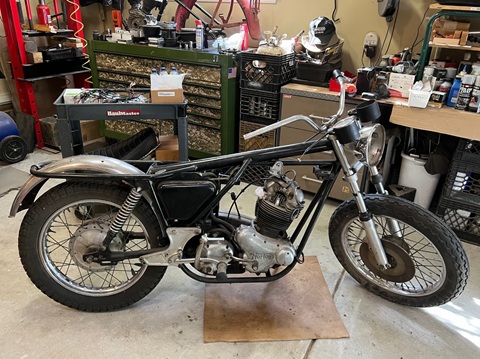
One of drain screws was stuck, so fork oil was not drained until after the tubes were off the bike.
*************
Brake Caliper
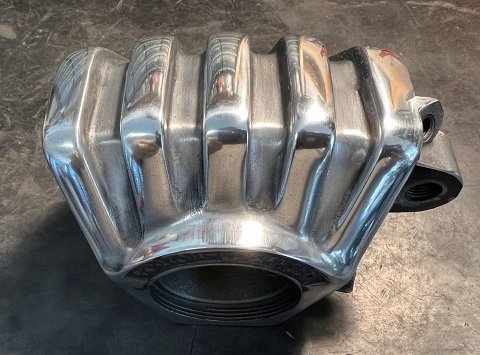
After disconnecting the steel brake line, the caliper can be removed from the slider.
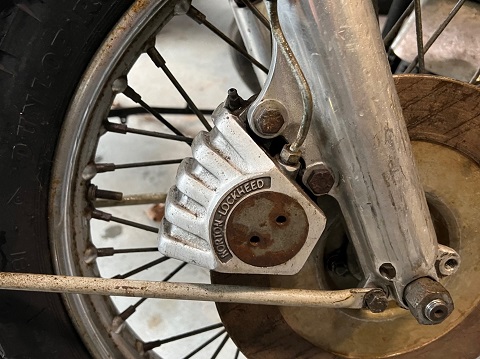
Read: Brake Caliper Overhaul
Headlamp Shell Removal
On each side, there is a bolt, washer, and spacer, which go through the left and right brackets.
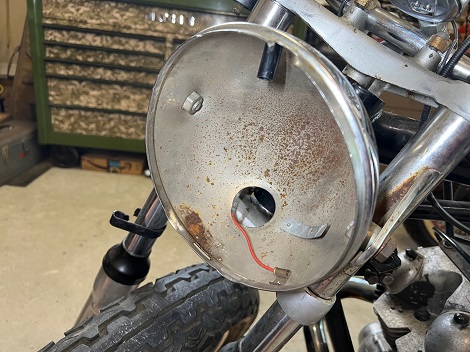
Speedometer and tachometer cables and instrument lights were also detached.
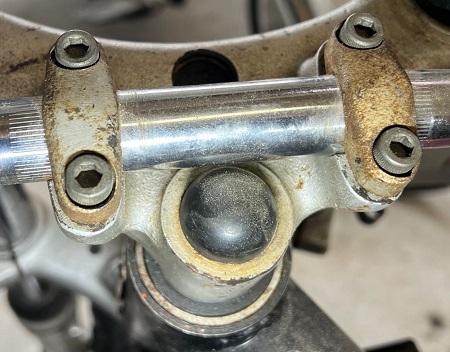
After the master cylinder and hand controls come off, a 7/32" hex key is required to remove the handlebars.
*************
Prop Up Front of Bike
The front of the bike needs to be propped up just enough so the wheel may be removed.
There are several options here, most common being a motorcycle scissor jack under the engine.
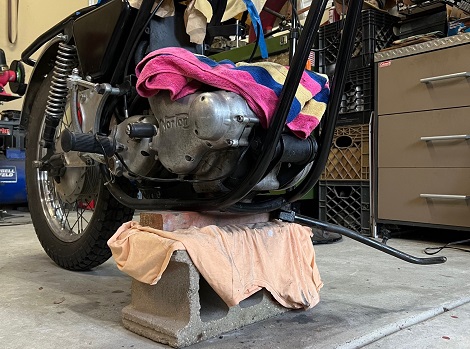
Seeing as this bike was already half-stripped, it was light enough to lift up by the forks and rest on a piece of wood on a cinder block.
**************
Check For Neck Play
With the front wheel off the ground, check for play in steering head bearings. In a crouching position over the wheel, grab the forks, then push and pull forward and back. Also check side to side movement for any binding.
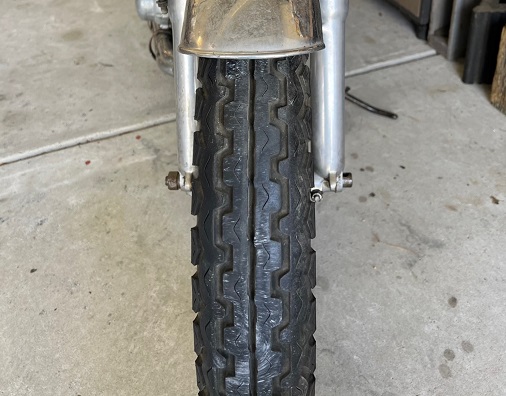
Even the slightest amount of play or binding should be looked into.
*************
Front Wheel Removal
On the bottom of the right-side fork, remove the 5/16 x 1-1/4" pinch bolt.
The right-side axle nut requires a 15/16" socket. Tap the axle out from the right side with a soft mallet.
An alternative way is, slip a large screwdriver through the left-side axle, grab the screwdriver with both hands, then twist and pull the axle out.
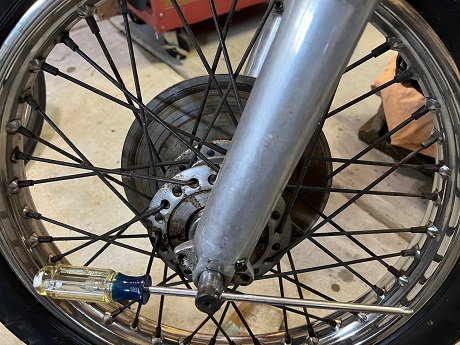
Front Axle Removal
Front Fender
There are four nuts (3/16 Whitworth), two on each side, holding the fender onto the sliders. The two bolts holding the fender stays to the sliders are 1/4 Whitworth.
Although the fender can be removed at any point, it's easier with the front wheel off.
*************
Pinch Bolts
On each side of the lower fork bracket are recessed Allen bolts.
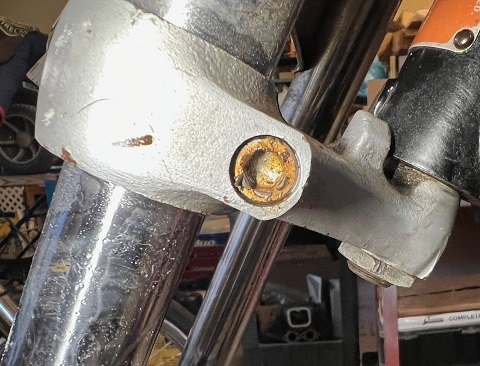
You'll need an 8mm or 5/16" hex key to remove them.
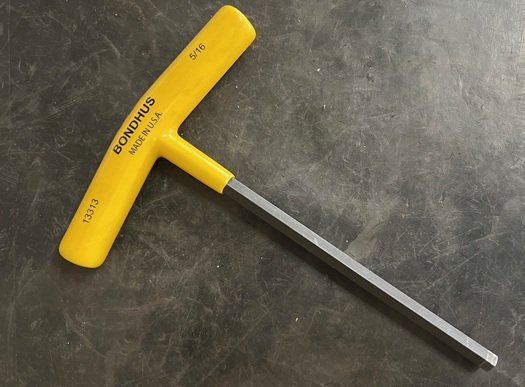
Pictured: Bondhus T-handle hex key
*************
Top Nut and Gauge Cup Removal
With a 33mm or a 3/4 Whitworth socket, unscrew the big top nuts. You will notice that they have internal and external threads. The fork damper rod screws into the bottom, and the external threads screw into the top of the stanchions.
Separate Damper Rod From Top Nut
With the fork springs exposed, unscrew and remove the top nut from the damper rod. A thin open-end wrench is needed for this.
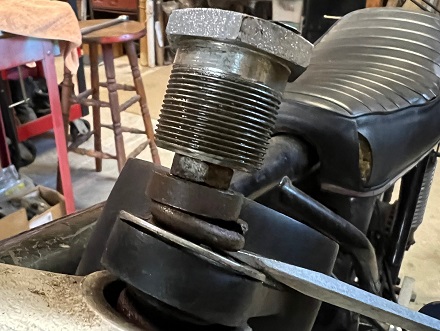
This will allow for gauge cup removal.
*************
Removing The Fork Tubes
These final steps are often the hardest.
How easy or how difficult the fork tubes come out often depends on how long the bike was sitting and how rusted they have become to the triple trees.
Re-install the top nut back into the stanchion. With a rubber mallet, smack the top of the big nut and hopefully the fork tubes will move.
If they don't move (many won't at first), try spraying with WD40, and letting them soak for a while.
If they still don't move, try a few more solid whacks with the mallet. If there's no movement--stop. Spray it with more penetrating fluid, let it soak overnight and try again tomorrow.
While removing the forks, they may get hung up on the rubber O-rings on the top and bottom of the headlamp brackets, which detach once the forks slide out of the triple trees.
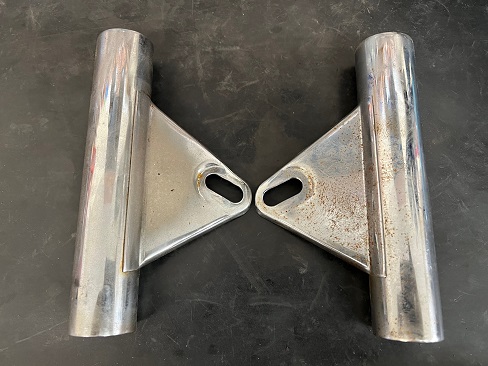
Left and right headlamp brackets before cleaning.
*************
Drain Fork Oil
As mentioned, one of the oil drain screws was difficult getting out. After the fork was removed and laid out on the workbench, there was a better working position.
A fibre washer should come off with each drain screw.
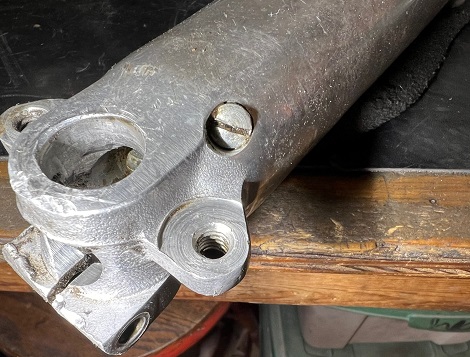
The old fork oil was drained out into a pan, and can be recycled with old engine oil.
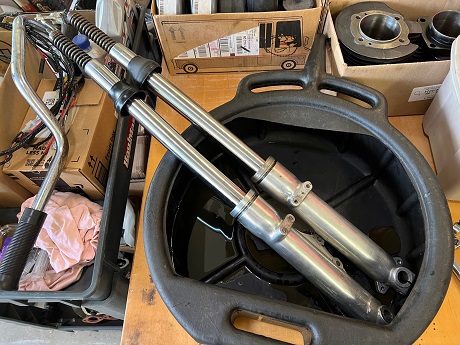
Read: Front Fork Disassembly
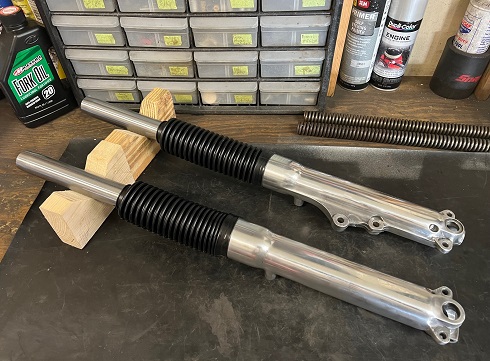
Read: Front Forks Overhaul
*************
Related Articles: