Harley 45 Engine Teardown and Inspection
Text and Pictures by Mark Trotta
Purchased as "parts only, non-running", this Harley 45 flathead engine was locked solid--no flywheel movement at all. But the VIN number was unmolested and belly numbers matched. If the motor came apart cleanly and without damage, it would be worth the effort.
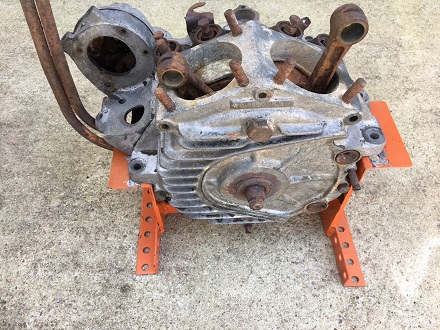
Typically, the teardown process would include removing the generator and ignition timer before taking off the gear cover and separating the engine cases. But those pieces were missing, along with the intake manifold, carburetor, cylinders and heads.
Overall, what was left of the engine was in good shape considering it's age. Visual inspection of the cases revealed no cracks or broken bolts.
It's always nice to find unstripped factory screw heads--something uncommon on an 80-year-old engine!
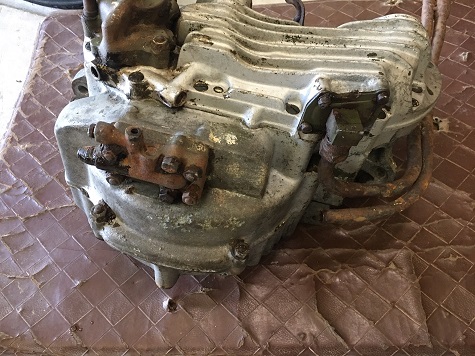
According to the previous owner, the motor "sat outside for awhile".
As a precaution before starting disassembly, I decided to soak the engine in oil for several weeks. This would allow every nut and bolt to come off as easily as possible.
After removing the Military-style breather tube, I scrounged up a plastic tub that the motor would fit into, and filled it with four gallons of automotive engine oil.
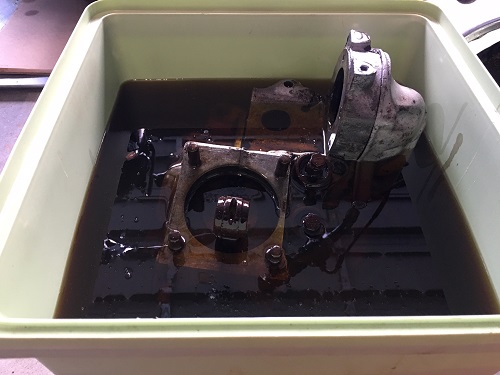
The motor soaked for two months before being pulled out of the oil, then placed into a flat drain pan.
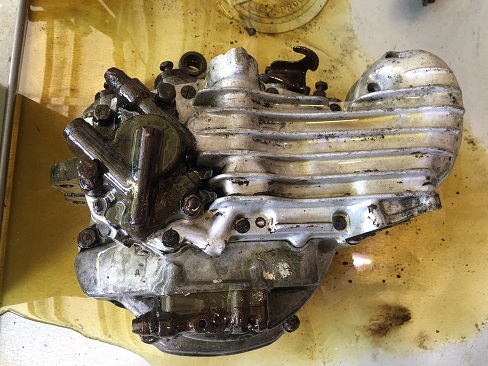
Most of the cleaning was done with cans of brake parts cleaner, compressed air, and shop towels.
Oil Pump Removal
On a Harley 45 engine, the generator, oil feed pump and ignition timer need to be removed before the gear cover can be removed. One bolt and three nuts hold the feed pump on.
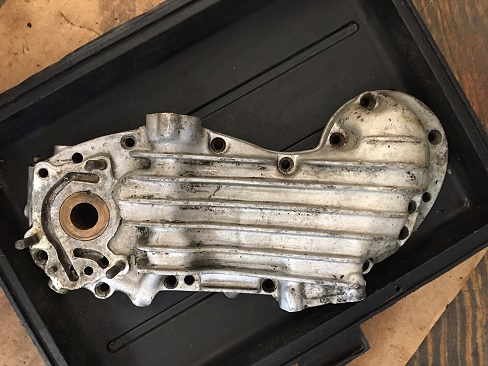
The gear cover is set onto dowel pins and is secured by ten screw-head bolts.
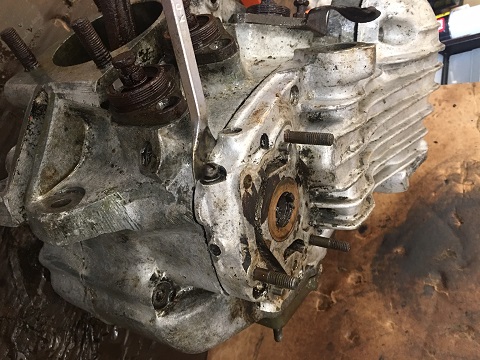
A little coaxing with a gasket scraper and light hammer.
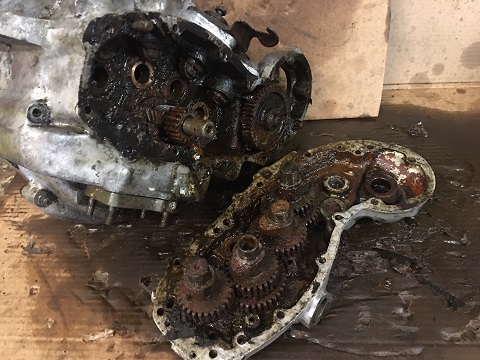
As is evident from the pictures, the motor collected a lot of dirt and debris from sitting outside with no top end.
A two-jaw gear puller helped remove the pinion gear.
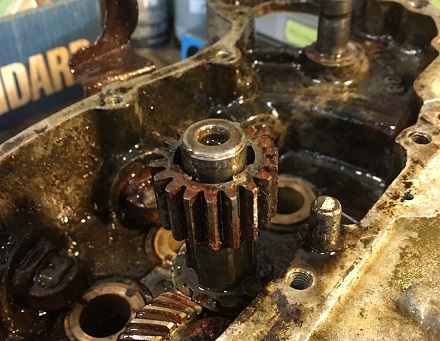
The scavenger oil pump is mounted with four studs and nuts. Removal required light tapping with a small hammer and punch.
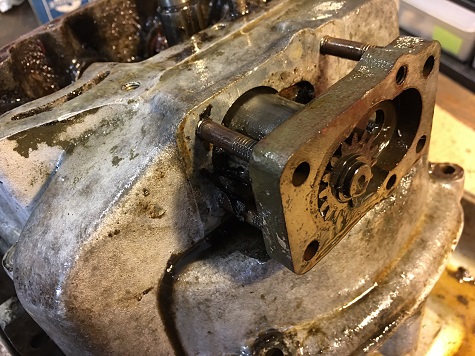
The breather valve is an integral part of the scavenger pump. The small screen between the breather valve and crankcase port will be cleaned or replaced.
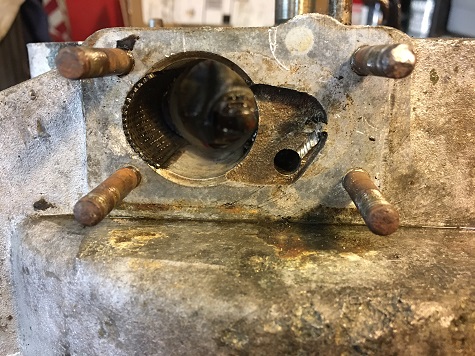
Separating The Cases
Harley 45 cases are held together with two bolts that thread into the case, and five studs with nuts on either end.
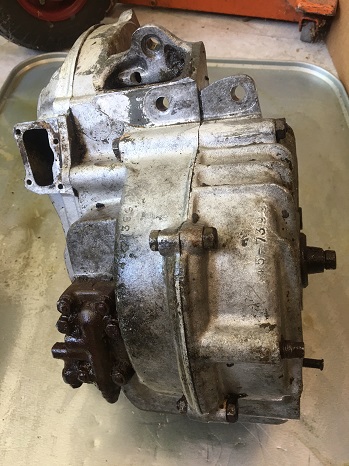
After the nuts were removed, the studs can be driven out with a flat-ended punch and hammer.
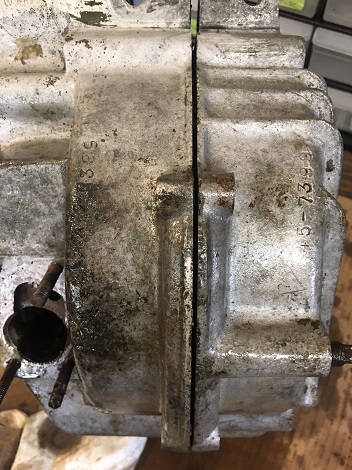
With the help of a gasket scraper and light hammer, the right case separated from the left case.
*********************
Remove Flywheel Assembly From Case
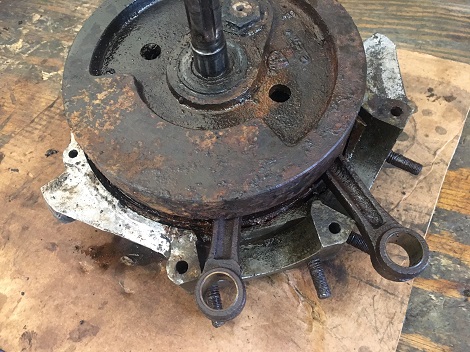
The flywheel assembly needs to be pressed out of the case. The best way to do this is with a hydraulic press.
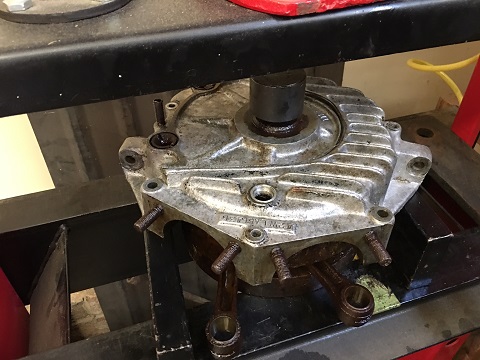
The reason for the frozen flywheel was now apparent!
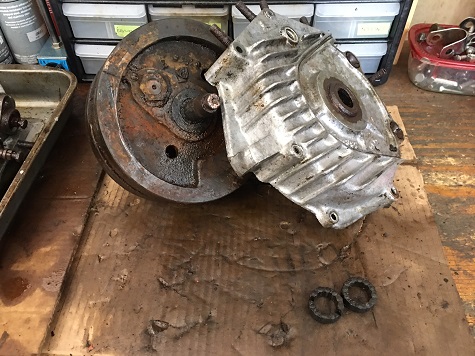
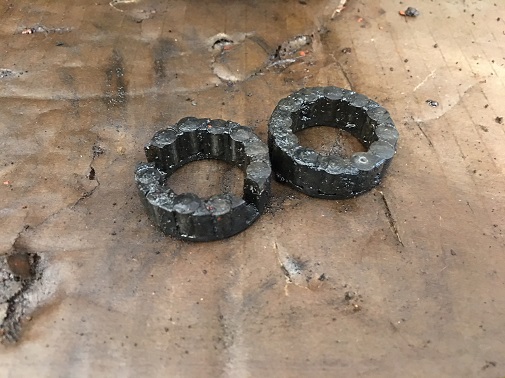
The roller bearings and cages were solid from years (perhaps decades) of non-use.
*********************
Remove Tappet and Tappet Blocks
Even after the long soaking, the valve tappets and blocks wouldn't budge.
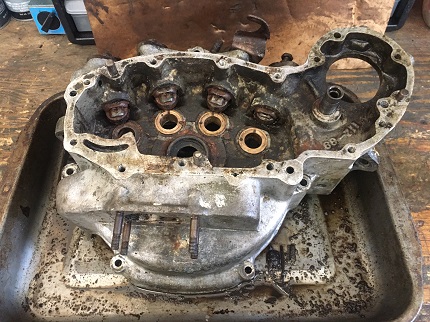
I decided to stop and put the the right-side engine case back into the container of oil, where it soaked for another two weeks. But even after the second soaking, three of the four valve tappets and blocks wouldn't budge.
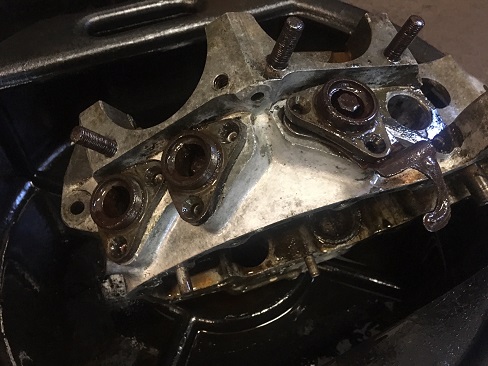
Next, the engine case was placed in an oil drain pan, then sprayed down with penetrant. The next few mornings, I'd spray them down again, and then again in the evening.
After a week's time, they still wouldn't budge.
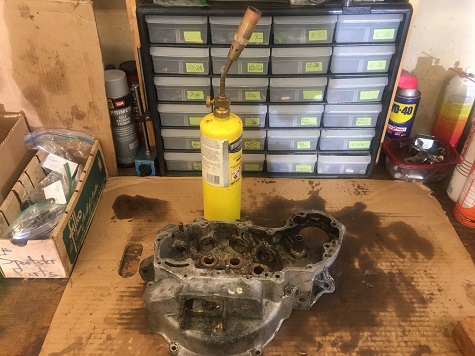
After heating with a torch (Map gas), they were slowly tapped out with a hammer and punch.
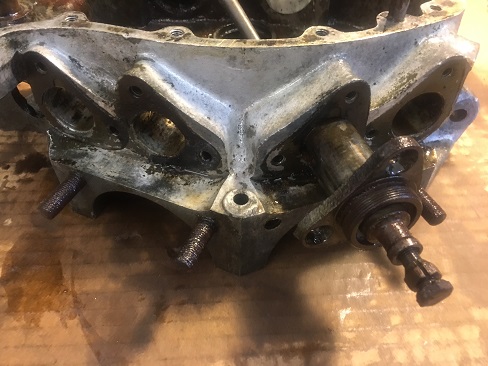
Once the tappet blocks were out, each one was placed in a vice.
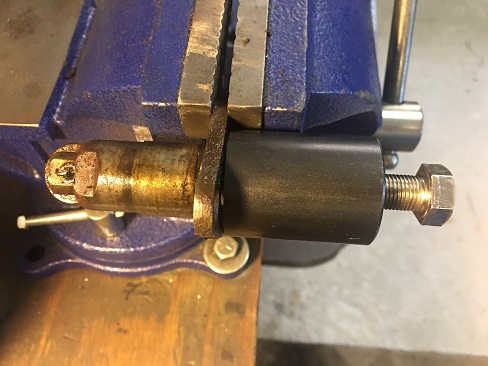
A tappet removal tool is required to remove tappet from the block.
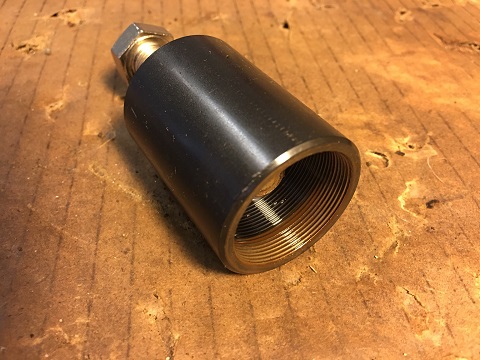
The tappet removal tool (Harley #11960-38) fits 1938 through 1973 Harley 45 Flatheads, as well as UL and VL big-twin flatheads.
*********************
Parts Inspection
Finally, after being stripped down to left and right cases, a careful visual inspection revealed no cracks, broken edges, or stripped threads.
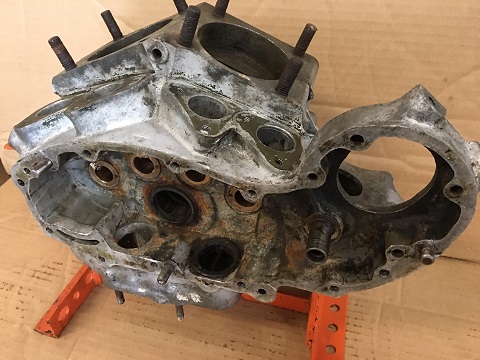
The gear cover cleaned up nicely.
More often than not, you'll find old gear cover bolts stripped out due to previous owners using too small a flat-blade screwdriver.
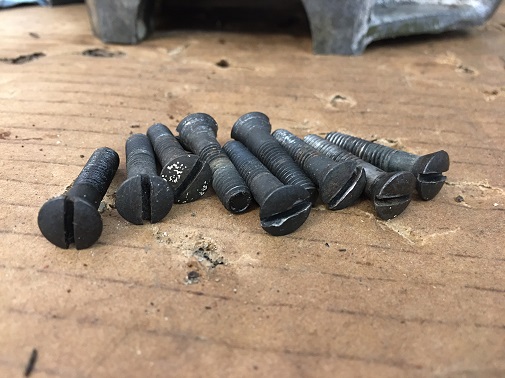
Most of the bolts on this engine will be re-usable.
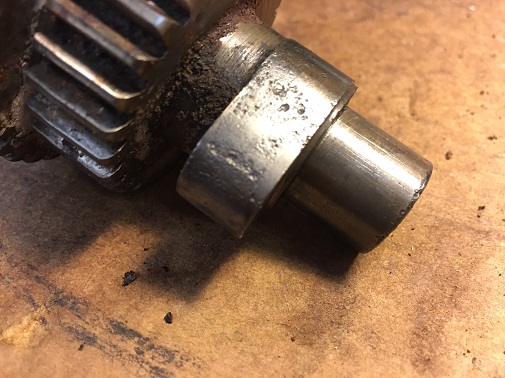
After being cleaned up on the wire bench wheel, all four cams were found to be too pitted for further use.
*********************
Related Articles:
Harley 45 Bottom End Assembly
Harley 45 Assembly
Assemble Harley 45 Cylinders
Harley 45 Timer And Ignition
Harley-Davidson WLA Military Bike
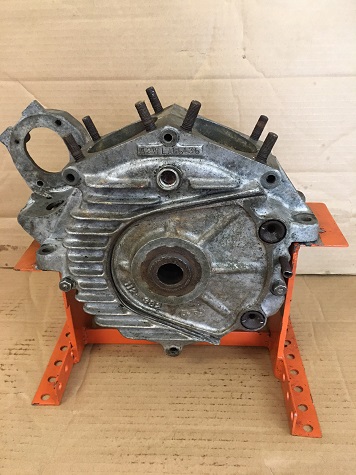
Read: DIY Harley Engine Stand
*********************