Hardtail Sportster Build
Article by Mark Trotta
Whether you ride an Evo or an old Ironhead, a hardtail frame will elevate your Sporty into the wide world of customs!
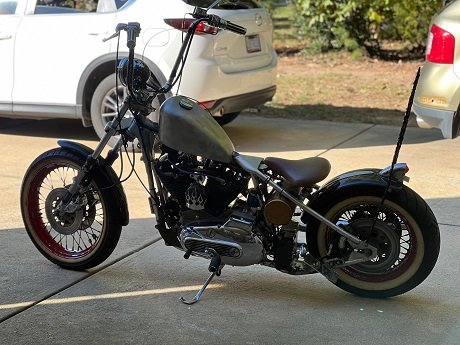
Partial vs Complete Frame
Hardtail kits contain just the rear half of the frame. They are offered as either bolt-on or weld-on to the main frame section.
The biggest advantage of a bolt-on/weld-on is that it allows you to keep the factory VIN number, so no custom title is necessary. This can be a huge deal in some states and provinces.
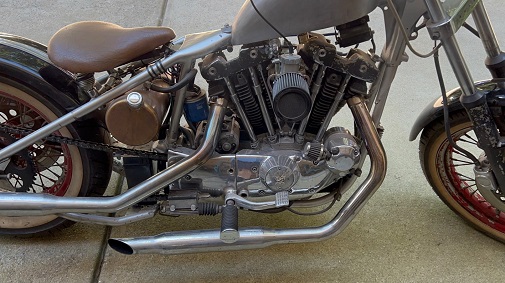
Bolt-on hardtail kits are fairly easy to install, and they're not permanent. This means the bike can be returned back to stock if desired.
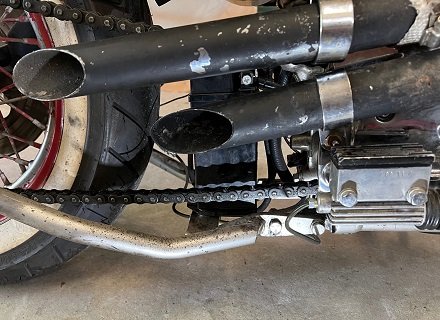
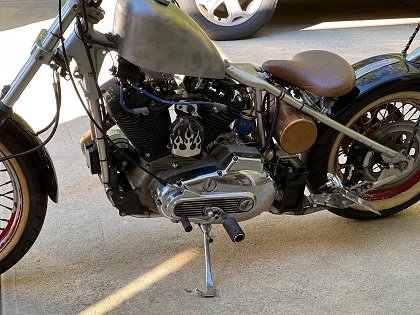
On the bike pictured above, the builder installed a bolt-on kit, then added a few tack-welds to the nuts and bolt heads, so they couldn't vibrate loose.
******************
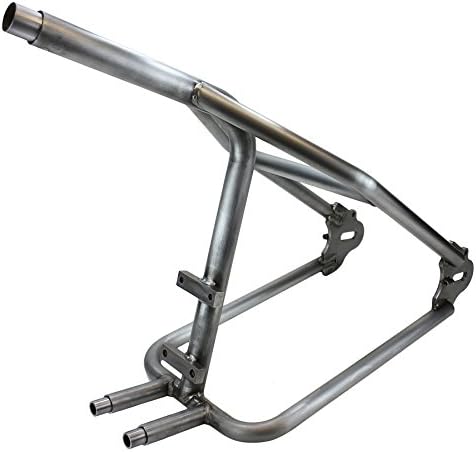
Hardtail Kit
This hardtail rear section from TC Bros fits 1982 through 2003 Sportsters.
******************
Hardtail Frame
When you buy a complete hardtail frame, most brackets that you need are already welded on.
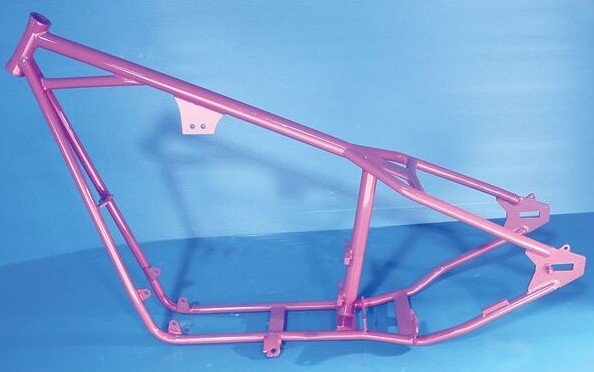
The V-Twin XL200 frame accepts 1986-2003 Evolution Sportster rigid mount engine and has 1" neck cups. Includes kick stand tabs, sissy bar tabs and battery box mounts.
Custom brackets can also be fabricated.
******************
On Ironhead models with a rear drum brake, you'll need a rear brake stay tab for the brake cable.
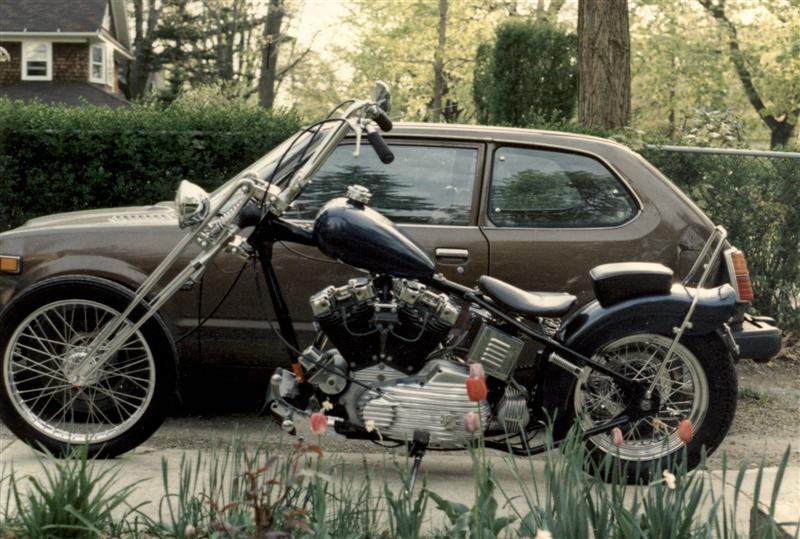
Building a hardtail Sportster is simpler than building a hardtail Big-Twin Harley, because there is no separate transmission that needs to be aligned. However, the rear-wheel chain sprocket needs to be lined up with the engine sprocket.
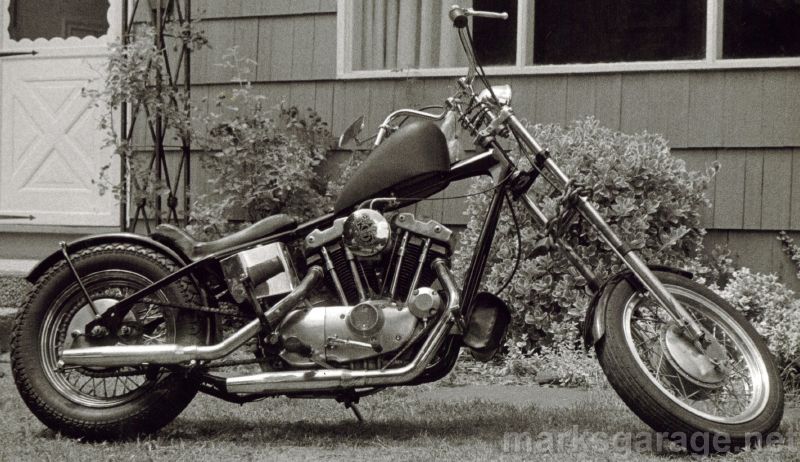
The only way to ensure that the two sprockets line up is trial and error. It's a time-consuming process of adding/removing axle spacers on either side of the rear wheel until the chain and sprockets line up.
High Mount Gas Tank
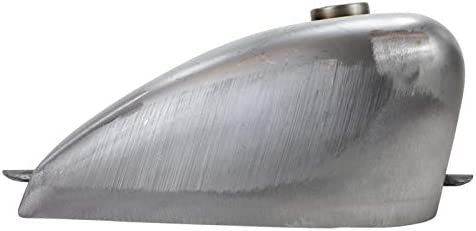
As an alternative to welding mounting tabs onto the frame, you can buy a gas tank that already has them. The low tunnel, high mount tank retains the classic Sportster look, but the original-style mounts were replaced with tabs front and rear.
Read: Install Gas Tank on Hardtail Frame
******************
Rear Fender
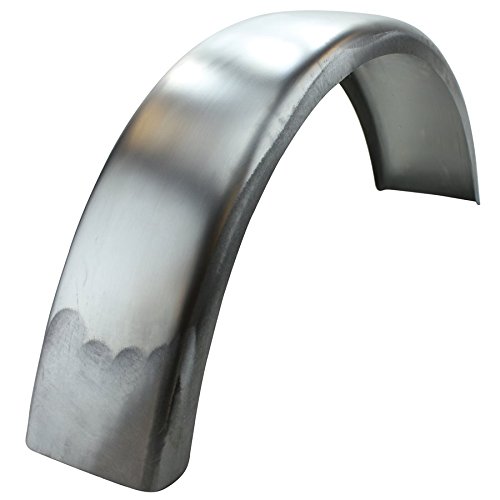
An old school favorite is a 6" flat steel fender. They're cheap, easy to fit, and gives you that nostalgic chopper look.
Rear Fender Mounting
A sissy bar adds a little bit of style, plus it gives you a convenient mounting place for the rear fender.
Overall Stance
One of the hardest and most overlooked parts of a any custom build is how the bike will sit when done. The way to check overall stance is to trial-fit everything, including the motor. The motor needs to be put on the frame to put weight on the front end, so you can get an accurate view of how the bike will sit. And don't forget the weight of the rider will bring it down some as well.
An essential part of building any sort of custom chopper, bobber, or cafe racer, is getting rid of unnecessary items. This usually includes bulky fenders and gas tanks, and trimming down unnecessary electrical parts, such as signals, gauges, relays and switches.
Read: Custom-Wiring A Motorcycle
After assembling and disassembling the bike several times, make sure everything fits before final painting. The frame usually gets painted an offset color from the gas tank and fenders, but that's up to you.
*****************
Best Front End For Hardtail Frame
Lots of choices here. You can re-use the existing front forks, or swap the whole front end to something with more visual appeal. Two common choices are a springer (chrome, brass, or black) or girder front end.
Girder vs Springer
Girder front forks were fitted to motorcycles for many years before hydraulic forks came about. Pound for pound, they will deflect less than other types of front suspensions.
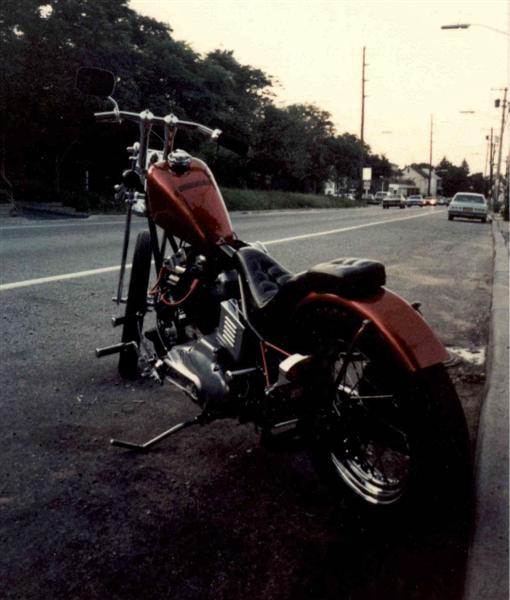
On my old '72 Sportster Hardtail, my first choice was a springer, but then decided on a 4" over P&P girder front end with a single shock. I rode with that front end for seven seasons.
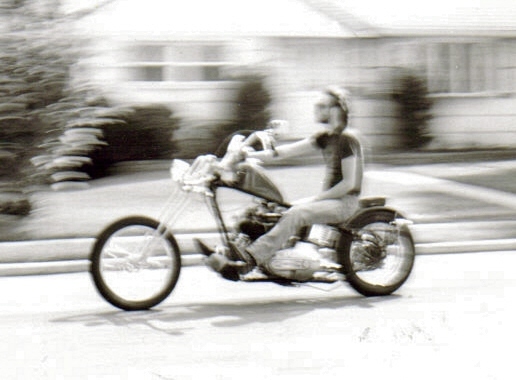
Another choice for front end is a Wide Glide Conversion.
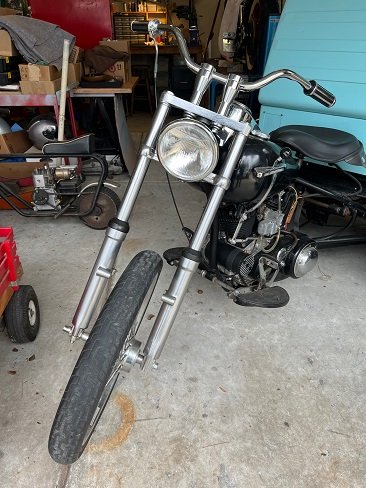
There's plenty of handlebar choices!
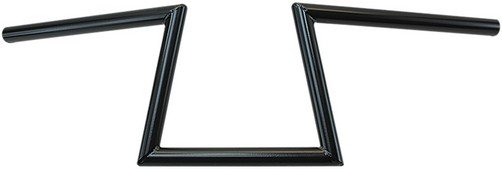
Shop: TC Bros Handlebars
******************
Notes and Misc
Originally, all motorcycles were hardtails, and since there are no rear suspension components, a hardtail frame is much lighter and less complicated than a conventional swing-arm frame.
******************
Related Articles: