Prep Motorcycle Gas Tank
Article by Vintage Vinny
Before painting and installing your new motorcycle gas tank, there are several procedures you can perform to insure they'll be no problems down the road.
The steps outlined in this article are for a new or good used gas tank. For gas tanks that have been sitting a long time without use, extra steps will need to be taken. I've had good results with Evapo-Rust, which is non-toxic and biodegradable, and has no fumes or bad odors.
If your gas tank is badly rusted, consider replacing it. Unless it's hard to find or expensive, there is no need to waste time on something that can be replaced.
Gas Tank Prep - Four Steps
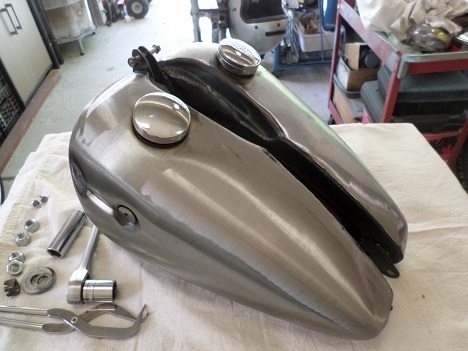
Before painting and installing a new motorcycle gas tank, it should be (1) trial-fitted, (2) tested for leaks, (3) cleaned inside and (4) cleaned outside.
If you're re-using an existing gas tank, you can skip steps one and two.
Step One - Trial Fit
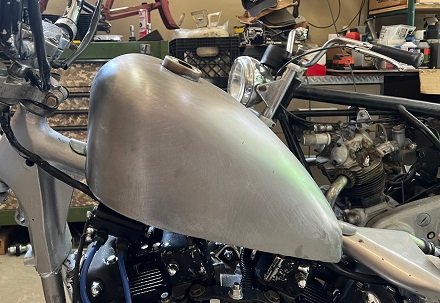
On a custom bike build, you want to make sure the tank is centered, as well as a snug fit. To help eliminate potential tank leaks and cracked mounting tabs, pre-fit the tank onto the frame.
If there's room, wrap a piece of rubber around the top frame tube. The rubber acts as a vibration dampener from the tank to the frame.
A section of automotive heater hose cut length-wise works well for this.
*******************
Step Two - Check For Leaks
A few years back, I bought a cheap aftermarket motorcycle tank. I primed it and painted it, mounted it to the bike, filled it with gas, and it leaked out the bottom. So now I check new tanks for leaks before painting and installing.
You'll need to seal off the fuel valve outlet(s) and anything else on the bottom of the tank. Once the tank holes are plugged off, fill the gas tank with clean water and sit it upright on the bike or somewhere where it won't get knocked over.
Let it sit overnight, and check for any leaks the next day.
If the tank is leak-free, drain the tank, and note the color of the water. If it comes out clear, no further cleaning is needed. Blow dry with compressed air and let sit overnight before painting.
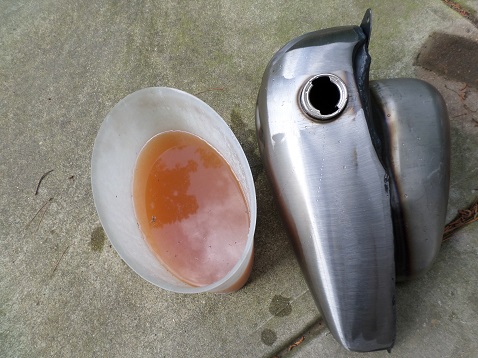
If the water comes out brown or murky, proceed to step three.
*******************
Step Three - Clean Inside of Gas Tank
Add a small amount of household dish detergent to some warm water. Pour into the tank, slosh it around back and forth for a minute or two, then drain.
If the water is still rust-colored, try cleaning with vinegar.
You can also try adding about 20 small, clean screws to help get the rust off the inside walls. I'd avoid marbles, as they may damage the inside of the tank. Best solution is to find non-metallic (plastic) bearings, as they will not damage anything.
Slosh around for a minute or two, then drain.
Even on the brand new tank pictured, the last step had to be repeated three times until the water came out clear.
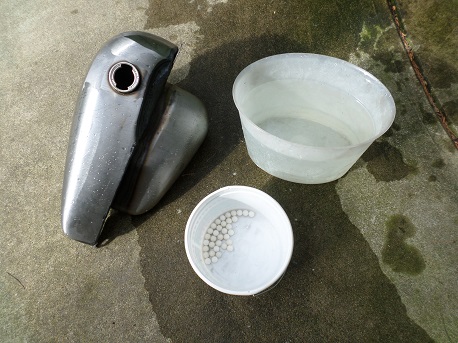
Once clean, fill and rinse with hot water (no soap) several times. Do this until the smell of soap is completely gone.
Blow the tank out with compressed air until it is completely dry. If possible, let the tank sit in the sun for a few hours, or let sit overnight before painting.
*******************
Is Gas Tank Sealant Necessary?
When it comes to gas tank sealers, you'll hear as many failure stories as success stories. They're expensive to buy and tricky to use.
Gas Tank Sealant may be a worthwhile step for vintage gas tanks that have been completely restored, but I don't find it necessary for new tanks.
*******************
Step Four - Clean and Prime Outside
Aftermarket gas tanks are often sold in unfinished raw steel with an oil coating to prevent rust. They are not a "take it out of the box and paint it" part.
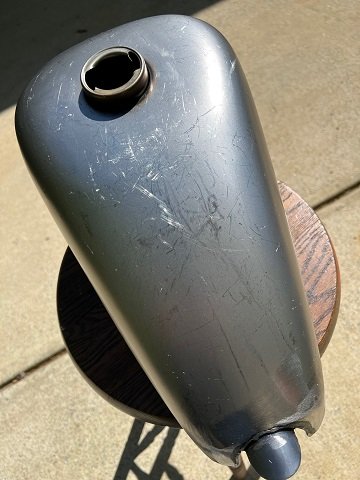
What I do is spray it down with brake parts cleaner in an aerosol can, or you can use a solvent-based wax and grease remover. Either one will leave no residue.
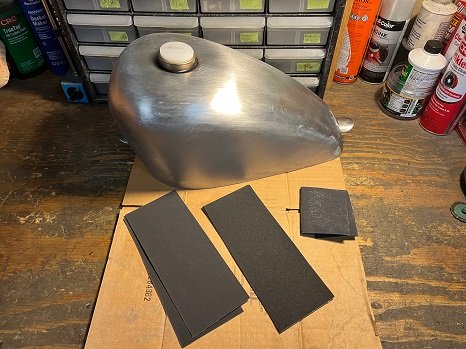
To sand out any imperfections, start with 80 grit, then progress to 220 or 320.
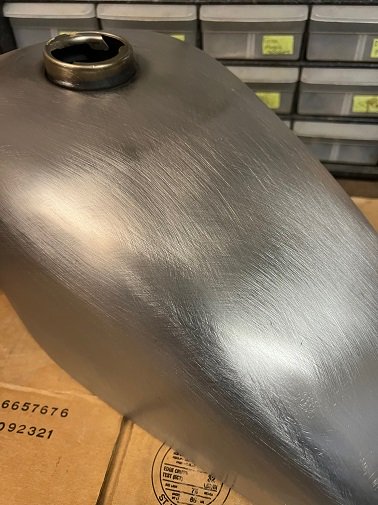
You may choose to add a few skim coats of body filler, or go directly to an epoxy primer.
Prime Before Painting
If you're painting bare metal, you need to protect it against moisture and rust. Without a prime coat, water can seep in and oxidation will start. If you are spraying over old paint, primer may not be needed.
The key to every good paint job is in the preparation. Clean the outer surface with acetone or mineral spirits. Brake parts cleaner also works well.
I usually apply two coats of epoxy primer and let it set overnight.
*******************
Oil Tank Prep
Oil tank prep will be the same as gas tank prep.
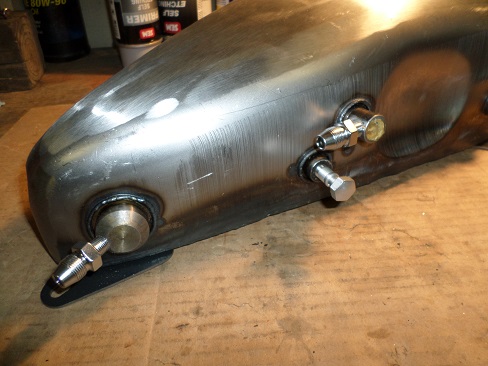
There's more lines to block off, so it's a little more difficult.
*******************
Conclusion
There are several steps to prep a new motorcycle gas tank prior to painting and installing. Depending on your own situation, you might want to add or subtract a step or two.
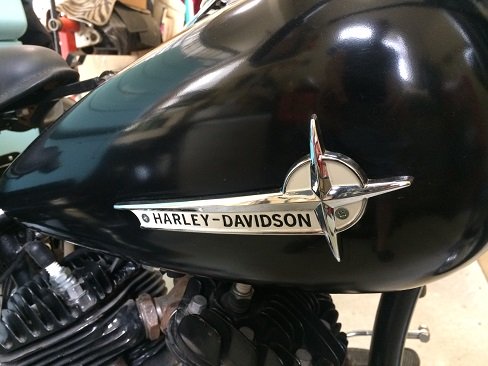
TIP: Once completed, look for non-Ethanol gas and keep the tank full whenever possible. This should prevent any gasoline-related problems in the future.
*******************
Related Articles: