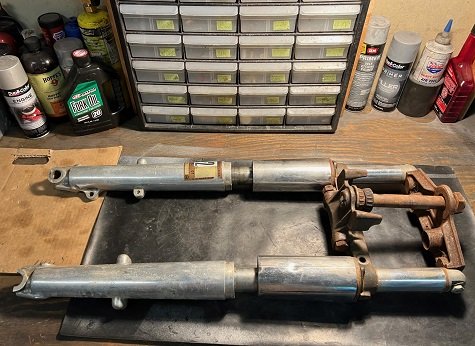
Hydra-Glide Brake Drum and Shoes Installation
Article by Mark Trotta
The Glide front drum brake was fitted to 1949 through 1965 Panheads, 1958 through 1973 Servi-Cars, and 1966 through 1971 Shovelhead FL models.
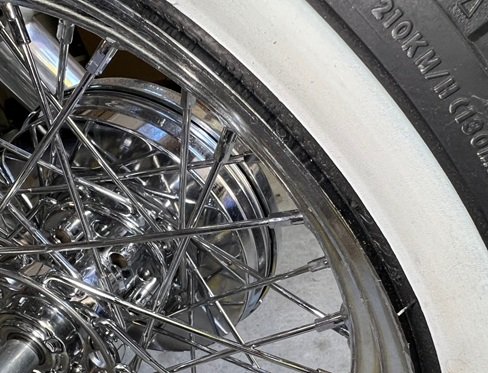
On 1949 to 1968 models, the brake mounted to the left fork slider. On later models, they mounted to the right fork slider.
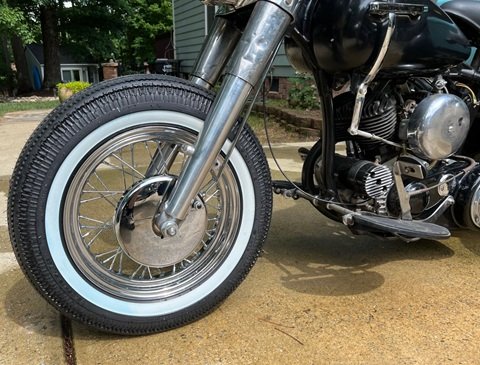
All Glide drums are eight-inch and interchangeable year to year. However, backing plates and shoes are year specific.
******************
Hydra-Glide Drum Brake Kit
Along with a front end overhaul on my 1961 Servi-Car, I installed an aftermarket front drum brake kit.
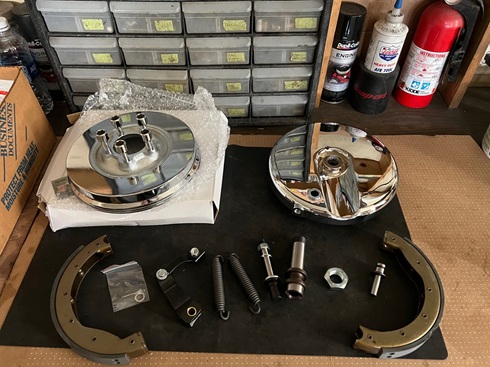
I purchased a left-side kit with a chrome drum, V-Twin 23-9204. It's also offered with a black drum, V-Twin 23-9218.
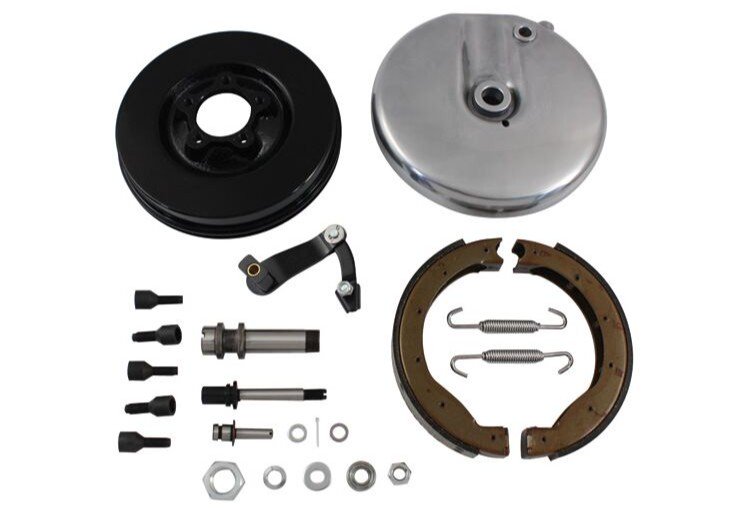
The kits include shoes, springs, backing plate, drum, axle sleeve, nuts, cam with lever, and mount stud.
The right side kit V-Twin 23-9222 is offered in chrome only.
As you may guess, none of these kits are top ten sellers, so they aren't always available.
******************
Remove and Install Drum
Removing and installing the drum to the wheel hub requires a 7/16" hex key. An Allen head socket won't work, because it has to pass through a 1/2" opening on the opposite side hub.
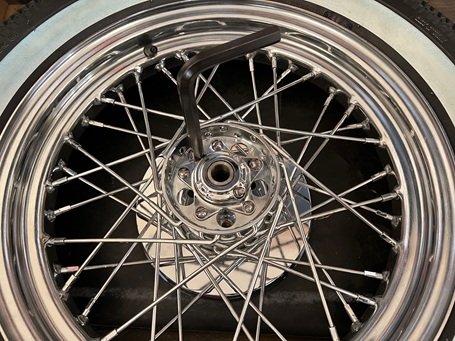
NOTE: A hex key like this one was included in factory tool kits for Harley Flatheads and Knuckleheads, as well as Hydra-Glide, Duo-Glide, and Electra-Glide models.
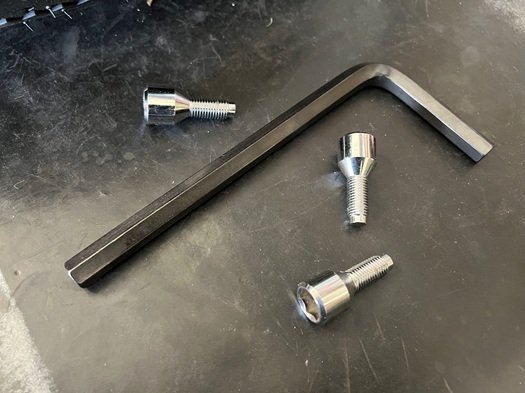
TIP: Apply a dab of Anti-seize to the wheel hub bolt threads before installing.
******************
Brake Shoe Installation
Here I'm checking fitment of the brake shoes by holding them up into the drum. These were a good fit right out of the box.
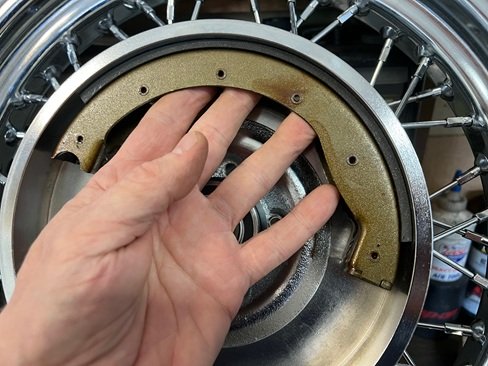
If necessary, shoe linings can be sanded down in high spots. If you do this, wear a mask, because there might be asbestos in there.
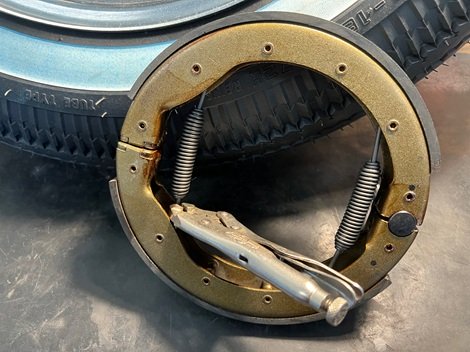
Vice-Grip pliers helped stretch the brake shoe springs.
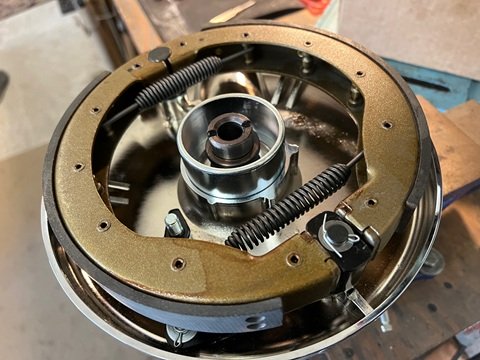
Propping up the backing plate in a workbench vice made assembly a little easier.
******************
Hydra-Glide Drum Brake Illustration
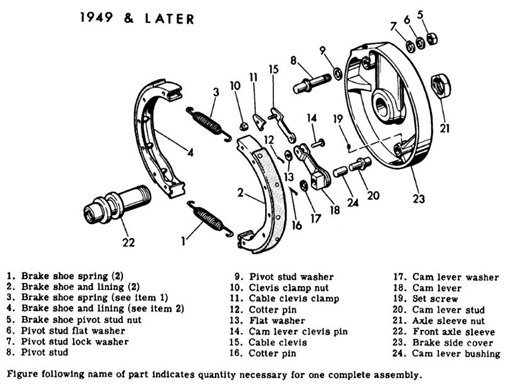
NOTE: The pivot stud locating washer (# 9 in illustration) has grooves in it, and should face toward drum. It is designed to lock it in place after centering.
******************
Side Cover (Backing Plate)
Left and right brake side covers are mirror images of each other. They are not interchangeable.
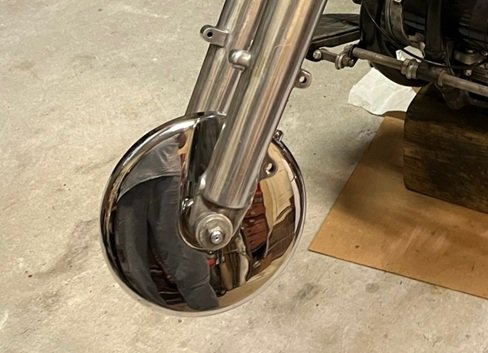
You may notice a small hole in the side cover below the axle.
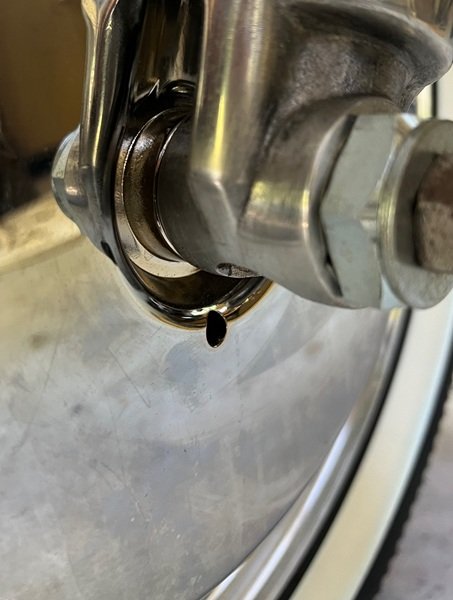
It's supposed to be there--it's a vent to allow any moisture that gets in to evaporate.
******************
Brake Lever and Cable
After installing the front brake lever, the new outer brake cable housing was carefully measured and cut to fit. The inner cable was then routed through the tube and into the backing plate before cutting.
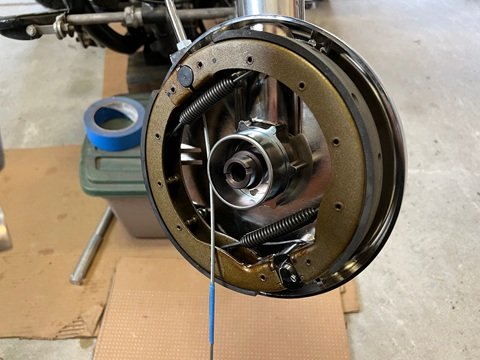
TIP: To prevent the cable from fraying, wrap a piece of tape around the spot to be cut.
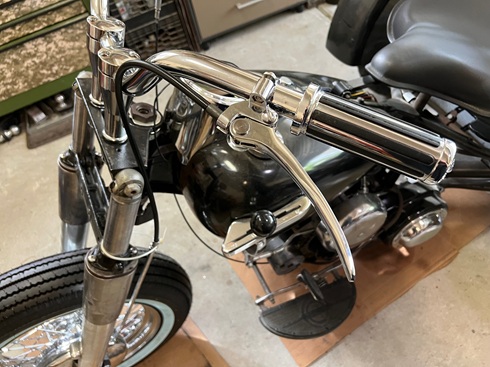
Installation complete and operative!
******************
Notes and Misc
I thought I was going to have trouble with some of the (foreign-made) parts, but all the parts fit fine right out of the box.
Some techs like to de-glaze the inner drum surface with Emory cloth before installing shoes.
Overhaul procedures are the same for Hydra-Glide, Duo-Glide, and Electra-Glide models 1949 through 1971.
******************
Related Articles:
Hydra Glide Fork Seal Replacement
Panhead History
Shovelhead History
Servi-Car History
Servi-Car Rear Brakes Overhaul
