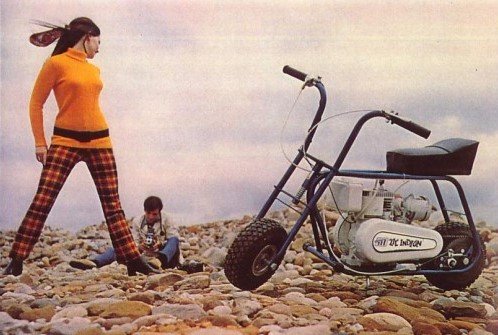
Classic Mini-Bike Build
In the similar spirit as go karts, minibikes take motorized two-wheeling down to its most basic form. Old school minibikes are not much more than a frame, two wheels, and a motor!
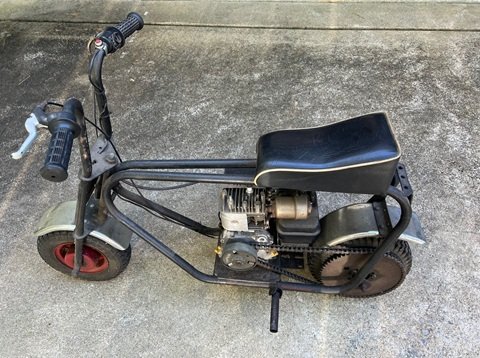
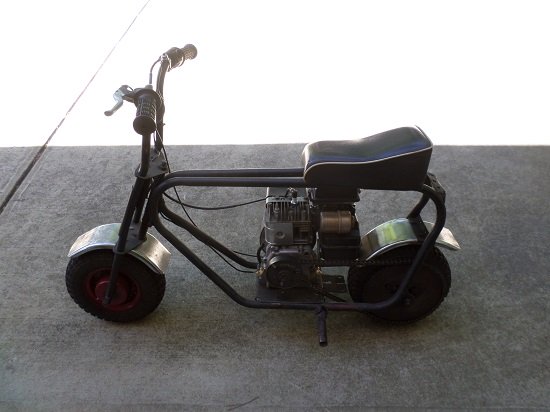
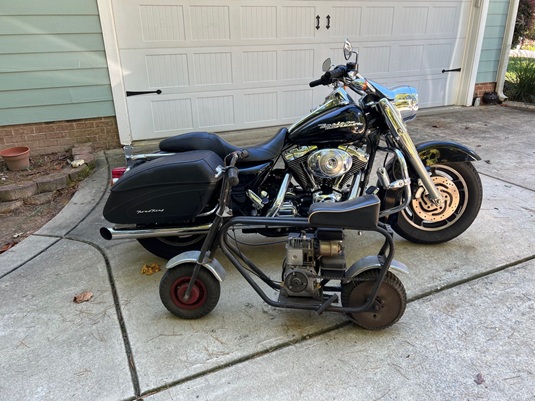
This old Western Flyer is indeed mini. Only 48" long and 32" to the top of the handlebars. There is a spring front suspension that sits below the front steering tube.
Other features include no torque converter, no front brake, and no chain guard.
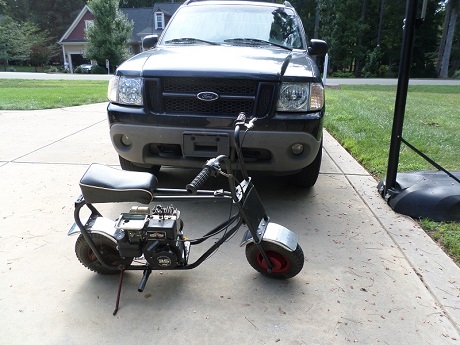
1973 Western Flyer model SS300
When purchased, the motor didn't run. And there was the frozen clutch, rusted chain, and no brakes.
All of these were simple and cheap to repair.
*****************
Briggs 3.5hp Flathead
Most minibikes from the 1960's and 1970's were fitted with either a Briggs & Stratton or Tecumseh four-stroke, single-cylinder flathead engine.
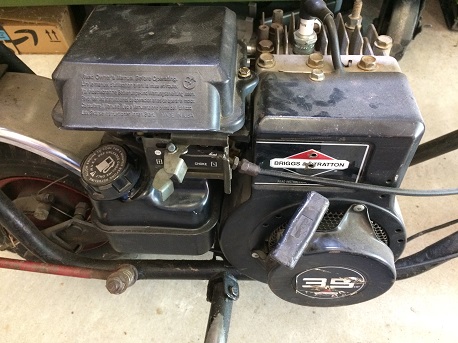
Produced from the 1960s to the 1990s, the Briggs & Stratton 90000 series 3.5 HP engine has powered lawn mowers, garden tillers, pressure washers, and many other types of power equipment.
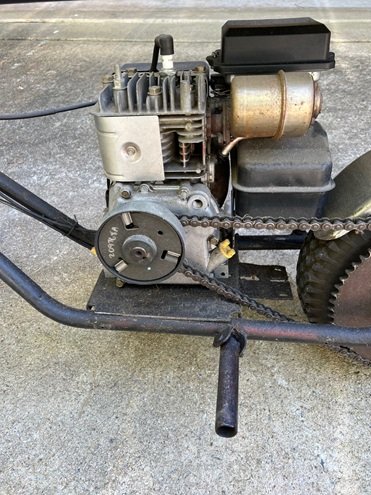
At first glance, you would think it was just a lesser-powered Briggs 5hp motor, but there are more differences than similarities between the two.
*****************
3.5hp vs 5hp Briggs Engines
Aside from the lower displacement and output, the 3.5 is smaller and lighter than a 5HP Briggs. This is significant when looking for a motor to power a minibike or motorized bicycle, where there is limited space between frame rails.
A Briggs 3.5-hp motor weighs approximately 25 pounds.
A Briggs 5-hp motor weighs approximately 35 pounds.
*****************
Parts Swapping
Comparing the two engines side-by-side, there are not a lot of parts shared between the two. The carb and gas tank unit seem to be the only pieces that interchange.
Output Shaft - 5/8" diameter on 3.5-hp vs 3/4" diameter on 5-hp.
Exhaust Port - 1.5" ID on 3.5-hp vs 1.75" ID on 5-hp.
(You could interchange mufflers and pipes but you would need an adapter)
Blower Housing
There are 3 different blower housing covers for the 90000 series Briggs engines. They can be swapped out with each other, but do not interchange with Briggs 5hp motors.
*****************
PulsaJet Carburetor
All Briggs 3.5hp motors were fitted with a tank-mounted diaphragm carburetor. These carbs can be tricky to get working right. I have found that it's worth the effort to remove the carb/tank assembly from the motor when attempting to repair or rebuild.
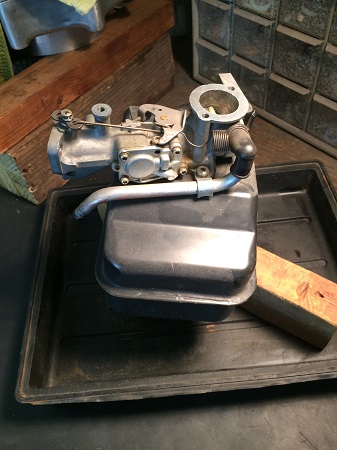
Carb Rebuild Kit
An aftermarket carb kit will cost much less than an original equipment kit. Have the engine model and serial number handy while ordering.
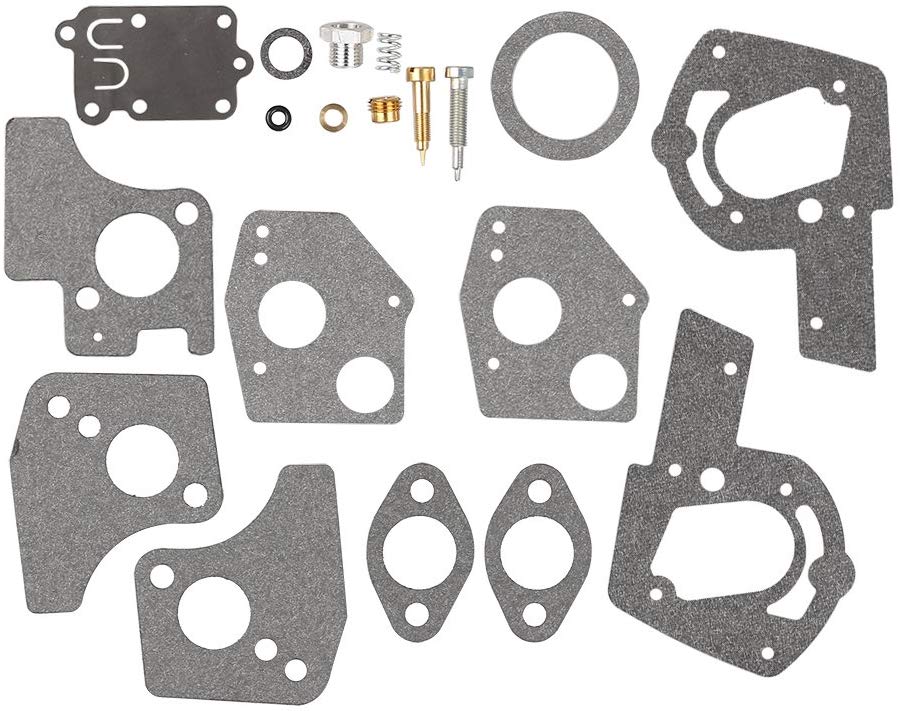
Shop: Briggs Carburetor Rebuild Kit
The carburetor overhaul kit will fit most Briggs & Stratton 3hp to 5hp engines. There's about 20 parts in it, and you'll probably have most of them left over when you're done.
*****************
Carburetor Overhaul
The majority of carburetor rebuilding is cleaning. Gumout carb cleaning spray is a good product to use for both inside and outside the carb.
Internal Cleaning
Carb cleaning should include the internal passages. If they are not clear and clean, the engine will not run right. To clean out the small passages, you can use carburetor cleaning brushes, or a welding torch tip cleaner, but an old guitar string will work just as well.
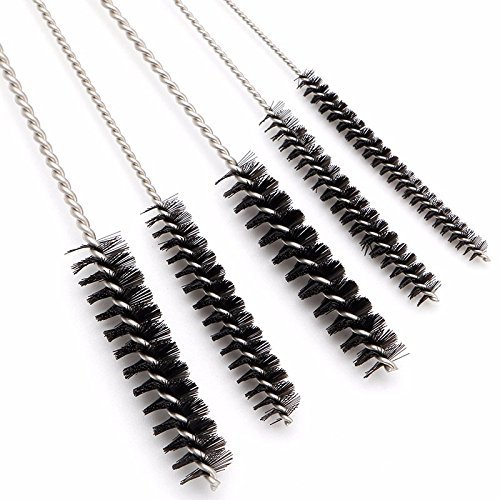
NOTE: Take care when cleaning the passages, as the carb body is made of soft aluminum alloy.
Soaking the Carburetor
If the carburetor is really old and dirty, invest in a gallon can of Berryman's Chem-Dip. A dunk basket is included.
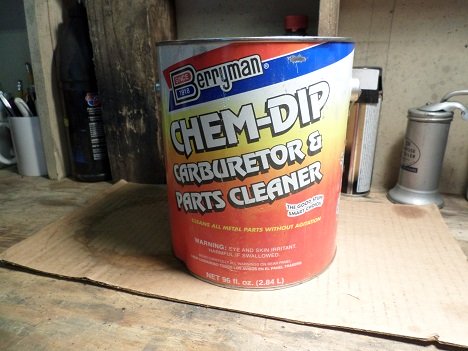
This stuff will dissolve sludge and dried-up remnants of fuel, but it will also eat rubber and plastics. When done cleaning, you can rinse the carburetor with water, then dry with compressed air.
After soaking, use a soft nylon brush (or an old toothbrush) to clean the outside of the carb. When done, blow through all passages with compressed air.
After soaking, you'll need to run something through the small passages again to remove any stubborn debris that has softened and loosened.
******************
Replace Rubber Grommets
These two rubber grommets are a common source of vacuum leaks on these old Briggs Flatheads. Replace them if they're hard or cracked.

Shop: Briggs&Stratton Breather Tube Grommet Kit
**************
Throttle Cable
The throttle cable had been previously rigged to work. A new linkage was easily fabricated with a piece of 1/8" welding rod, which allowed a better way to run the throttle cable.
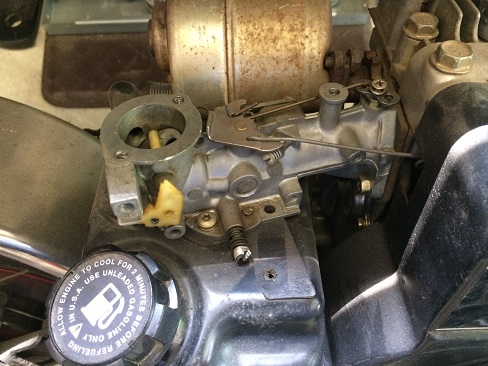
TIP: Lubricate the inside of the cable, and keep it out of the rain!
Remove/Install Centrifugal Clutch
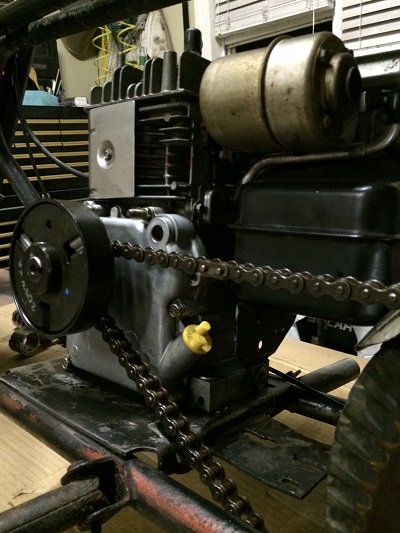
Before trying to remove the old clutch, I sprayed the shaft with WD40 and let it soak awhile. The clutch unit was then removed from the sprocket with a three-jaw puller.
TIP: When removing an old centrifugal clutch, don't force it - Make sure that you removed the small set-screw from the clutch hub with a hex key.
Before installing the new clutch, I scuffed the shaft lightly with fine Emory cloth, then applied a dot of anti-seize.
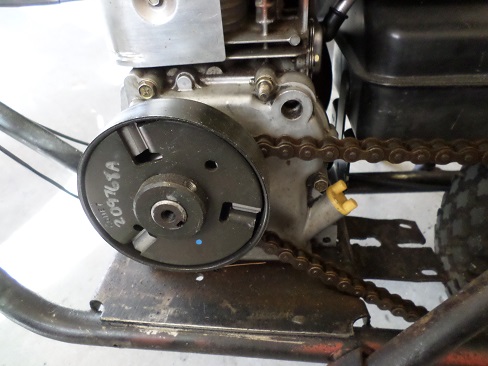
I'm presently running a 10-tooth clutch with a 72-tooth rear sprocket. With this gear ratio there's decent power coming off idle with a top speed of about 20-25 mph.
Remove/Install Chain
Before re-installing the old chain, I soaked it in motor oil for about a week, then scrubbed it with a brush. It was a little messy, but it saved me the cost of a new chain.
Kill Switch
When purchased, there was a frame-mounted on/off switch. I replaced it with a momentary-off button on the right handlebar. One wire gets grounded to the frame, and the other wire goes to the engine.
On magneto-powered small engines, the ignition is always on. When you push the button, it grounds the ignition and kills the motor.
Rear Brake
Band-brakes are commonly fitted to the outside of clutches or rear wheel drums. A new cable was needed to make it operable again, so I salvaged one from an old bicycle. The procedure was straightforward; the end of old frayed cable was cut off with a Dremel tool, then the outer casing was trimmed down to the needed length.
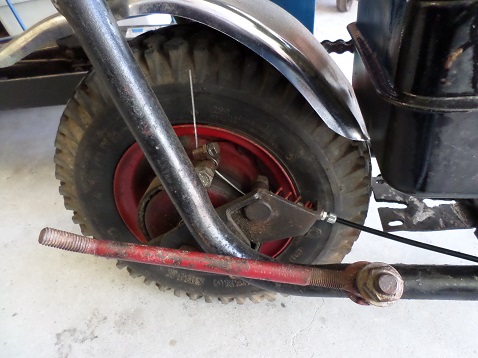
TIP: Before installing a brake cable, lubricate the inner cable lightly with oil.
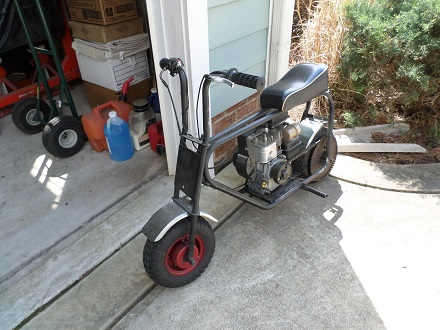
After I got it running and stopping, I noticed a vibration at speed. It seems to be coming from the front knobby tire, which I will be replacing with a sawtooth-tread tire.
******************
5 Reasons To Build A Minibike
- * Easy to work on
- * Inexpensive to buy
- * Take up very little room
- * Can be picked up and transported easily
- * Vintage ones are increasing in value
******************
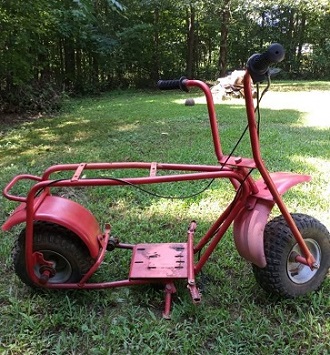
$250 Or Less Minibike Project
I see ads for cheap minibikes all the time. The fact that they don't run doesn't matter much - as long as there's a decent frame and wheels, everything else is easy to repair or replace, including the engine.
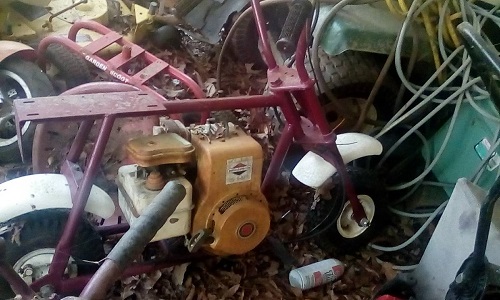
Best Engine For Minibike
Unlike a go kart, a mini-bike engine sits in a frame, not on it. So you will need to take into account the height and width when choosing an engine. Old school flathead engines include Briggs and Stratton and Tecumseh, and some lesser known vintage small engines are Clinton and Lauson.
*******************
Related Articles:
Restore An Old Go Kart
