Install and Time Cam Gears Harley 45 Flathead
Text and Pictures by Mark Trotta
If you think that installing and timing cam gears on a Harley 45 flathead is difficult, you're right! So let's take it slowly and step by step.

After removing the gear cover, this is what you'll see (left to right): rear exhaust cam, rear intake cam, breather gear under rear intake cam, pinion gear, front intake cam, front exhaust cam, idler gear
Each cam will be stamped 'W' or 'G' with numbers after them (1, 2, 3, 4).
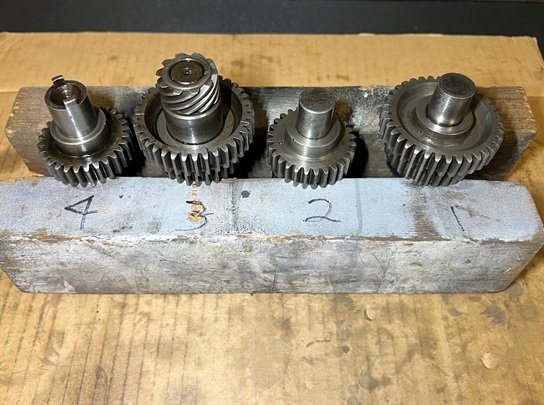
The factory service manual references the cams from back to front (4, 3, 2, 1).
Pictured throughout this article are "G" cams for Servi-cars (models G and GE). They are marked 1G, 2G, 3G and 4G.
Early and Late Gear Covers
There is an early style gear cover (up to 1958) and a late style cover (1959 and up) for Harley 45 engines. When the gear cover changed, so did the rear intake cam.
The early cam gear, part# 25502-37, was used through 1958. The late cam gear, part# 25502-59, was used 1959 through 1973.
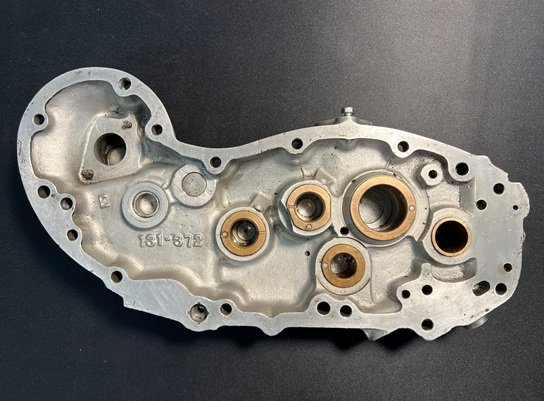
For 1937-1958 gear covers, casting number is the 131-372 and the part number is 25201-37.
Late covers also have casting number 131-372, but rear intake cam and bushing are different. Part number for the later covers are 25200-58 and 25200-59.
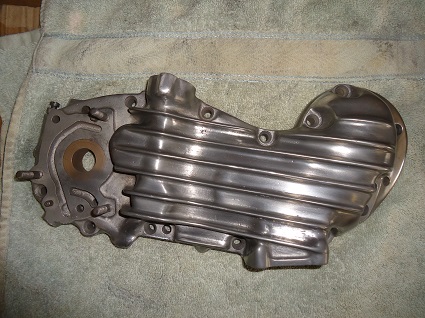
You can use an early rear intake cam with any early cover, or you can use a late rear intake cam with any late cover.
**********
Check For Binding (Test #1)
Before installing cams in chest:
Lay gear cover flat so the inside faces up. With a little motor oil on the cam teeth, stand the cams upright in the bushings.
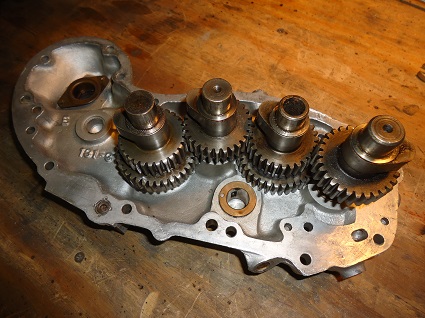
Turn slowly. Listen and feel for any binding. If there is any, stop and find out why before installing into cam chest.
**********
Set Flywheel To Timing Mark
Turn flywheel assembly slowly until you see the flywheel mark in the left crankcase timing window.

The pinion gear shaft seal ring and spring are installed before fitting the pinion gear and before scavenger pump is bolted on.
Install scavenger oil pump.
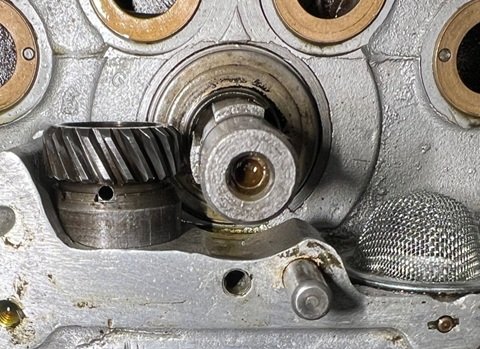
Note the small hole in the scavenger pump breather sleeve gear.
Next is the seal ring, followed by the seal ring spring.
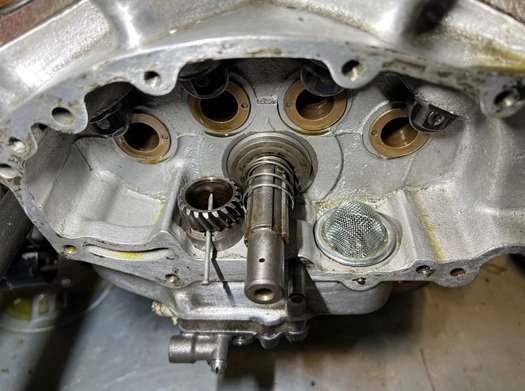
TIP: A small nail will help keep the breather gear hole facing forward.
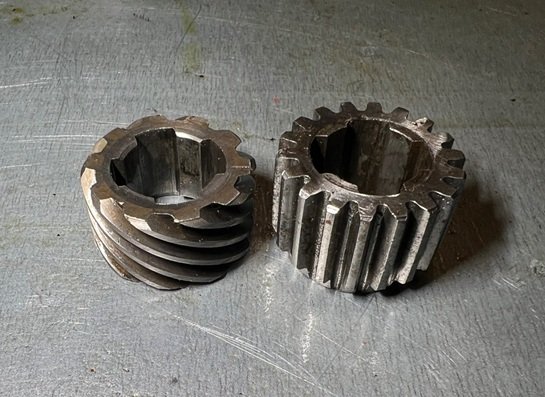
Pictured: spiral gear on left, pinion gear on right.
Slip spiral gear on splined gear until it is seated. It can only go on one way.
Slip on pinion gear, then lightly push both gears into the spring, meshing the spiral gear with the breather valve gear. and keeping the breather gear hole facing forward.

Set and hold pinion gear until outer face is exactly 5/16" away from gear case joint face.

A six-inch steel rule comes in handy here.

Check that the hole in the breather sleeve gear (#4 in illustration) is in the center of the breather housing slot.
If the holes do not line up, back off the pinion gears to disengage the breather valve gear. shift breather valve gear, and try again.
It may take several attempts.
**********
Install Cams
Starting at the flywheel mark, install the cams in this order: rear exhaust, front intake, rear intake, and front exhaust.
Align all cam timing marks off the pinion gear mark. The cams are aligned to each other by lining up the notches on the outer face.
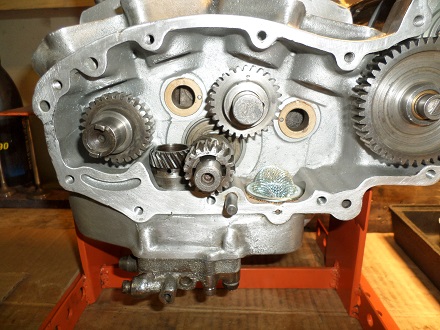
The notches on the cams don't always line up exactly, that's how they are.
**********
During engine assembly, you will be installing and removing the gear cover several times. The cover should go on with little or no effort. Only if necessary, tap the cover on carefully with a soft mallet.
**********
Check Binding (Test #2)
Temporarily install the cover with a gasket. The gasket is part of the end play you'll be checking later on.
Once the gear cover is on, install three or four bolts only. With the motor standing upright, slowly rotate the flywheel assembly.
If all is well, remove the cover, install the idler gear and generator, and check again for any binding.
By doing this in two steps, you can isolate what is causing any potential binding.
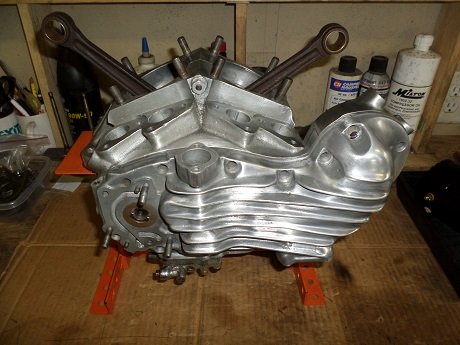
Cam timing is critical for an easy starting, good running engine. Intake and exhaust valves, crankcase breather, timer, oil pump and generator all depend on proper cam timing to work correctly.
Double Check For Binding
After they've all rotated together a few times, I like to re-check the cam alignment marks.
**********
Check Cam End Play
If no binding is felt, cam end clearance can now be checked.
With the gear cover on and tightened down, but with tappets not yet installed, slide a feeler gauge down into the open tappet-block hole.
I prefer to check cam end play without shims first, write down the measurements, then add shims as needed. Acceptable cam end play is .001" to .005".
Most Harley 45 engines left the factory with one steel shim washer behind each cam, but some cams may require none, while others may require two. Hopefully you took notice of this during the disassembly process. The shims are installed behind the cams.
Notes and Misc
To check if the breather (flutter) valve in the gear cover is functioning correctly, place your mouth over the valve opening and blow into it. If you feel air coming through the other side, it needs to be cleaned or replaced.
Read: Replace Breather Valve In Gear Cover
Then try sucking air out. You should be able to suck air through it, but not blow air through it.

Pictured: Old and new breather (flutter) valve
When you're ready to button up the gear case, lay the engine on it's left side (if it's out of the frame), take off the cover once more, and pour about a 1/4 pint of engine oil all over the cams for lubrication.
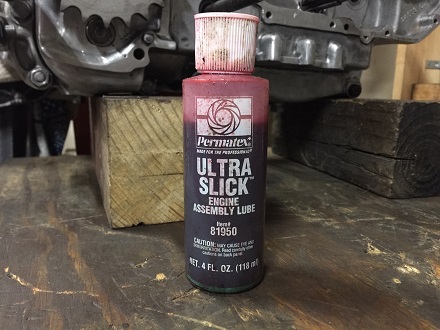
Tip: If the motor won't be started for awhile, liberally coat the cams with an assembly lube.
Install new gasket to cover using a non-hardening sealant. Install and tighten all bolts.

Cam Cover Gasket for Harley Flathead 1937-1973 replaces OEM 25226-37
**********
Related Articles: