Remove and Install Harley 45 Gear Cover
Text and Pictures by Mark Trotta
Removing the gear cover from an assembled Harley 45 motor is a time consuming process. You'll first have to take off the right side footboard, exhaust pipes, ignition timer, generator, oil lines and oil feed pump.
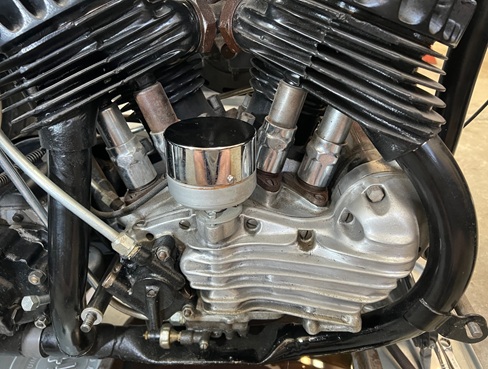
The most common reason for needing to remove the cover is to fix an oil leak. Another reason would be to replace cam gears.
Tools Needed
Aside from common hand tools, a gasket scraper is helpful.
Oil Leak Repair
After sitting for over a year without running, my 1961 Servi-Car started leaking oil several minutes after pouring a quart into the tank. At first, it looked like it was coming out the gear cover gasket, but it was actually coming from the bottom of the relief pipe.

This was the unfortunate result of a clogged breather (flutter) valve, which allows trapped oil to leak out. The cover needs to come off to replace it.

Read: Replace Breather Valve In Gear Cover
***********
Gear Cover Removal
Although the exact order is not important, this is the procedure I used:
Right Side Footboard - After disconnecting the rear brake operating rod, the right sidebar comes off with two 3/8 nuts.
Exhaust - I actually didn't take the exhaust off second, but in hindsight, I should have.
Ignition Timer - Before removing, set flywheel to timing mark. Turn flywheel assembly slowly until you see the flywheel mark in the left crankcase timing window.

Disconnect wire from coil, remove mounting bracket, pull timer up and out.
Generator - Disconnect wires, remove one of the two long screws, then hold generator with your opposite hand, and remove the other screw.
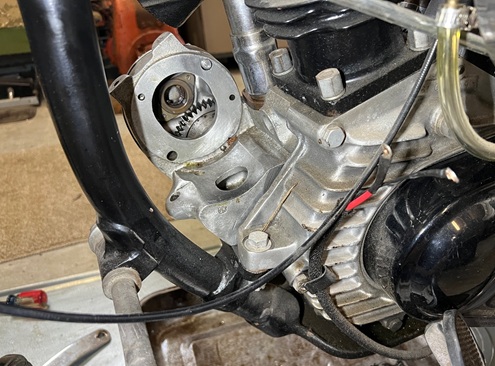
I unbolted the left side floorboard for better access.
Oil Pressure Switch - Disconnect wire, then remove switch. There's a special socket for these, but I used a 1-1/16" wrench.
Oil Pipes - Remove all three oil lines, feed, vent, and return. Use flare nut wrenches if you have them.

Oil nipple caps will prevent oil from running out after removing oil lines.
1/4 x 24 Thread Hardware
The oil feed pump is held on by three studs with nuts and one bolt. The thread size on the bolt and studs is neither coarse (1/4x20) nor fine (1/4x28).
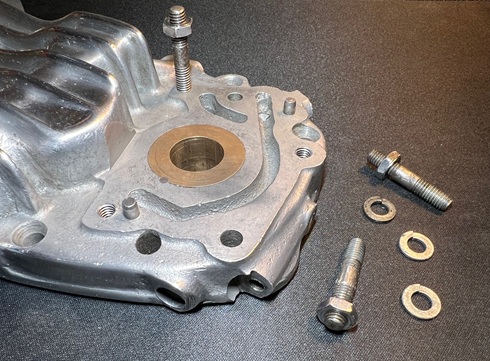
The thread pitch is 1/4 x 24 TPI. It is a non-standard size, which occasionally shows up on vintage Harley models (Flatheads, Panheads and others).
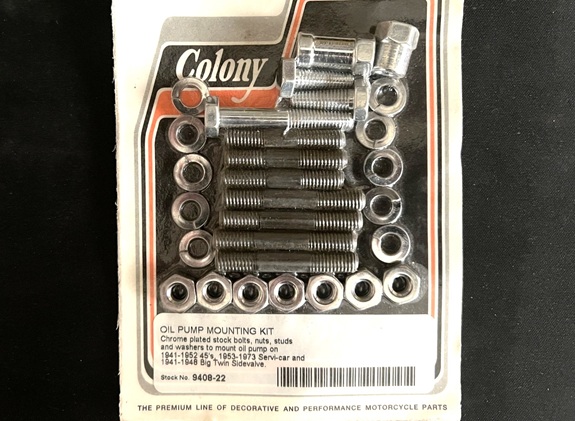
Colony Oil Feed Pump Nut and Bolt Kit is made in America and fits 1937-1952 WL and 1937-1973 G models.
***********
Gear Cover Screws
Respect your vintage motorcycle - use the right size screwdriver to remove the cover bolts.
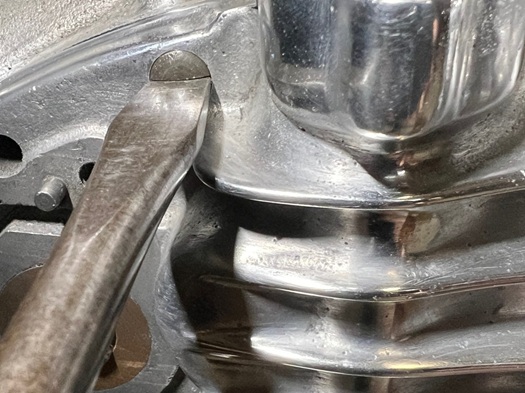
The correct screwdriver size will have a 5/16 tip width.
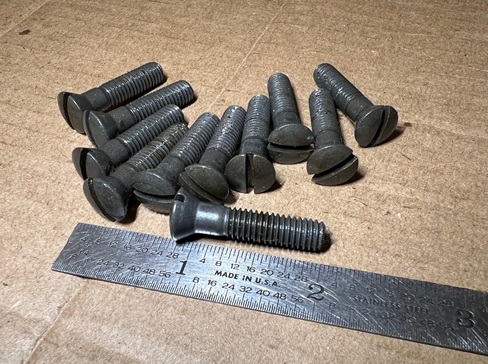
After removing 11 screw-head bolts (also 1/4 x 24) from the cover, count them to make sure you've got all eleven.
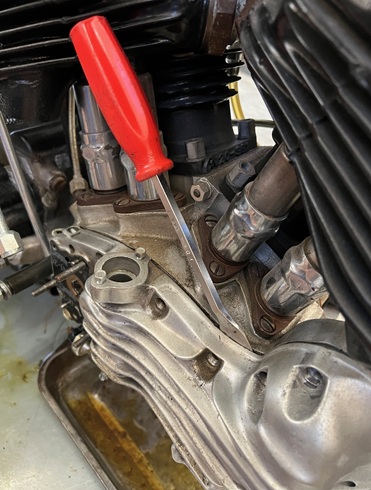
The gear cover is set onto dowel pins and a little coaxing with a gasket scraper often helps, but be careful because aluminum damages easily.
CAUTION: While removing the gear cover from the case, take every precaution to keep the four cams in the cam chest!
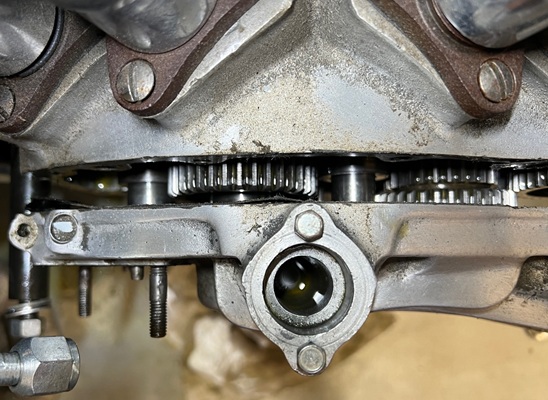
No matter how careful you are, sometimes a cam gear or two will stick to the cover and shims will fall out.
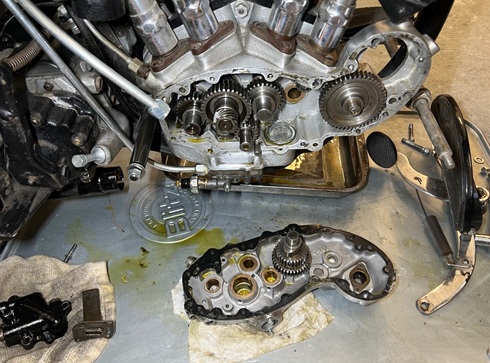
To reinstall cam gears and shims on an assembled motor, the tappets need to be pushed up and out of the way (unless you're lucky and the cam lobe is pointing down). To move the tappets, the cylinder jugs need to be loosened (not an easy task) and propped up about 1/4" to gain the needed clearance.
***********
Cam Cover Seal Ring
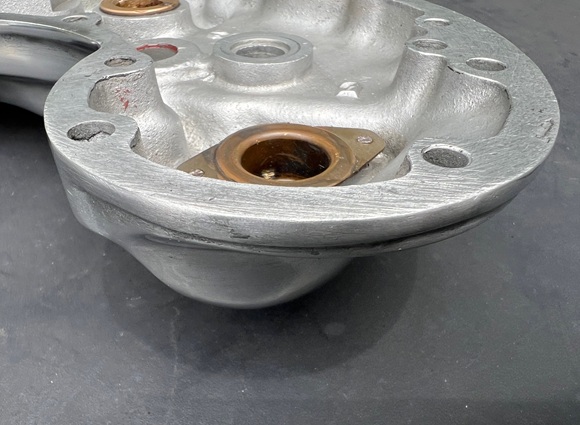
Inside the front of the cover, there is a football-shaped piece which mounts on two small pins.

Harley calls this a seal ring oil separator. It's held open by a spring and rides up and down on the pins.
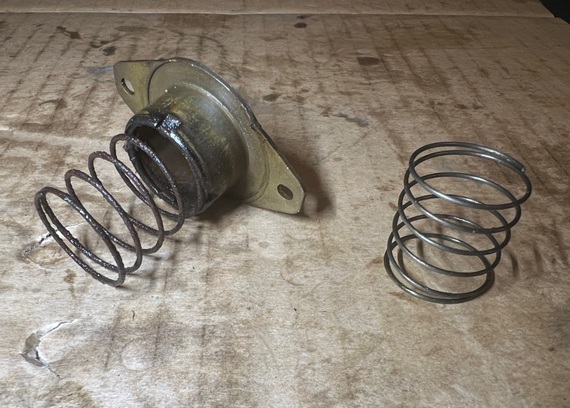
On this motor, the seal ring was stuck in the down position, so a new spring was installed. Harley OE # is 25281-37.
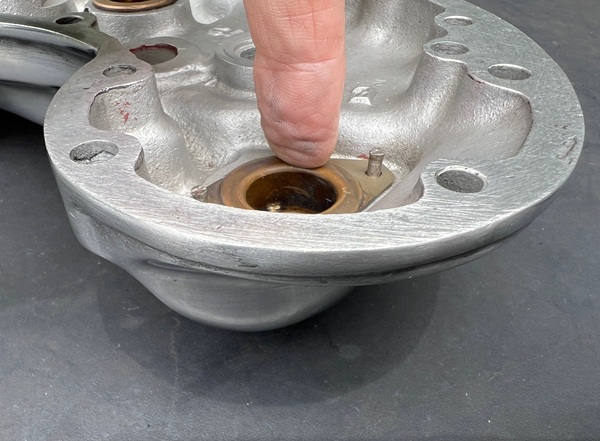
When working correctly, it should move up and down easily by finger pressure.
***********
Polishing Aluminum
Now's the time to polish the cover. Before the actual sanding began, a few deep grooves were removed with a metal file.
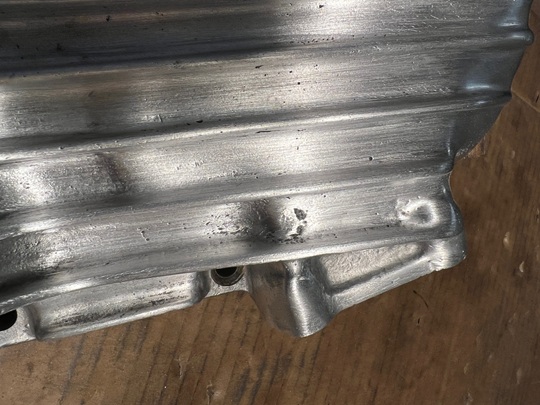
I started the sanding process with 50 grit Emory cloth, followed by 80 Grit Emory cloth.
Switching to 220 wet sandpaper and starting to show progress.
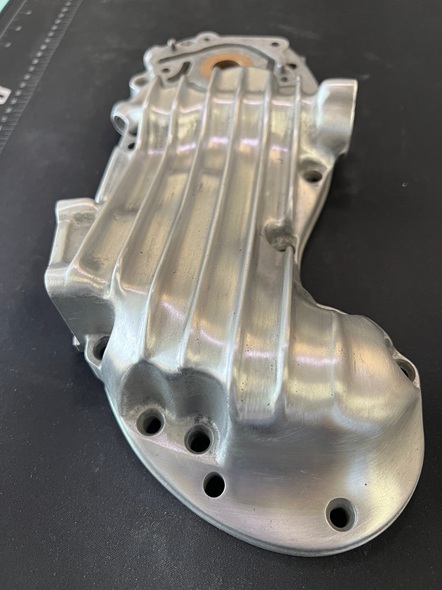
More wet sanding with 400, then 600.
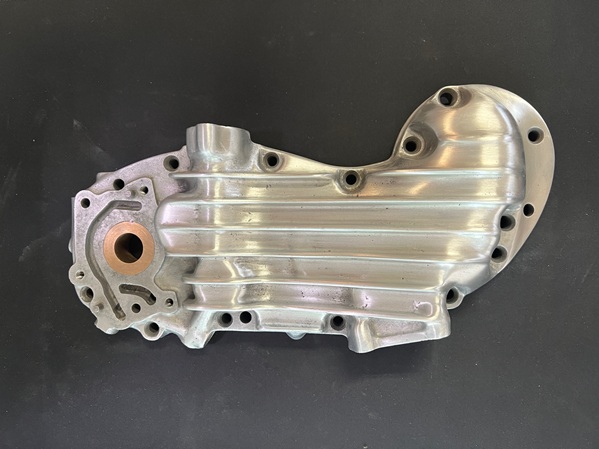
Final step, polishing to a gloss on a buffing wheel.
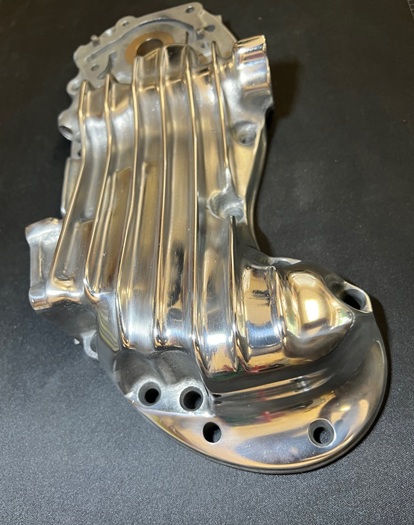
Depending on how deep a shine you're after, you can continue with 800 and 1000 grit paper before polishing.
***********
Installation is basically the reverse of removal.
To avoid trouble, follow this 9-step checklist while re-installing cover:
1) Timing Gear Mark - Make sure it hasn't moved.
2) Scavenger Pump Gear Aligned
3) Cam Gears Aligned
4) Install Idler Gear - It will only fit properly one way.
5) Breather Valve Is Not Clogged
6) Spring Ring - Make sure it has free movement.
7) New Gasket - I used a small amount of Hylomar to hold the gasket in place while installing.
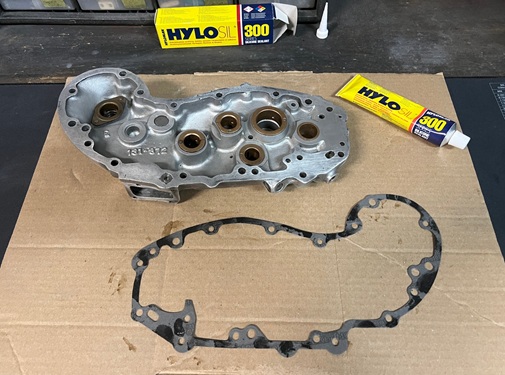
V-Twin Cam Cover Gasket for Harley Flathead replaces OEM 25226-37
8) Wait 5 Minutes - Let the sealant get tacky. This is an important step.
9) Lightly Oil Cam Bearing Surfaces - A squirt can works well.
Use hand pressure only when installing the cover back on the cam chest. It'll take a little wiggling around. A couple of raps with your bare fist is Ok, but No Hammers!
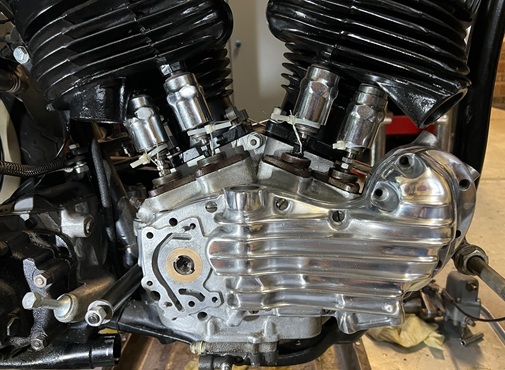
Tighten the 11 screws evenly.
Engine Reassembly
Install oil feed pump, oil lines, ignition timer, generator, exhaust, and footboard. Reconnect electrical wires.
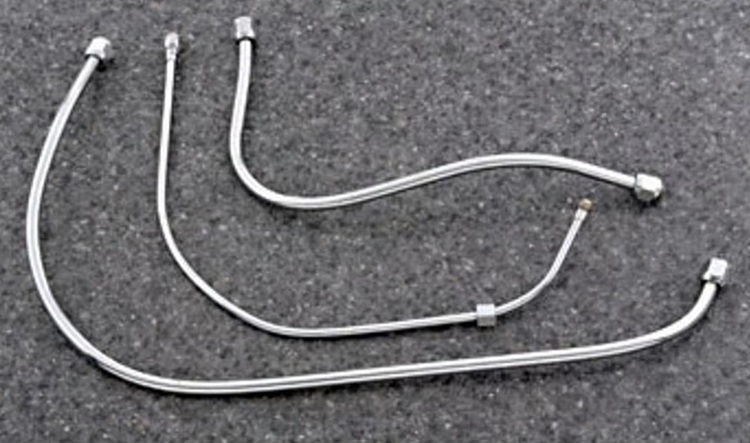
Oil Line Kit for Harley 45 1938-1973 replaces OEM 63510-37 (feed), 63570-37 (vent), and 63507-38 (return).
***********
Related Articles: