Static-Time Old Harley With AM Radio
Text and Pictures by Mark Trotta
As an alternative to a test light or multimeter, you can static time an old Harley using an AM radio. Tune in the radio between stations so that it makes a loud static noise. With the ignition switch on, turn the circuit breaker slowly until you hear an audible 'click' when the points open.
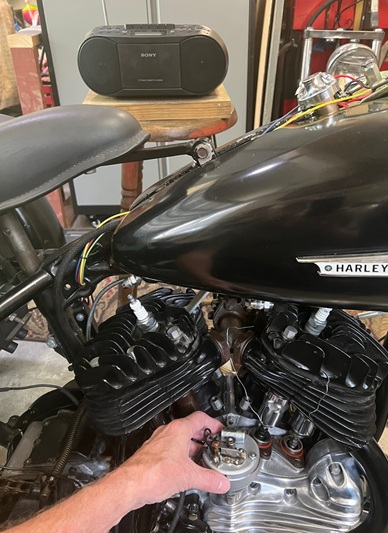
This method will work on any bike with an external ignition timer (Flatheads, Knuckleheads, Panheads, K-Models, early Ironheads, early Shovelheads).
NOTE: A Harley ignition timer is also known as a circuit breaker.
Basic Static Timing
The procedure is basically the same as using a test light or multimeter. To position the engine at it's designated mark, either prop up the rear wheel or use the kick starter.
On most Harley V-Twins (like this 45ci flathead), the exact spot where correct timing occurs is when both front tappets are closed, and the front cylinder is on the compression stroke.
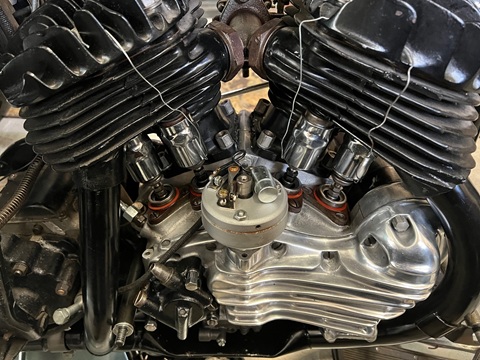
The valve covers are propped up to verify that front intake and exhaust valves are both closed.
Next, turn the engine over (about 15 degrees on this motor) until you see the vertical timing mark on the flywheel.
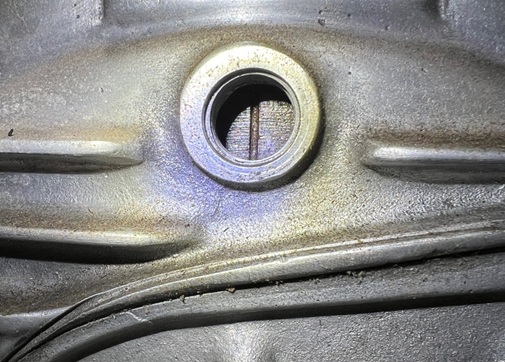
Remember that this mark is only a reference point. You could be 180 degrees off from where you need to be. Be sure that the front intake and exhaust valves are closed.
Setting The Point Gap
There are two different size lobes on the ignition timer cam. The narrower lobe works the front cylinder, and the wider lobe works the rear cylinder.
With a flat-blade screwdriver, turn the eccentric on the base plate clockwise to close points and CCW to open them up. Recommended points gap for most Harley V-Twins is 020" to 022".
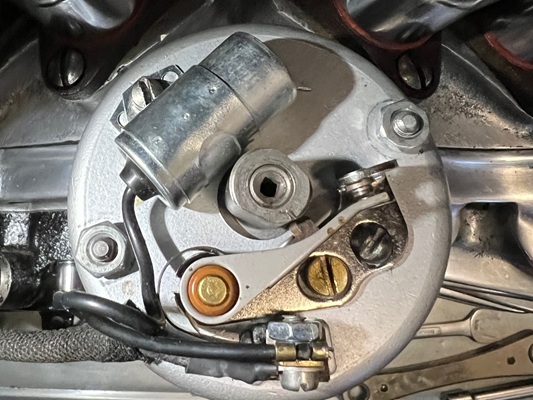
Notice the small mark (indent) on top of the timer cam. When installing a timer (circuit breaker), you want that mark to line up with the breaker lever fiber (center of the points bracket).
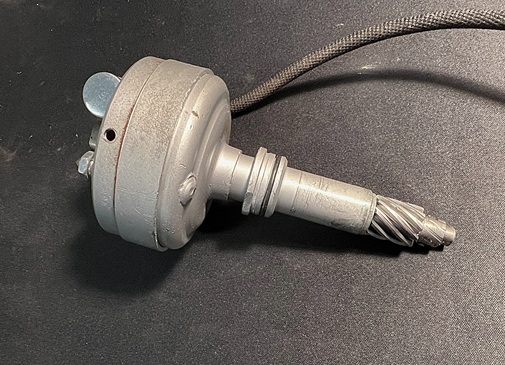
When installing a circuit breaker (ignition timer), turn shaft 60 degrees counterclockwise (CCW) from position of the where you want the mark to be.
When correctly done, the mark will line up with the center of the points bracket.
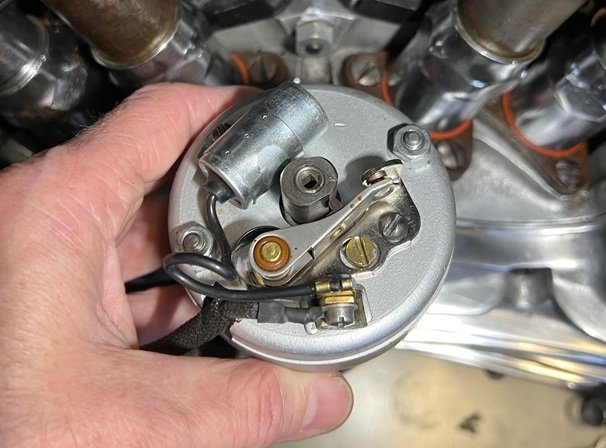
If the two marks don't line up on the first try, pull the timer up just enough so you can turn the shaft gear one tooth over (CCW) and try it again.
You may have to do this several times before correct alignment is attained.
Points Break Opening
The required points break is a very narrow gap that you can't see with a naked eye. An electrical test light gives you an easy visual of when the circuit breaks. Some voltmeters give you an option of either audio (buzzer) or sweeping needle (visual).
Auto Advance Timers
The problem when static timing an auto advance timer is, the advance weights need to be in the OUT position. To do this, the timer cam has to be held clockwise in the full advance position at the same time you're turning the timer body left or right. That leaves you without a free hand to hold a test light.
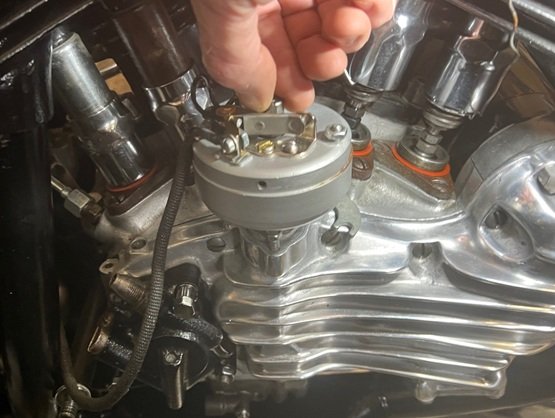
There is a specialty tool for holding the weights open, but I don't have one. Rather than finding a third hand or rigging up a way to secure a test light, an audio signal gives you a hands-free method for knowing when the points open.
My multimeter does not have a buzzer option, but I do have a portable radio in my garage, which I keep it propped up on the hydraulic press.
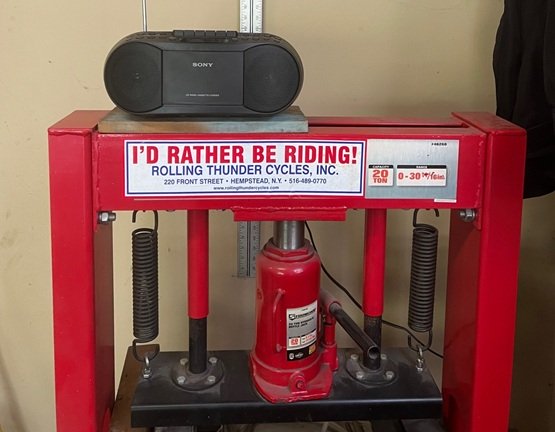
With the radio close to the bike, set the dial in between AM stations. When you get a steady static, turn up the volume.
Turn the ignition switch on.
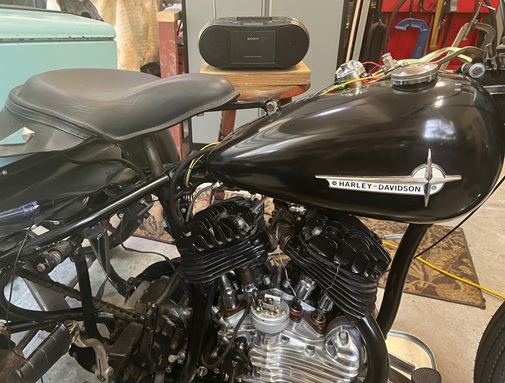
With one hand holding the advance weights clockwise, slowly turn the timer base with the other hand. Just as the points break open, you'll hear a POP through the radio.
I don't know why it works, or how it works, but it does work.
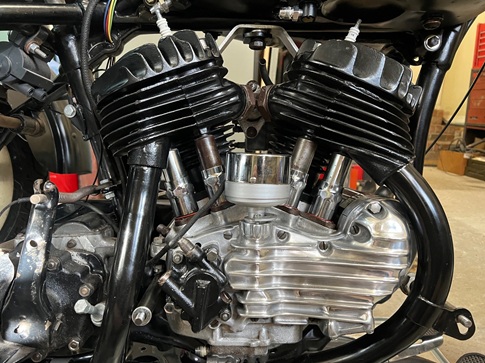
When done, tighten the hold-down screws a bit, double check, then tighten the screws a final time.
*****
Conclusion
Sure, timing an old motorcycle with an AM radio is old school, but without having a third hand or the special tool, it's easier than rigging up a light or a meter.
Once the engine is running, a timing (strobe) light will provide a more accurate setting.
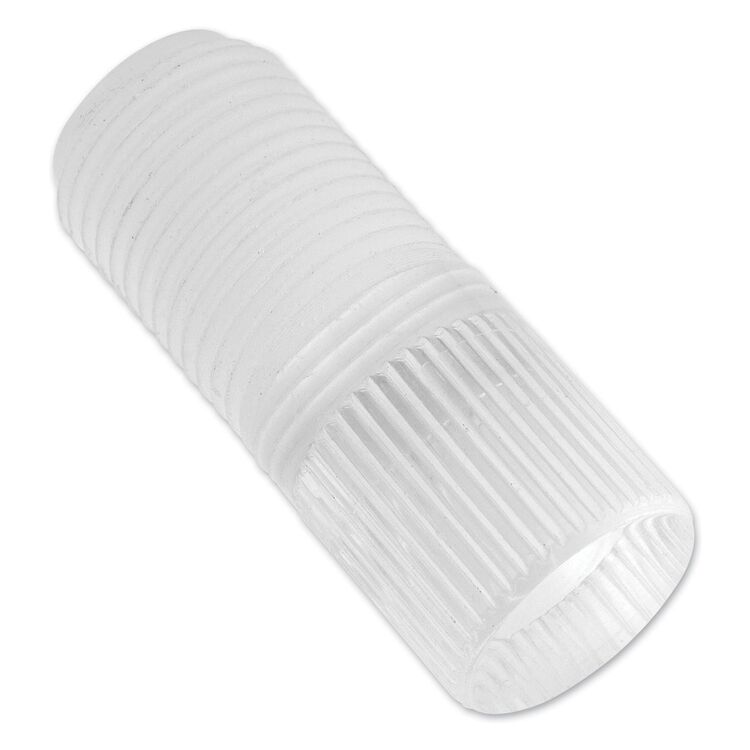
A clear view timing plug makes things a lot less messy. Don’t screw it in too far.
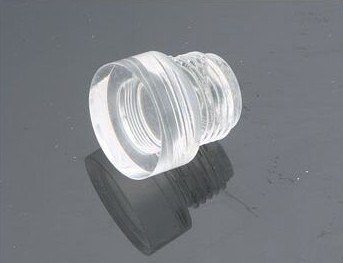
Here's a clear view plug that is a little thinner for bikes with clearance issues.
Check with a factory service manual for exact settings for your year and model bike.
*****
Related Articles: